Wednesday, March 11, 2015

We R Memory Keepers Gift Box Punch Board

Hi, guys. It's been...busy...around here. Obviously by "around here" I mean around my house and not around here on the blog, because, well, I've had a few other things going on. Like putting down the last of the new flooring (in the kitchen) and painting ceilings (also the kitchen), and more painting, painting, painting, PAINTING (like, everywhere). We are slowly but surely getting there though. Just a few more little things and we will be ready to list.

So between that and the soul freezing winter weather Tennessee has been hit with lately, things have been a little uncrafty. But last night I finally had a chance to sit down and put together a post about one of my favorite crafty tools, the We R Memory Keepers Gift Box Punch Board.

First of all, I want to make a disclaimer - these pictures, guys, they're not my favorite. Late night crafting with incandescent lighting is almost always a bad combo, but we work with what we've got here. And my poor, poor kitchen table that is (somewhere) on the to-do list to get a makeover makes for a pretty lame backdrop. What's really sad is that my mom passed this table on to us several years back, and when she did she had just refinished it. Three kids, one crafting momma, and all the abuse of being a staging area during our house revamp has left it looking a bit worse for the wear. No judgment though, someday she'll have a fresh white coat of paint (if I have anything to do with it), and all will be redeemed.

So anyway, that out of the way, here's the Gift Box Punch Board.


My mom bought me this board for my birthday, and I love it! In fact, I bought my SIL Leah one for Christmas. Basically it makes a self closing box (no separate lid!) with one square of paper. And they can be made in a variety of sizes of course, depending on your starting paper size and the shape instructions you choose.

I started out with a 6x6 sheet I cut down from this fun Disney paper. I scored the whole 24 sheet pad at a local dry goods store for $1.99!


As always with the WRMK punch boards, the instructions are printed right on the board, and the score tool stores in a slot on the underside of the board, so there's nothing to keep track of.


I chose to make a 1.75 x 1.75 x 1.75 inch box. Based on that, here are the measurement instructions to follow.


Using this board is a lot like using the Envelope Punch Board - just punch and score. It's important to pay attention to the line instructions, because they may not both be the same depending on your box size. If your box is taller or shorter than it is wide, your start and diagonal lines will be different.


Start out by lining the left edge of your paper up with the appropriate start line, in this case the small (S) line.


Punch using the button.


Now score using the tool along all three score lines, the two lines leading off the button (follow the little guides trailing off the button to find the grooves) and the diagonal line.


Now rotate your paper 90 degrees to the left and repeat all steps.


This is what your paper will look like at this point.


Also, our paper is small enough to fit entirely on the punch board, but if you're making a bigger box, there is an arm that swings out to extend your score line surface.


Now, flip it over and do all the punching and scoring again.


Now you have two notches on each side.


Here you can see the score lines a little better.


Now insert each corner into the punch at the top of the button and punch again to cut the curved slits you will need to lock the box flaps together. It's very important to make sure your corner is well seated into the corner of the punch before punching, otherwise your slits will be off and the corner will not round well.


Just make sure you have the same side of the paper facing up during the punching of each corner. This is what it should look like at this point.


Go ahead and crease your scored lines, starting with the longest ones.


Now bring your sides up and crease the diagonal lines inward so they are toward the inside of the box.


You can leave these interior flaps as is if you would like the box to be able to be flattened back out when opened, but I like to adhere them with either glue or an adhesive runner. I find it easiest to go ahead and add the adhesive to all 4 sides before folding up the box.


If you look closely, you can see the lines of adhesive.


When folded up, they will adhere the interior flaps to the sides of the box.


Now you will gently hook the opposite flaps together using the curved slits we punched earlier. Be careful here as these can be easy to tear, especially if you used thinner paper.


All done! Isn't it cute? This size is perfect for gifting jewelry, or it would be just right for holding a cake ball or truffle at a wedding or baby shower. 


Since you can't see the date on that ring, we're going to say I graduated 5 years ago.


Here's one I didn't adhere the sides on. Okay, fine, I graduated in '95. Whatever.

I made a whole stack of these for Lily, who loves anything Disney. And now I'm kicking myself for not buying up all the cheapo paper stacks!


These are really cute using just about any paper. Here's one I made using some cool printed vellum I found at Tuesday Morning.


Oh, and how cute would these be in craft paper for a gender reveal party, with a pink or blue cupcake inside? So many possibilities! I can't get enough of these punch boards, and I can't wait to see if they come out with any more!

Monday, February 16, 2015

Simple Ornament to Year Round Display

Guys, we are hardcore into this getting-ready-for-market thing over here. The storage unit is rented and more or less filled, the new linoleum is down in the bathrooms, and the new carpet is in (squeeeeee!) People, we have pulled back out the baby gates. That's right, we are doing whatever it takes to keep little kiddos with crumbs and exuberant puppies well away from the deliciously soft and fluffy goodness carpeting our bedrooms and hallway.

And moooooost of the painting is done. By which I mean we still have to paint the ceilings (how do ceilings get dirty?) and do some touch ups here and there. And we are right smack in the middle of painting all the kitchen cabinets white and ohmygoodnessIlovethem! Why didn't we do it years ago? SO. A bit slow here on the blog. But crazy, overwhelming, Ijustwantanap busy behind the scenes.

But I managed to break away to slip in a post here. A few weeks ago I became aware of the imaginative world of Patience Brewster. Patience Brewster is a one-artist company featuring the whimsical renderings of Patience in the format of stationary, home goods, art, accessories, and Christmas ornaments. I'm dying a little over this gorgeous Zelda Zebra ornament and think she would look great in my craft room (when it happens).


Like Zelda, many of her pieces are versatile enough to be displayed year round, and I thought I would share with you one of my favorite Christmas ornaments that stays out all year.

I collect Willow Tree figures, and I have a number of them displayed on a shelf in my living room. Several years ago Nick's grandmother Gail gifted me with this beautiful Heart of Gold ornament, and it's very special to me.


I normally have it hanging on the wall above the shelf displaying my collection of figurines, but this year I decided to up my game on the display to tie it in with Valentine's day. This was a super simple project. I grabbed a two pack of 6x8 burlap canvases from Walmart for under $4 and wrapped one around the top with narrow satin ribbon in red. I crossed the ribbon through the elastic string on the ornament and tied it in a bow, then wrapped a bit more ribbon around the center of the bow to finish it off. Then I just hung it up!


This is easy to change the ribbon on to keep the display fresh for the current season, and the neutral colors and the gold of the heart will play just as well with springy blues and greens as it does with the red. And if I decide to use the canvas for something else, it couldn't be easier to take apart!


I am not affiliated with Patience Brewster, was not compensated for mentioning or linking to her products, and there are no affiliate links in this post.

Saturday, January 24, 2015

Vintage Tart Tin Pincushions

Guys, we're getting ready to put our house on the market. This little home has been oh so good to us, but we're bursting at the seams, so we're working on saying goodbye. We've (well mostly I've, since Nick's been working) been packing up a good 45ish% of our stuff, and we've been stacking it all up in the garage in anticipation of renting a storage unit here in a few weeks. People, we've got boxes for days. And the number of boxes that are labeled Craft Room (faith, guys, it's called faith) is kind of embarrassing, in no small part because I've kept back the stuff I feel like I can't live without for potentially the next few months, and there's still enough stuff out there to build a pretty respectable igloo. You know, assuming igloos were made of boxes of fabric and happiness.

Once all this stuff is safely in storage, the carpet people are going to come and lay new carpet and we will be putting new flooring in the kitchen and bathrooms and basically making it seem like 13 years of kids and mechanic's boots never happened. And after the floors and the painting and the cleaning and the threatening the kids with doom if they spill anything, we plan on listing this bad boy and continuing to pray that God will send just the right family (come quickly, Lord).

In the meantime, my crafting is going to have to be, of necessity, a bit more streamlined. So while I still have my sewing machine and enough fabric to take care of any Etsy orders I may get, all my friends and family are forbidden to have any babies until I'm reunited with my box(es) of minky and flannel. And it may be a bit before I get to show you some of the cool crafting tools I got for Christmas.

But if (when please, Lord) I get my craft room, I'm going to not only have access to all my stuff, but I've got all kinds of decorating plans to share! For right now though, I wanted to show you the darling little pincushions I made for Christmas.


Any time I come across little vintage tin/aluminum tart/cupcake tins I snatch them right up. I've got several different styles collected, but these just begged me to turn them into pincushions.


This is another not-really-a-tutorial tutorials for you. It's really so simple that anyone at all can make them, but here are the steps.

  • Gather your glue gun (high temp is better, but be safe), tin, scrap of fabric, bit of Polyfil or other stuffing material, scissors, needle, thread, and something to trace a circle with. I used a salad plate that was about 7 1/4 inches in diameter. I would keep the circle between say 6.5 to 8 inches across.
  • Trace a circle right onto your fabric with ball point pen. It doesn't have to be flawless, but recognizably round is preferable.
  • Cut out the circle. It doesn't even matter if the pen marks show, because the edges of the circle will be hidden when the pincushion is done.
  • Thread your needle and run a loose basting stitch around the circle by hand.
  • Pull the ends of the thread to gather your circle into a pouch-like shape, with the wrong side of the fabric on the inside. 
  • Stuff your pouch with Polyfil/other filling material.
  • Pull the threads tight to close off the stuffed circle into a ball shape. It needs to be stuffed firmly, but not so full that you break your thread trying to close it up. I didn't do that or anything. Ahem.
  • Carefully squirt hot glue onto the underside of your ball (where the gather is) and quickly press it into your tart tin. Keep in mind that you're pressing hot glue onto a metal object that you're holding, so you may want to hold the tin with a towel/hot pad to keep from getting burned.
  • Now fill your new pincushion with pretty pins and admire! 
Aren't they lovely? I just love the pairing of the fresh new fabric with the worn patina of the metal! And aren't those gold pins fun? These were so quick and easy, and the ladies who got them all loved them!


Saturday, January 17, 2015

Christmas Jewelry Gifts

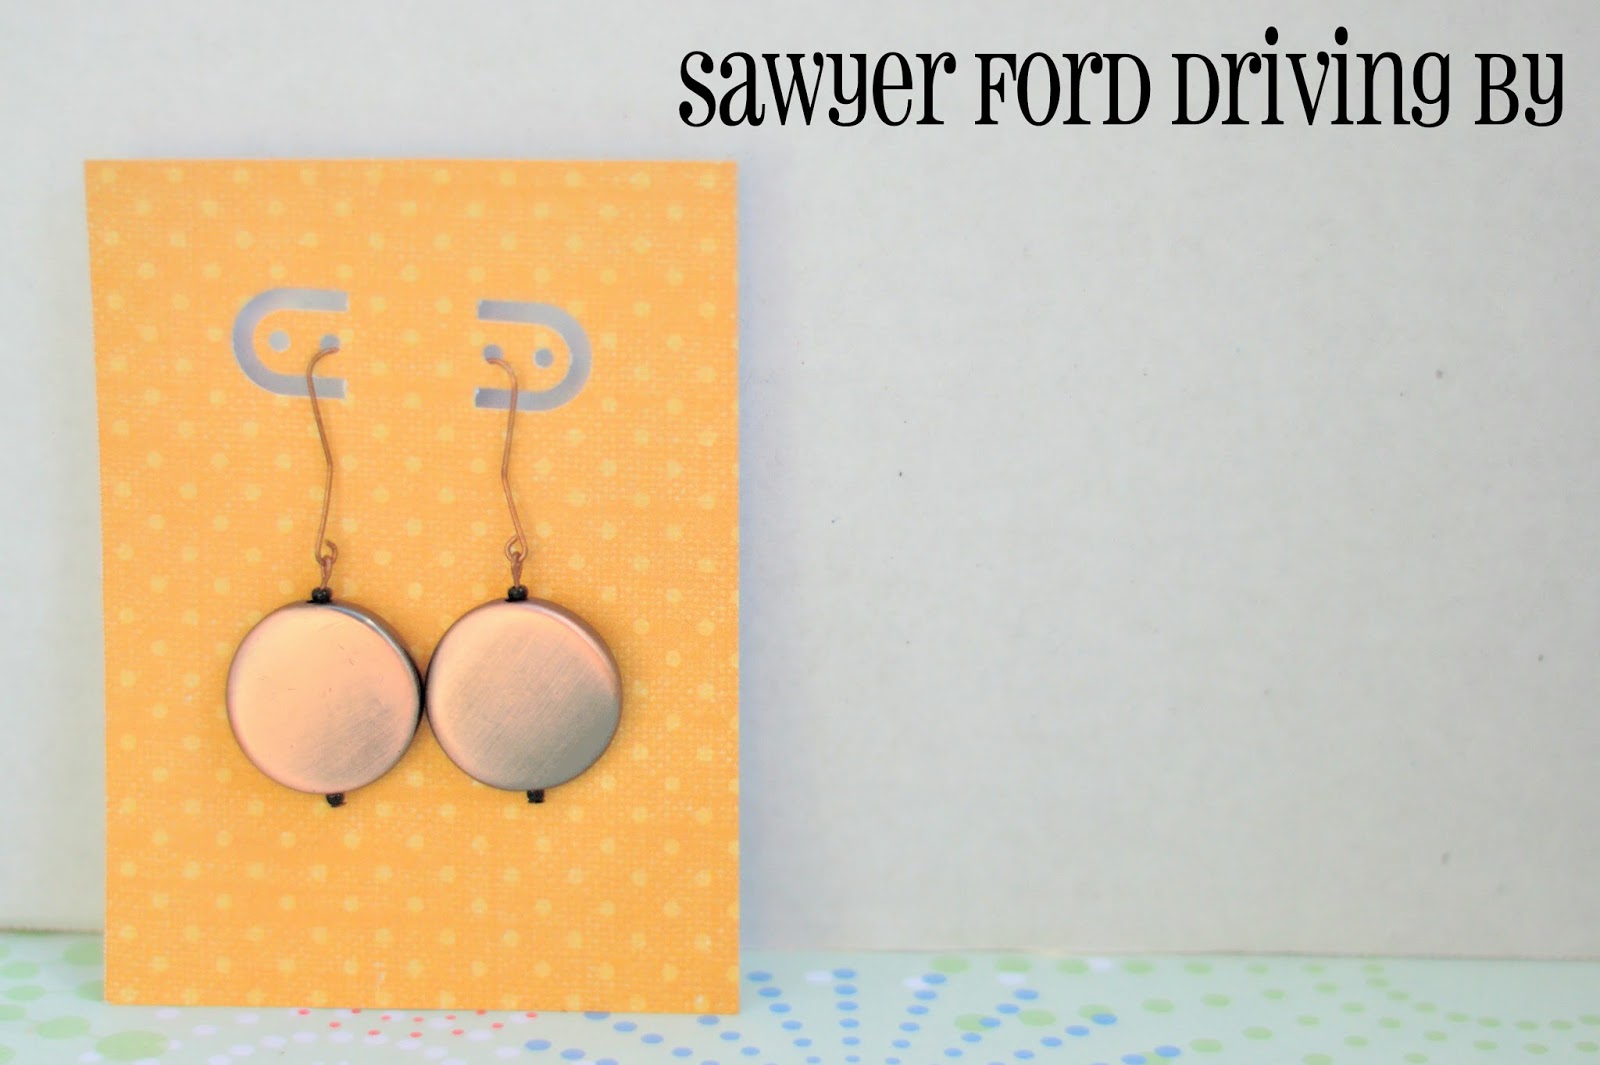
I was a jewelry-making fiend this year for Christmas. I made tons and tons and tons of earrings and bracelets, and even a few hair pins! These were all very simple to make, and they all came together very quickly. And I had so much fun making my own earring cards from pretty scrapbook paper! Here are some (but not all) of the ones that went out to loved ones this year.


Okay, this is not jewelry, but it's the bag I made to package up Lily's teacher's gift (the first two pairs of earrings pictured below). I used my Gift Bag Punch Board (tutorial coming soon) to make the bag, then punched the top with my Marvy Uchida Clever Lever Border Punch System. Then I wove ribbon through the slots and closed it with a bow at the front. Isn't it darling?


Memory wire bracelet


Coiled wire bracelet tutorial


These started as cabochons I got crazy cheap at Tuesday Morning, and I added them to hair pin blanks.

These were little scrapbook embellishments.
 
Tiny seashells for the top pair and former scrapbooking brads for the bottom.

More brads.


Covered button embellishments and cabochons.


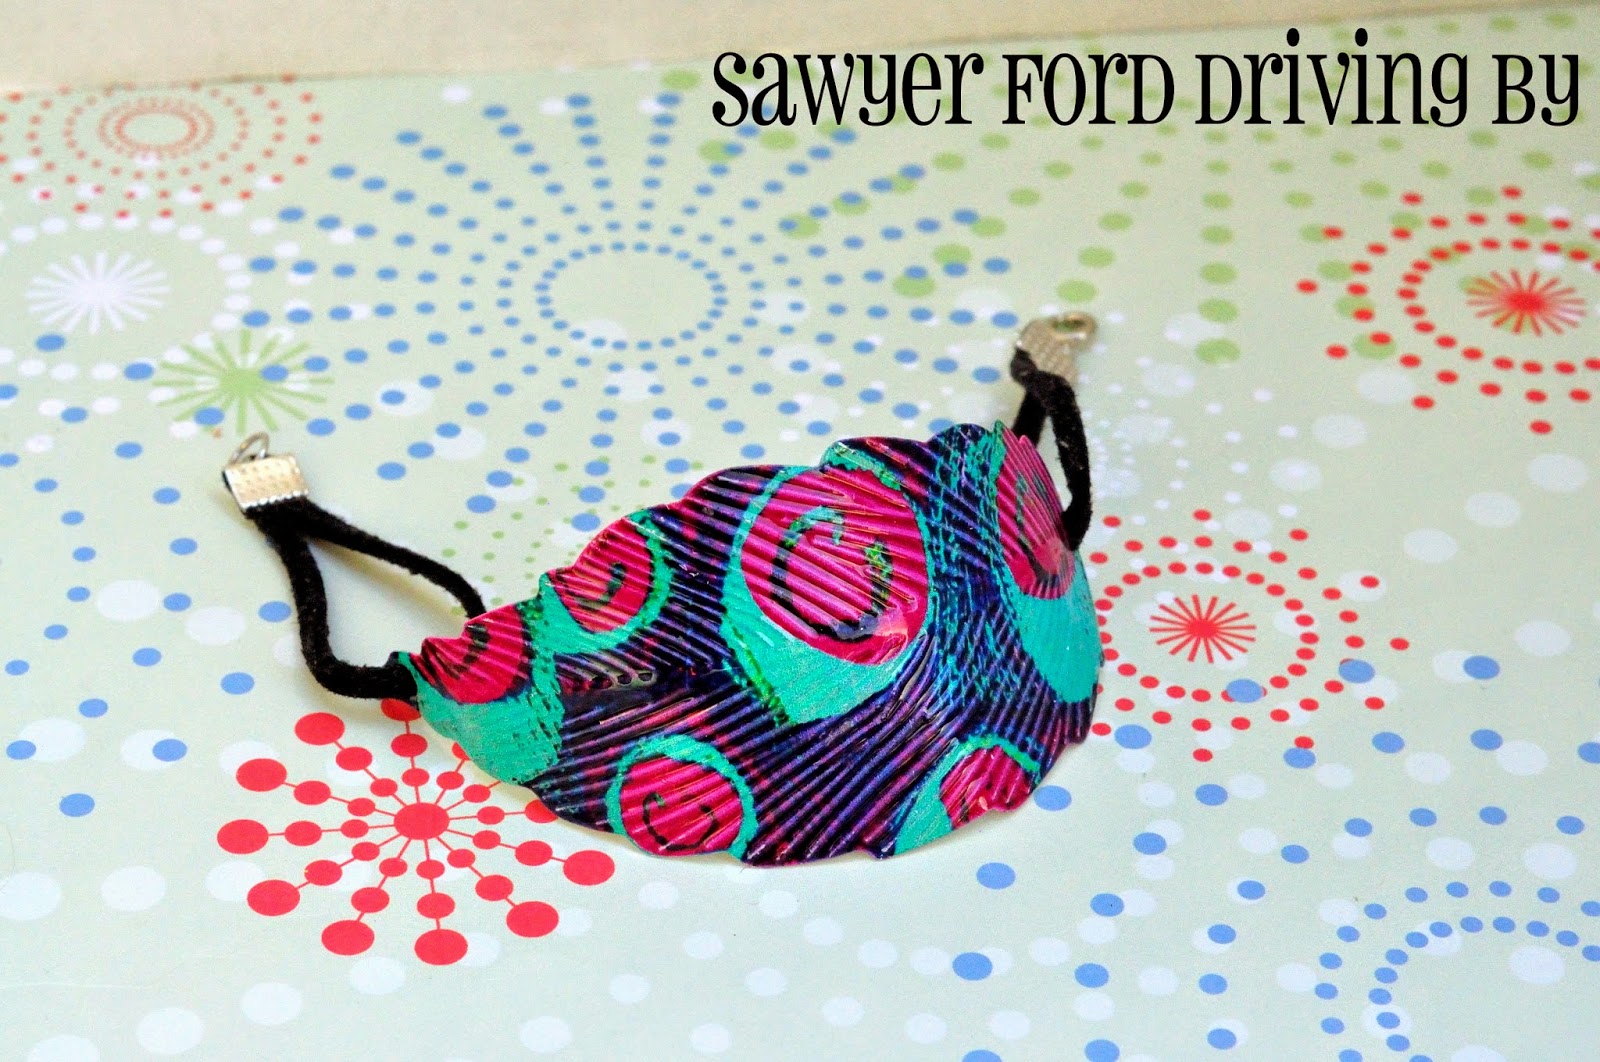
This started as a straight metal feather. I just rounded it over my wrist, punched holes for the leather cord and added crimps, jump rings, and a clasp.

I love the worn leather paired with the gold and floral.


Metal stickers made into earrings for our oldest resident Frozen fan.


Little bitty ones for Lily.

Extra large cabochons and hair pins.

Earring and bracelet set.

Did you make any jewelry for gifts this year? Leave me a link in the comments - I'd love to see it!