Saturday, January 24, 2015

Vintage Tart Tin Pincushions

Guys, we're getting ready to put our house on the market. This little home has been oh so good to us, but we're bursting at the seams, so we're working on saying goodbye. We've (well mostly I've, since Nick's been working) been packing up a good 45ish% of our stuff, and we've been stacking it all up in the garage in anticipation of renting a storage unit here in a few weeks. People, we've got boxes for days. And the number of boxes that are labeled Craft Room (faith, guys, it's called faith) is kind of embarrassing, in no small part because I've kept back the stuff I feel like I can't live without for potentially the next few months, and there's still enough stuff out there to build a pretty respectable igloo. You know, assuming igloos were made of boxes of fabric and happiness.

Once all this stuff is safely in storage, the carpet people are going to come and lay new carpet and we will be putting new flooring in the kitchen and bathrooms and basically making it seem like 13 years of kids and mechanic's boots never happened. And after the floors and the painting and the cleaning and the threatening the kids with doom if they spill anything, we plan on listing this bad boy and continuing to pray that God will send just the right family (come quickly, Lord).

In the meantime, my crafting is going to have to be, of necessity, a bit more streamlined. So while I still have my sewing machine and enough fabric to take care of any Etsy orders I may get, all my friends and family are forbidden to have any babies until I'm reunited with my box(es) of minky and flannel. And it may be a bit before I get to show you some of the cool crafting tools I got for Christmas.

But if (when please, Lord) I get my craft room, I'm going to not only have access to all my stuff, but I've got all kinds of decorating plans to share! For right now though, I wanted to show you the darling little pincushions I made for Christmas.


Any time I come across little vintage tin/aluminum tart/cupcake tins I snatch them right up. I've got several different styles collected, but these just begged me to turn them into pincushions.


This is another not-really-a-tutorial tutorials for you. It's really so simple that anyone at all can make them, but here are the steps.

  • Gather your glue gun (high temp is better, but be safe), tin, scrap of fabric, bit of Polyfil or other stuffing material, scissors, needle, thread, and something to trace a circle with. I used a salad plate that was about 7 1/4 inches in diameter. I would keep the circle between say 6.5 to 8 inches across.
  • Trace a circle right onto your fabric with ball point pen. It doesn't have to be flawless, but recognizably round is preferable.
  • Cut out the circle. It doesn't even matter if the pen marks show, because the edges of the circle will be hidden when the pincushion is done.
  • Thread your needle and run a loose basting stitch around the circle by hand.
  • Pull the ends of the thread to gather your circle into a pouch-like shape, with the wrong side of the fabric on the inside. 
  • Stuff your pouch with Polyfil/other filling material.
  • Pull the threads tight to close off the stuffed circle into a ball shape. It needs to be stuffed firmly, but not so full that you break your thread trying to close it up. I didn't do that or anything. Ahem.
  • Carefully squirt hot glue onto the underside of your ball (where the gather is) and quickly press it into your tart tin. Keep in mind that you're pressing hot glue onto a metal object that you're holding, so you may want to hold the tin with a towel/hot pad to keep from getting burned.
  • Now fill your new pincushion with pretty pins and admire! 
Aren't they lovely? I just love the pairing of the fresh new fabric with the worn patina of the metal! And aren't those gold pins fun? These were so quick and easy, and the ladies who got them all loved them!


Saturday, January 17, 2015

Christmas Jewelry Gifts

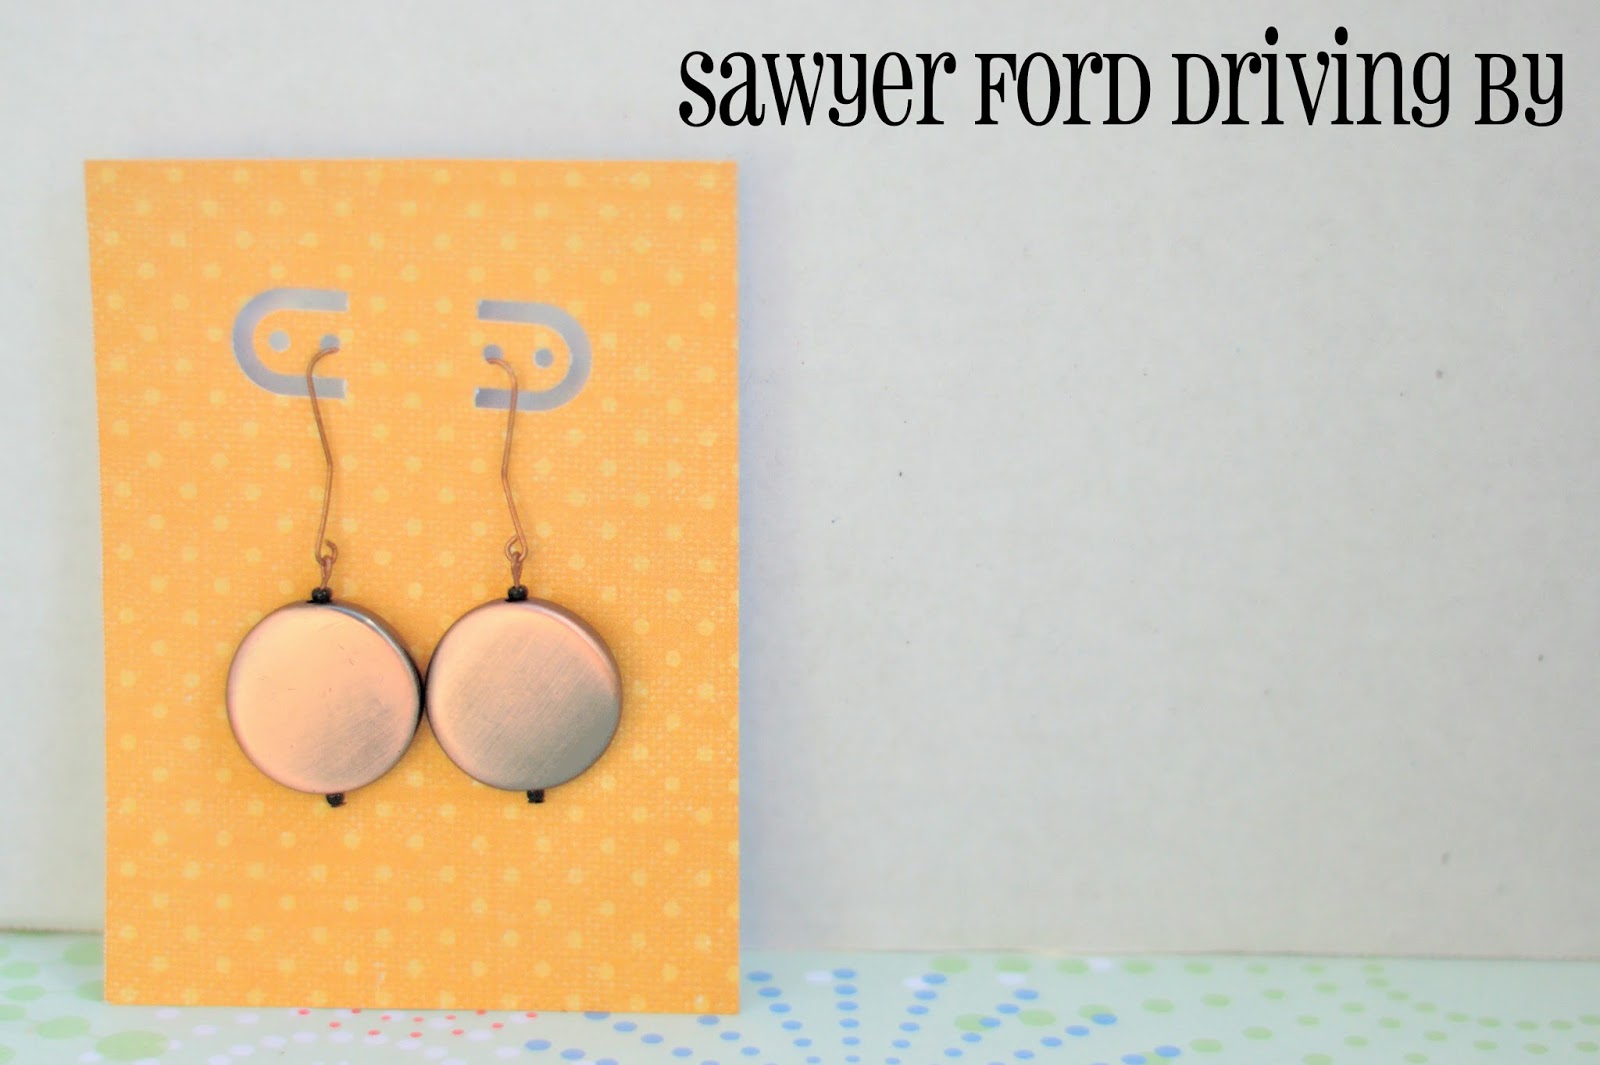
I was a jewelry-making fiend this year for Christmas. I made tons and tons and tons of earrings and bracelets, and even a few hair pins! These were all very simple to make, and they all came together very quickly. And I had so much fun making my own earring cards from pretty scrapbook paper! Here are some (but not all) of the ones that went out to loved ones this year.


Okay, this is not jewelry, but it's the bag I made to package up Lily's teacher's gift (the first two pairs of earrings pictured below). I used my Gift Bag Punch Board (tutorial coming soon) to make the bag, then punched the top with my Marvy Uchida Clever Lever Border Punch System. Then I wove ribbon through the slots and closed it with a bow at the front. Isn't it darling?


Memory wire bracelet


Coiled wire bracelet tutorial


These started as cabochons I got crazy cheap at Tuesday Morning, and I added them to hair pin blanks.

These were little scrapbook embellishments.
 
Tiny seashells for the top pair and former scrapbooking brads for the bottom.

More brads.


Covered button embellishments and cabochons.


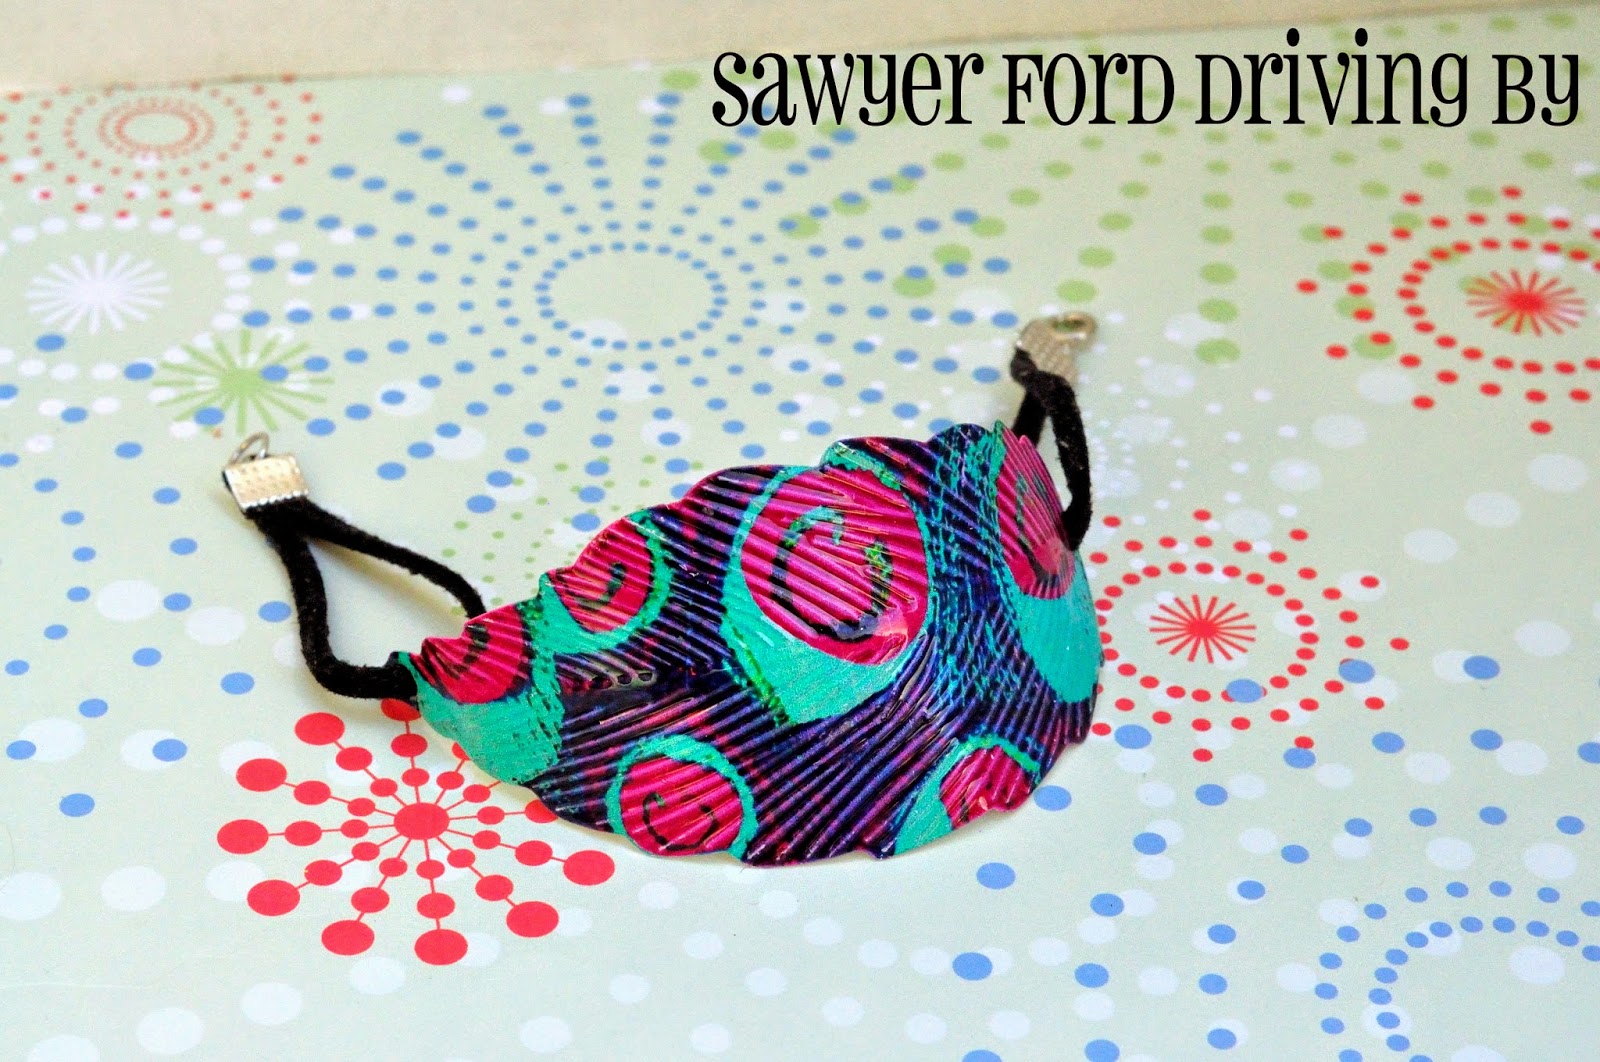
This started as a straight metal feather. I just rounded it over my wrist, punched holes for the leather cord and added crimps, jump rings, and a clasp.

I love the worn leather paired with the gold and floral.


Metal stickers made into earrings for our oldest resident Frozen fan.


Little bitty ones for Lily.

Extra large cabochons and hair pins.

Earring and bracelet set.

Did you make any jewelry for gifts this year? Leave me a link in the comments - I'd love to see it!

Friday, January 16, 2015

Leather Cord Keepers

I love giving handmade gifts. And I've got oh, 47,000 ideas pinned and planned for gifts for the moms, daughters, sisters, and girlfriends in my life. But it's become pretty dang hard to come up with handmade gifts for the guys in my life. That's why I was so excited to come up with the idea for these handsome and useful cord keepers!


Nick listens to audio books all the time, and he spends all day with a set of headphones in his ears. But when he does take them off, they tend to get tangled up or caught on one thing or another, so this was the perfect gift for him. I also wanted something to round out the gift we sent my brother-in-law Scott, who does a lot of traveling, and I though these would work well for corralling various phone and Ipad chargers. These are the ones I sent him.


These are crazy simple to make, and you just need a scrap of leather, a ball hitch fastener (or a snap), and a 1/8 and 1/4 hole punch (or a snap setter).

I've had this gorgeous, worn leather for ages, and I loved it, but it was too small for most projects. So I was thrilled to be able to turn it into something both lovely and functional.


First cut your leather to 1 by 4 inches. You can round your corners if you like. Then add your fastener. If you use a ball hitch fastener, you can find instructions on my Embossed Leather Cuff tutorial here. If you use a snap, follow the instructions on your snap package.


And you're done! Easiest tutorial ever! I love them, and I hope the guys loved them too. I have a shameful assortment of leather remnants, and I can't wait to make up some more. I think I will be adding a few to my shop as soon as I have the chance.

Thursday, January 15, 2015

I-Spy Bags

Some of the simple gifts I made this year were I-Spy Bags for some of the littles in my family and church. A few years ago I made some of these for Lily and her cousins Mason and Max, and they were a huge hit among the recipients.


A few weeks ago I happened across one at the thrift store made of fleece. Rather badly made, actually. The window was reeeeeaaaallly crooked, and the seams were super wonky. Not judging - my first sewing efforts weren't any better, and it was functional at least. Functional, but not very pretty. But it was only a dollar, and I knew I could use the filling, so I snatched it up. The last ones I made were from corduroy, and I finished off all the seams and made them look really nice. But I really liked the idea of using a non-fraying fabric to make these a quick project, and I knew that they would look great in felt too.


I chose patterns that were a bit I-Spyish themselves, which stretches the entertainment value of these.


Since I did these as gifts rather than as an actual blog project, I didn't take step by step photos. So this isn't really a tutorial per se, but it's a very simple project. Here are the basic steps:

  • Cut two pieces of felt to the same dimensions. I just cut mine into squares the size of the width of the piece of felt, but you can really do any shape/size you want. 
  • Fold one piece in half and cut out the inside of the shape, leaving at least an inch border all around. This is your front piece.
  • Cut a piece of clear vinyl the same shape as your opening, but about an inch bigger on all sides. I got my vinyl at Walmart, but you can also reuse a piece from the sorts of bags that sheet sets come in. The thicker the vinyl the better, but really any thickness is fine just so long as it's actually vinyl/plastic and not say, a Ziploc bag. 
  • Sew the vinyl over the opening of the front piece with the vinyl against the wrong side of the felt. It's okay to pin the vinyl to the felt to keep it in place, but ONLY if you keep your pins at the edge of the vinyl. If you put pin holes in your window, you will be able to see them, and it could eventually cause a tear in the window. Plus if you're anything like me, it will bug you forever and you'll never be quite happy with the finished project. Ahem. 
  • If you don't want to risk getting the pin holes too close, you can hold the felt and vinyl together with wonder clips while you sew them. I actually just bought these (not an affiliate link) with an Amazon gift card I got for Christmas, and I love them! Way cheaper than Clover Wonder Clips, and they worked awesome holding slippery chiffon in place on some curtains I recently hemmed for a lady at church. 


  •  Also, vinyl tends to stick to your presser foot, so you can either switch to a Teflon foot or walking foot for this step, or you can stick a piece of scotch tape to the bottom of your presser foot to help it slide.
  • Clip the edges of your vinyl 1/4 inch from your seam.
  • Place your front and back pieces wrong sides together and sew with a 1/4 inch seam all the way around, leaving 2-3 inches open for filling.
  • Fill your bag about 2/3 full with the filling of your choice. I always use poly pellets just because they won't mold or decay if they happen to get wet. When I gave Max his, he was Sawyer's age, and he promptly chucked it into the lobster tank at Red Lobster. We pulled it out and rinsed it out very well, then laid it out to dry and it was good as new by the next day. But if you don't want to use poly pellets, you can use rice, beans, lentils, corn, or even pony beads. 
  • Add your treasures. These can be anything tiny like buttons, Barbie shoes, dollhouse miniatures, coins, mini seashells, toy soldiers, etc. I made one for Lily, and hers included mostly girly/princessy stuff, like Barbie high heels, tiny dishes, mini baby blocks, etc. I made one each for Sawyer, my nephews Lawrence and Levi, and my friend Melissa's little boy Jackson. Theirs had things like buttons, miniature animals, a tiny pirate sword, small wood cuts shaped like mustaches and cameras, toy coins, and skull beads to name a few. If you're making several, you might want to hit up the baby shower section at Dollar Tree or Hobby Lobby for cupcake toppers like mini teddy bears, baby figurines, and pacifiers. Or you can find an assortment of trinkets on Etsy. 
  • Sew your opening shut. Either go slowly to make sure your filling is not getting under your needle or move it all to the opposite side of the bag from the opening and pin the bag shut to keep it out of the way. All done!

Jackson was a fan of his. :)


These are a super quick sew, and they're great for keeping little ones quiet in church.