Showing posts with label Envelope Punch Board. Show all posts

Thursday, December 11, 2014

Craftaholics Anonymous Handmade Gift Exchange

Twice a year Linda at Craftaholics Anonymous hosts a Handmade Gift Exchange. This is so much fun! If you've never participated in one of these, I highly recommend giving it a whirl. I wanted to show you what I made for my partner Lauren, and what she made for me.

Here's what I sent Lauren:

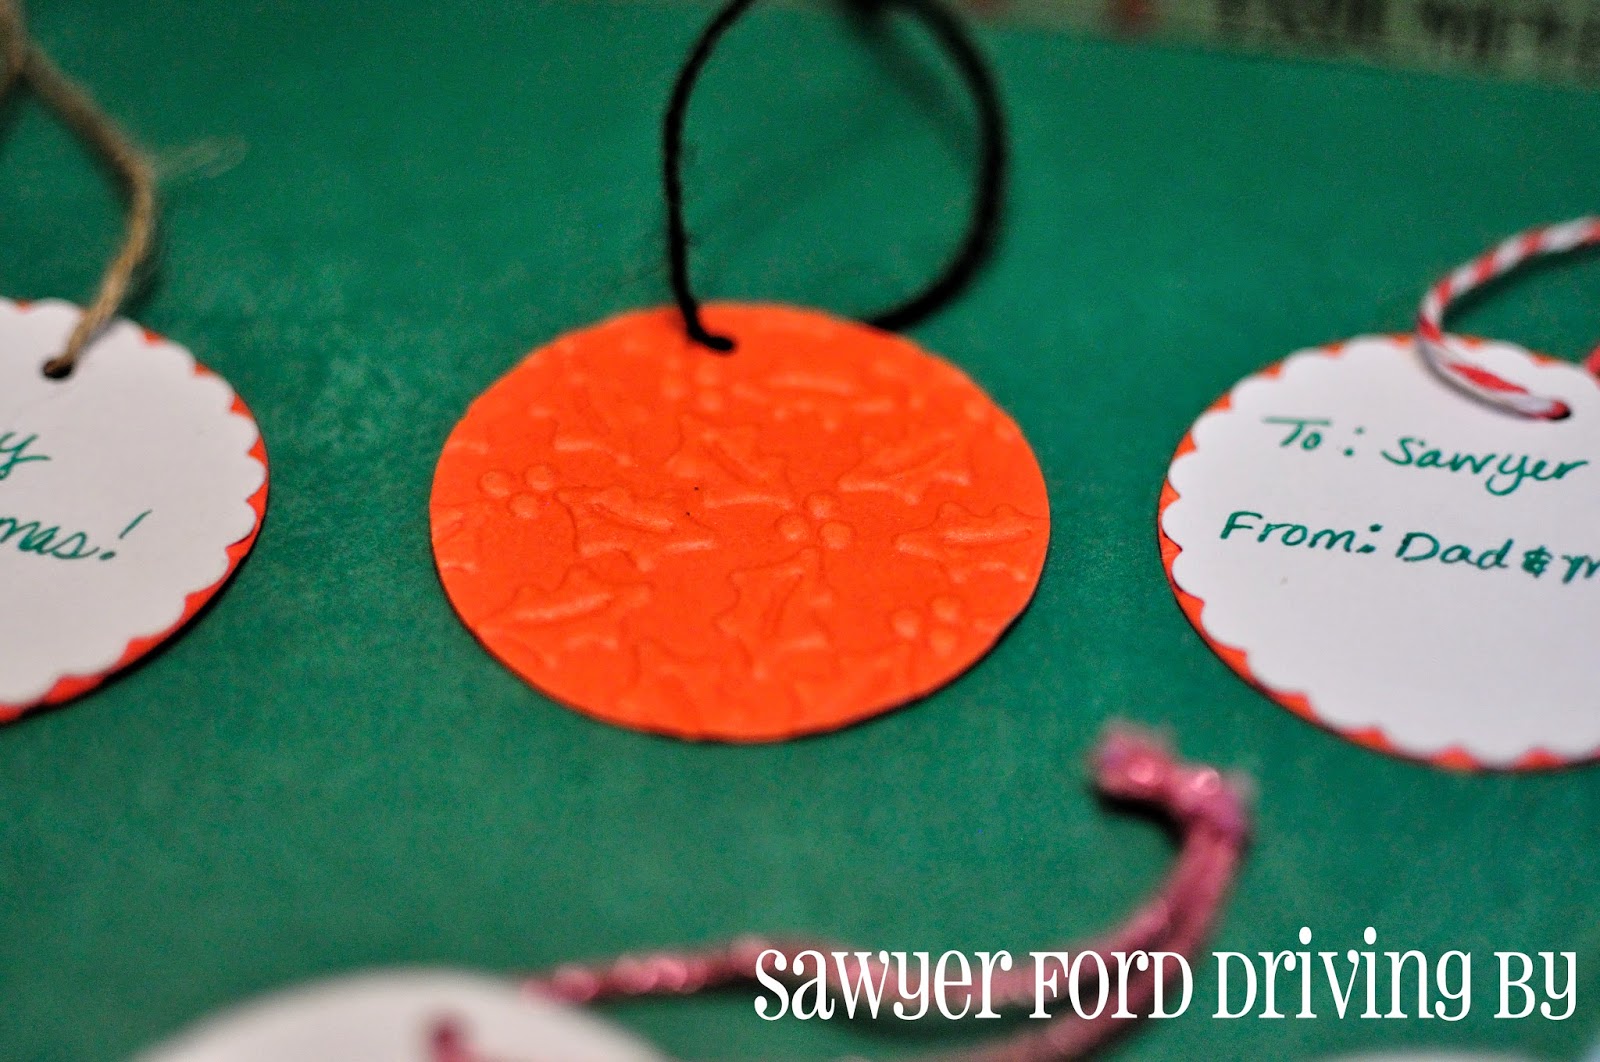
First I made her some of the Christmas gift tags we did for the Ladies Craft Meeting at church a few months ago.


I also made her up a set of one of a kind cards like these.


I made her up a set of cute pillow boxes. Tutorial here.


And I sent a few pieces of handmade jewelry.

A pair of coiled bracelets. Tutorial here.


A pair of silver wire wrapped earrings. "Tutorial" here.


I had a lot of fun making the earring card for these.

These dropped bead earrings, tutorial to come.


And I sent her a 12 x 12 pillow cover featuring the title of my favorite Christmas song.


I really hope she loved everything!

And she sent me this AH-MAY-ZING Christmas wreath!


Isn't it gorgeous?


I just love these colors! In fact, I have a Red and Aqua Board on Pinterest, and this beauty is going straight there as soon as this post goes live!


Thank you, Lauren - I love it!


And thank you, Linda, for hosting this awesome exchange again!

Thursday, September 18, 2014

WRMK Envelope Punch Board

Today I want to talk about one of my favorite craft tools: The We R Memory Keepers Envelope Punch Board.


I got this punch board back in June, but it had been on my wish list since last summer. It has been so much fun! We used 3 of these at the Teachers of Good Things Craft Day last weekend, and several ladies mentioned that they had plans to get one for themselves. In fact, my mom has plans to pick one up at the first opportunity.

While the Envelope Punch Board may look complicated, it's actually super easy to use, and I wanted to do a quick tutorial. First of all, the measurements you need for just about any size envelope are printed right on the board. It also comes with a sticker with the metric version of the measurements so you can adhere that on top of the standard measurements if you prefer.


It tells you the correct paper size for the card you're using, and it gives you a measurement mark to place the edge of your paper on for scoring. You can make envelopes from paper sized up to 11.5 x 11.5 inches. These for are for 4.5 x 6 inch cards, and I just squared off some 8.5 x 11 scrapbook paper for this size.


For the Craft Day, as well as for some note card sets I've made as gifts, I used 6 x 6 paper to make envelopes for 3 x 4 cards.


Today I'm going to make a 3 x 4 envelope using this sweet 6 x 6 paper I picked up at Tuesday Morning. 


To make this size, you will take your 6 x 6 sheet and line it up at the 2 5/8 mark.

Once it's lined up, push down on the button at the top to punch your first notch. It's important to note and remember that this is the only time during this process that you will line your paper up with this mark.


Then take the handy score tool included with the punch board and score the paper down the score track.


Now this part is important. Turn your paper COUNTER clockwise, so that the notch you just punched is on the left.


Now, you want to align the line that you just scored with the little guide arm that leads off the bottom left of the punch button. If you try to line the paper back up with the 2 5/8 mark again, your notches will be off and your envelope won't fold correctly. I bumped the contrast on this photo way up so you can see the score line a little better.


Now punch and score just like you did on the first side, then turn counter clockwise again. Repeat until all 4 sides are notched. It will look like this when you're done. I've folded up the sides a bit here so you can see all the score lines. Each score line should meet another at the inside point of a notch.


Now you want to round your corners. To do this, just insert each corner into the space at the top of the punch button and punch.


Ta-da!


Next fold in the sides of your envelope.


Line the lower edges of your side flaps with the adhesive of your choice. Elmer's Glue-All works great here, but I prefer and generally use a glue or tape runner like this one. 

Fold up your bottom flap and press where it meets the side flaps to seal the adhesive, then fold down your top flap and press flat. 


Isn't it so cute?! I love the "just stay little" sentiment  near the point of the closing flap. Perfect for a baby girl gift! If you're adding a card for giving, you can go ahead and do that and seal the envelope with your glue runner. If this is for giving someone to use later, you can include a sticker for them to seal it closed when they're ready.

These little envelopes are so easy to embellish too. For this one I just added a scalloped circle and a little bow, both secured with the glue runner. My SIL Leah's sister Deborah made one like this at the craft day and I loved it!


For this one I just added ribbon, sealed into the bottom flap and wrapped around the front.


Then I just folded a little ribbon rosette to accent it.


The Envelope Punch Board retails for $19.95, but both Hobby Lobby and Joann carry them, and there's always a coupon for at least 40% at both. And of course you can get them on Amazon, which is where I got mine, and they're forever going on sale there. In fact, they're $12.75 on there right now.

Besides envelopes, you can also make gift boxes and 3d envelopes with this punch board, as well as darling little paper bows and lovely little treat boxes. For more ideas for the Envelope Punch Board as well as other WRMK punch boards, check out my Pinterest Board, Punch Board Projects.

Monday, September 15, 2014

Teachers of Good Things Craft Day

At my church (shout out to Walridge Baptist Church!) we have a monthly Ladies Meeting for our women's ministry, Teachers of Good Things. Up until now it's consisted of a potluck/Bible study combo, which has been wonderful (and tasty!). But recently we have decided to change things up a bit. We're going in cycles each quarter, with one month being focused on missions, one month a prayer meeting, and one month...a CRAFT DAY!!!


I may have been a little excited about it. Our first craft day was this past Saturday, and I was really nervous about it because Leah, our pastor's wife (who is also my sister-in-law and married to my brother Toby, er, our pastor) asked me to head it up. We decided to do cards this month, and Leah and I went on several crazy, madcap supply runs that may have involved various milkshakes and some total geeking out over craft tools.

I was up till I-don't-want-to-share-this-info-with-my-husband o'clock the night before, slicing cardstock, die cutting circles, and embossing all the things I could reach. Here's what we ended up doing:

First of all, Christmas tags. These were crazy simple. To make them, I first used my Sizzix to die cut a crap-load (that's just for Toby, who teases me because I recently stood up to give my testimony in church and managed to include the word "crap" in it twice, because I'm way classy), anyway, a crap-load of circles from cardstock. The circles were about 1.5 inches, and I used various colors of cardstock, including some pretty shimmery red and white that we got at Tuesday Morning, 25 sheets for $1.99. All of these I embossed with winter/Christmas designs using my Sizzix Big Kick and various embossing folders. I also cut scalloped circles the same size from plain cardstock. To assemble, the ladies just used Elmer's Glue-All to glue a scalloped circle to the back of an embossed circle, punched a hole through both layers using a hole punch, and attached either jute twine, baker's twine, or ribbon.


Next, we did note cards, both a Christmas version and an everyday use version. This is where all my paper slicing came in. Leah and I found tons of gorgeous cardstock stacks at Tuesday Morning, Joann, and AC Moore. The stacks were all 12x12 or 6x6, and we needed the cards to measure 4x6 before they were folded. So I cut the 12x12 sheets down into six 4x6 pieces each, and just sliced 2 inches off one side of the 6x6 sheets. Those 2 inch remnants were put to use as well, which I'll tell you about in a minute.


We folded the cards in half, then punched the front edge with Marvy Uchida Border Punches, like I did for Nick's grandmother here. I love my border punch system, and I got one for my friend Amy for her birthday last month. She was kind enough to let us borrow it for the craft day, and Leah and I found another for the church on one of our trips to Tuesday Morning. Then I found two more on another day and snatched them up for an early Christmas gift for Leah and a birthday gift for Nick's sister Rachael. So we had 5 to go around, but honestly we could have used twice that many.


We had all 8 different cartridges on hand, but most ladies chose the ribbon stitch one, and they had so much fun choosing pretty ribbon to weave through the slots.

The border punch does 2 inches at a time, so a four inch card was perfect. Also perfect about that size is the fact that an envelope made with a 6x6 inch sheet will fit it perfectly. We had several 6x6 stacks that we used for some of the envelopes, and I cut down a couple of 12x12 stacks for the rest. We had three of the WRMK Envelope Punch Boards on hand, and I wish we'd had more of those too. But several ladies said they planned on getting one of their own, so perhaps next time we'll have more. :)

The other project we did was to turn some of those 2 inch cardstock remnants into gorgeous bookmarks using the border punches and more ribbon.


I was really afraid that it wouldn't go well, that maybe I had too many projects planned and maybe the border punch and the envelope punch board might seem overwhelming to some. But every lady there picked right up on it within a few minutes, and the mistake pile was surprisingly small. I was also afraid that maybe they just wouldn't enjoy it, but most of them stayed over an hour past the scheduled end time!

I'm so excited it all went so well, and I can't wait for next quarter!