Showing posts with label Pillow Box Punch Board. Show all posts

Thursday, December 11, 2014

Craftaholics Anonymous Handmade Gift Exchange

Twice a year Linda at Craftaholics Anonymous hosts a Handmade Gift Exchange. This is so much fun! If you've never participated in one of these, I highly recommend giving it a whirl. I wanted to show you what I made for my partner Lauren, and what she made for me.

Here's what I sent Lauren:

First I made her some of the Christmas gift tags we did for the Ladies Craft Meeting at church a few months ago.


I also made her up a set of one of a kind cards like these.


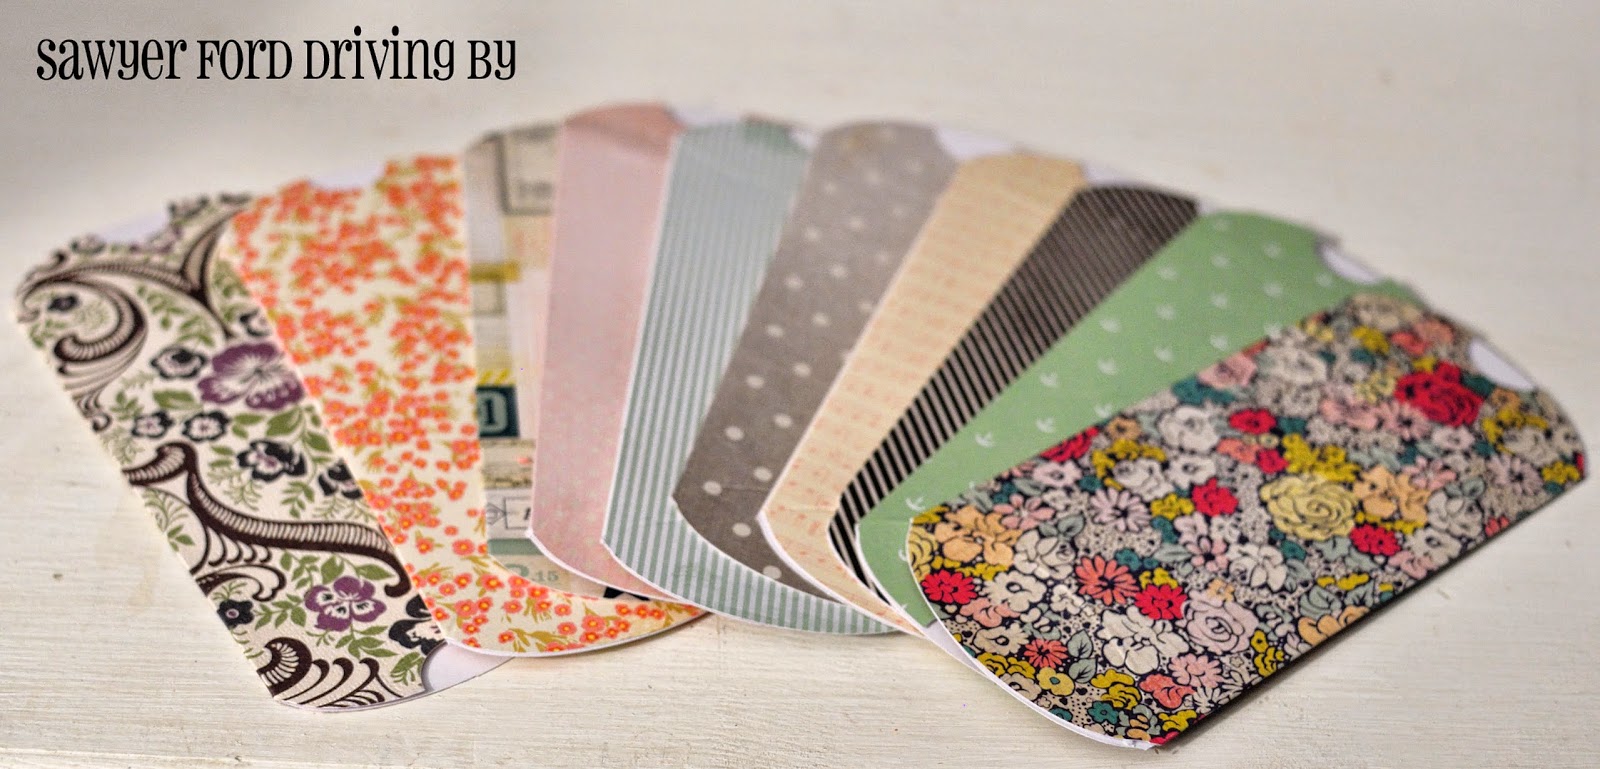
I made her up a set of cute pillow boxes. Tutorial here.


And I sent a few pieces of handmade jewelry.

A pair of coiled bracelets. Tutorial here.


A pair of silver wire wrapped earrings. "Tutorial" here.


I had a lot of fun making the earring card for these.

These dropped bead earrings, tutorial to come.


And I sent her a 12 x 12 pillow cover featuring the title of my favorite Christmas song.


I really hope she loved everything!

And she sent me this AH-MAY-ZING Christmas wreath!


Isn't it gorgeous?


I just love these colors! In fact, I have a Red and Aqua Board on Pinterest, and this beauty is going straight there as soon as this post goes live!


Thank you, Lauren - I love it!


And thank you, Linda, for hosting this awesome exchange again!

Wednesday, October 15, 2014

What's been going on lately...

I know I've been scarce around here, but it's not because I haven't had anything to post about! It's just been very, very busy. A few things that have been occupying me:

My SIL Rachael's birthday was just a few days after my last post. I got her a Marvy Uchida Border Punch System a few weeks ago, but I wanted her to have something special on her actual birthday too, so I whipped up this fun little window pillow box and packed it with a couple pairs of handmade earrings.


To make the pillow box I used my WRMK Pillow Box Punch Board, then just used a large scalloped circle paper punch to create the window. Then I cut a piece of transparency film to cover the opening, adhered it to the inside with an adhesive roller, then folded the box up and glued it.


The ball shaped earrings were one of the pairs I featured a few weeks ago. The second pair looks really impressive, but truthfully, they almost don't qualify as handmade. The wire wrapped circles came in a string of four from Walmart, and I literally just added the ear hooks and backings. She really seemed to love them though, and she's worn them several times already. :)


I used a Sizzix die and embossing folder I got recently to create a mason jar themed card. I added various buttons as filler for the "jar", and on the envelope I added a fun little pennant I got at Tuesday Morning.


The day after was my BIL Scott's birthday. He and his family live in Texas, so his gift needed to be something that would do well in shipping. He does a lot of traveling, so I thought he might like a new Dopp kit.


I sewed him up a good sized zipper pouch using men's tweed suiting and sturdy cotton, and filled it with some nice poured soaps, a new razor, and some shave cream. He loves to grill, so I also sent him a bratwurst grill cage that very narrowly escaped staying here with Nick. :)

My Lily girl turned 5 a few days later on October 5th! That morning before church she woke up to a new baby doll that looks just like her baby cousin Adelaide :), and this assortment of pillow boxes:


My girl loves accessories (as you can tell lol), so each one contained a new piece (or pieces) of jewelry:


This necklace and bracelet set was a clearance find at Hobby Lobby.


The charm bracelet was one I put together using charms from Walmart and basic findings.


The rings are actually midi rings from Rue 21, but they fit her 5 year old fingers like regular rings.


The rose necklace was one I made. The rose pendant came from Hobby Lobby on clearance, and I added the crown and chain. The crown was another charm from Walmart. I cut the top ring off, then sealed it into the well of the rose using Lisa Pavelka Magic-Glos.


The rhinestone crown necklace was yet another Walmart charm added to a chain, and it ended up being one of her favorites.


We had a party for her on the 11th, and I'll tell you about that in my next post!

I've also been having some fun playing with my new Pinwheel Punch Board, which We R Memory Keepers was kind enough to send me to try.


It was my intention to make some pinwheels for Lily's party to use as favors and decorations, but I wasn't able to get my hands on any of the pinwheel attachments that makes the pinwheels functional. Every craft store I've gone to has been sold out of them, but as soon as I find some to snatch up I'm going to do a review post on the punch board.

In between everything else I've also been doing some mending and altering jobs, as well as giving the growing laundry a meaningful glance and a promise. But hopefully I'll have a bit more time to post now that the cluster of birthdays is past!

Thursday, September 25, 2014

WRMK Pillow Box Punch Board

Today I want to tell you about another awesome punch board: the We R Memory Keepers Pillow Box Punch Board!


This little board is one of my favorites for packaging small gifts. Remember 100 years ago when McDonald's apple pies came in pillow boxes?


When I was a kid, every Sunday morning before church, my dad would take me to McDonald's for breakfast before we ran the church bus route. Those weekly daddy/daughter dates remain one of my most treasured childhood memories, and I've always loved pillow boxes since then.

This board is so easy to use, and you can make your pillow boxes in several different sizes.

The instructions are printed right on the board, so there's nothing to keep up with.  And like the Envelope Punch Board, it comes with a handy score tool that stores in a slot on the bottom.


The instructions state that your paper needs to be 6 inches wide, but to honest, I've found that 5.5 inches works a little better for me. I often start out with 6 inch paper, but I usually trim off some of the tab at the end. If I don't, I find that it tends to interfere a little with the curve of the closed pillow box, especially if I'm using a thicker paper. 

For today's project I decided to spice it up a bit by running my cardstock through my Big Kick with an embossing folder first. I started out with this 6x6 square of hot pink cardstock.


I chose this cupcake motif folder from Paper Studio, in part because it has a repeating pattern, which made it easy to match up the cupcakes so I could go back and emboss the part that extended past the edges of the folder.


Yes, sadly my pretty manicure is gone. :( But the paper turned out super cute!


Okay, to start with, you're going to line the left edge of your paper up with the start line on the punch board like so.


Then you're going to press the button at the top to punch.


Then use the score tool to score under the curve and down the vertical score line.


Now move your paper to the left, so that the left edge lines up with the left edge of the punch board and the curve you just punched fits snugly in the curve below the left side of the button. Also, the little score guide arm will line up with the vertical line you just scored.


Punch again, and score the curve and the vertical line again, then move it to the left one more time and repeat the punch/score process again.


 Now you'll flip the paper upside down so that you're starting off with the same edge you started with and repeat the entire process.


Now we're going to add the thumb notches to make it easy to open the box once it's closed. To do this, you just fit your paper into the top of the punch board. Just follow the spaces to fit your middle curve under the button and punch again.


You'll end up with a neat little notch like this:


Flip the paper upside down and punch the other side too. Then trim off the little curved edges on the end tab, following the score marks. Your paper will look like this when you're finished.


At this point I trimmed my end tab down to about 1/4 inch, but that's up to you. Crease your vertical score lines.


Now it's time for your adhesive. You can use an adhesive runner here, but I've personally found that Elmer's Glue All gives me a stronger bond in this application. Add the adhesive of your choice to the tab on the end, then fold your box to close. If you're using a wet glue, you may want to set a book or something heavy on it for a minute to help it set. I usually just tuck it under the punch side of the board.


All done! When you're ready to close the box, gently squeeze the side edges together, then fold the flaps down, the one with the thumb notch first.


These are so cute for little gifts like jewelry!


And you can use paper anywhere from 4 to 12 inches in length. Your closed box is going to end up about 2 inches shorter than your paper.

This one I made from a WRMK 4x6 journaling card, and I love it like a small child. Look at that adorable swimsuit theme! Ah, summer, is it really time to let you go?


I also tried a few more using a birthday embossing folder.


And this one done in 6x8 paper made the perfect size for a Dove Bar.


How great would these be for favors at a shower or birthday party?

I also made a bunch of these in a couple of sizes as gifts for Nick's grandmother and sister for birthdays/Mother's Day.


The six inch ones in the top picture are perfect for gift cards, and the bottom ones are great for jewelry or other little trinkets. I just think they make such a fresh change from your standard square box or gift bag. And if you add a little bow and tag you have a pretty fancy package!

Check out some other gorgeous interpretations I came across: