Showing posts with label Sewing. Show all posts

Thursday, October 6, 2016

Early Fall

Okay, a reasonable person might be expected to believe that I had dropped off the face of the earth. In reality, the settling in to the school year along with various other unexpected occurrences has hit us like a freight train and blogging has gotten pushed to the back burner. But I'm here now! So I hope you're ready for some pictures, because I've got a few to share.


This is a little half octagon table Nick and I refinished. Okay, it was way more him than me, but I helped a little. I am so terribly sad that I didn't get a picture before he started tearing it apart, but trust me, it was UH-GLEE. Think sea foam crackle paint all over, and the veneer on two of the doors was badly damaged. That's where he really impressed me - he smoothed it all out with Wood Bondo, and you can't even tell it's not original. The top was in good condition, so we just stripped, sanded, and stained it. We used a Rustoleum stain in Kona.


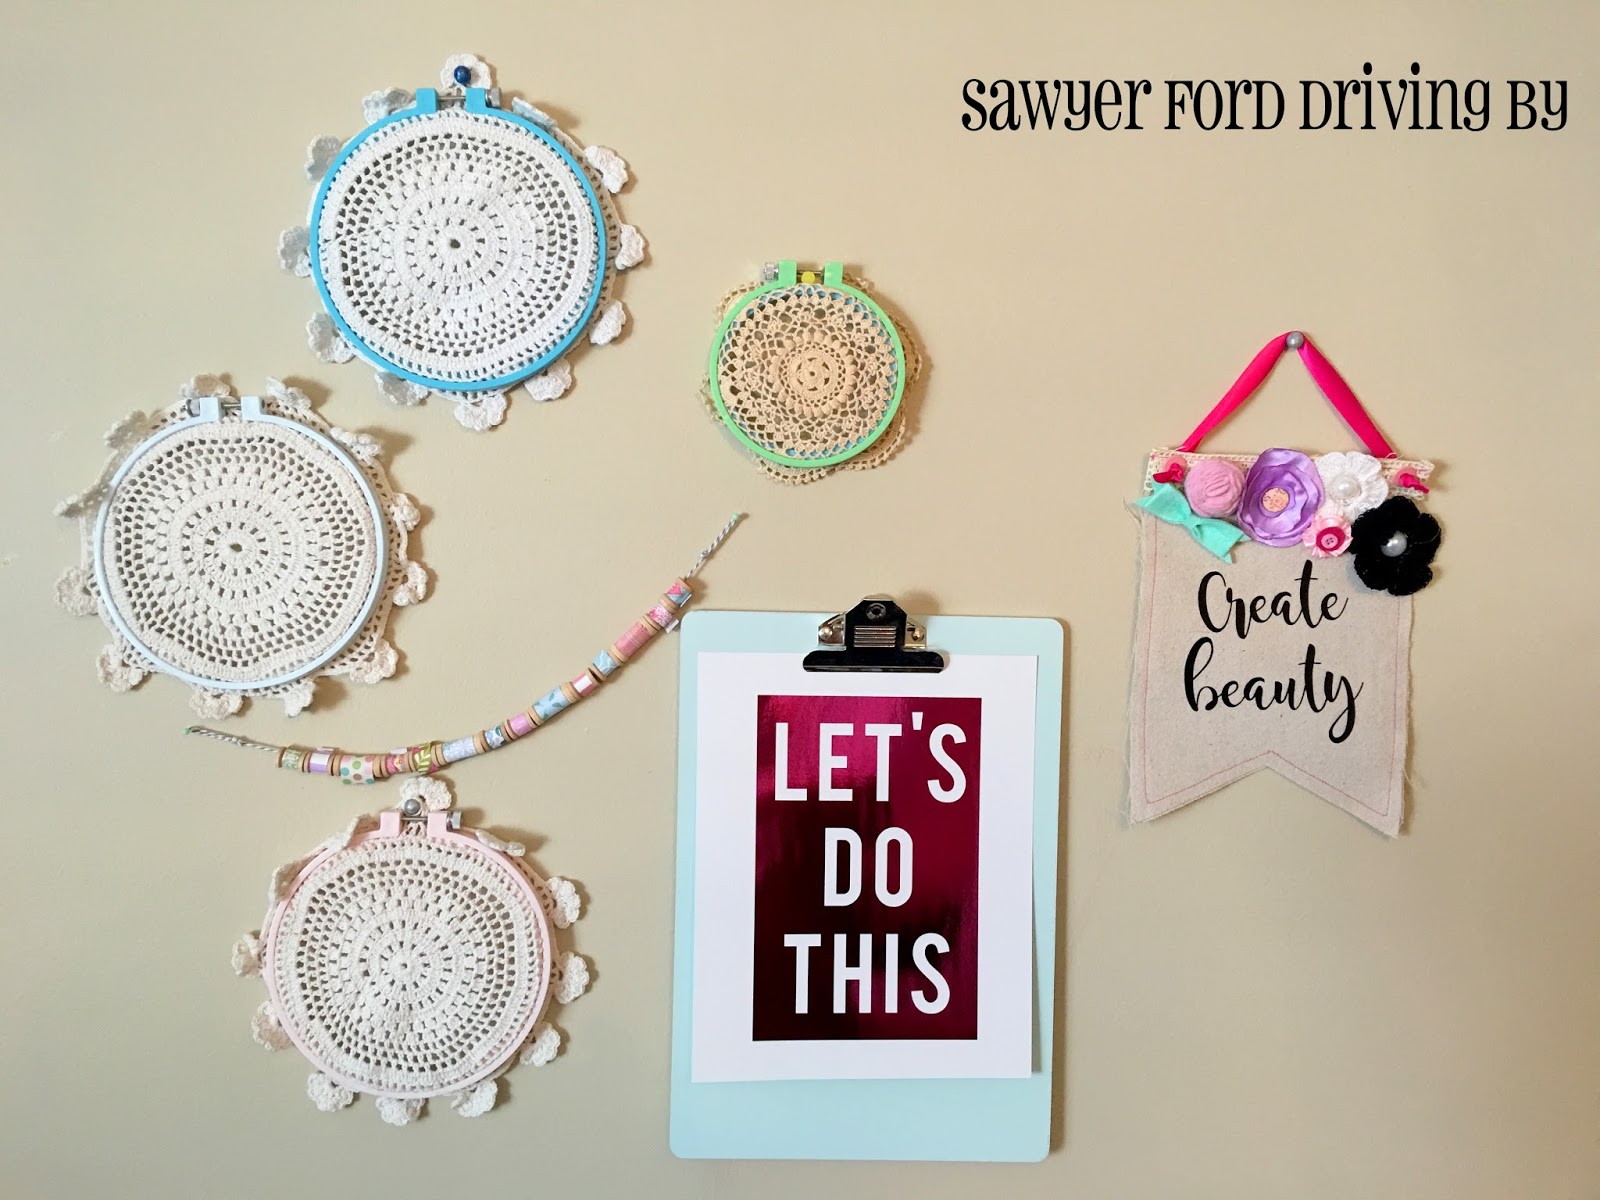
I shared this image over on Instagram. These lovely little banners were inspired by the one made by the adorable Bethany at Pitter & Glink. I made a cardstock template for my banners using my We R Memory Keepers Banner Punch Board, then cut two for each banner from dropcloth. I machine stitched them together with pink thread, then cut the words from htv using my Cameo. The font I used was Magnolia Sky, which is free for personal use. The flowers and bow are a variety of purchased and handmade pieces. I punched holes in the corners and added eyelets using my Crop-a-Dile Punch and Eyelet Setter, threaded in some random satin ribbon I had on hand, and knotted the ends on the front. On the back of each banner I hot glued a wooden skewer cut to size along the top to keep the banner hanging straight. The Create Beauty banner is hanging in my craft room (as pictured below), and the Be Kind is part of Lily's gallery wall.


So this happened in late August. Sawyer wasn't feeling well at all and we couldn't get a doctor's appointment, so I took him to the ER. By the time we got there he was having some breathing distress and they ended up keeping us for two days. We never did find out exactly what the problem was, but the best guess was that he had a virus combined with an allergic reaction to something that really hit him hard. Below is a picture of him hanging out with his buddy Chase, who brought him Play-Doh, cars, and snacks and spent some time looking suitably impressed with Sawyer's grand tour of his hospital room.


Nick works for Lexus and they sent him this amazing gift basket, which was such an awesome thing for them to do!


Nick's cousin got married last month, and we stayed at an amazing chalet near the wedding venue where they had this gorgeous handmade quilt on the bed. I'm in love!


We got to see Nick's sister Kristin and her family, which was awesome. They live in Texas, and it had been over a year since we'd seen most of them. It was so much fun to get the kids together with their cousins!


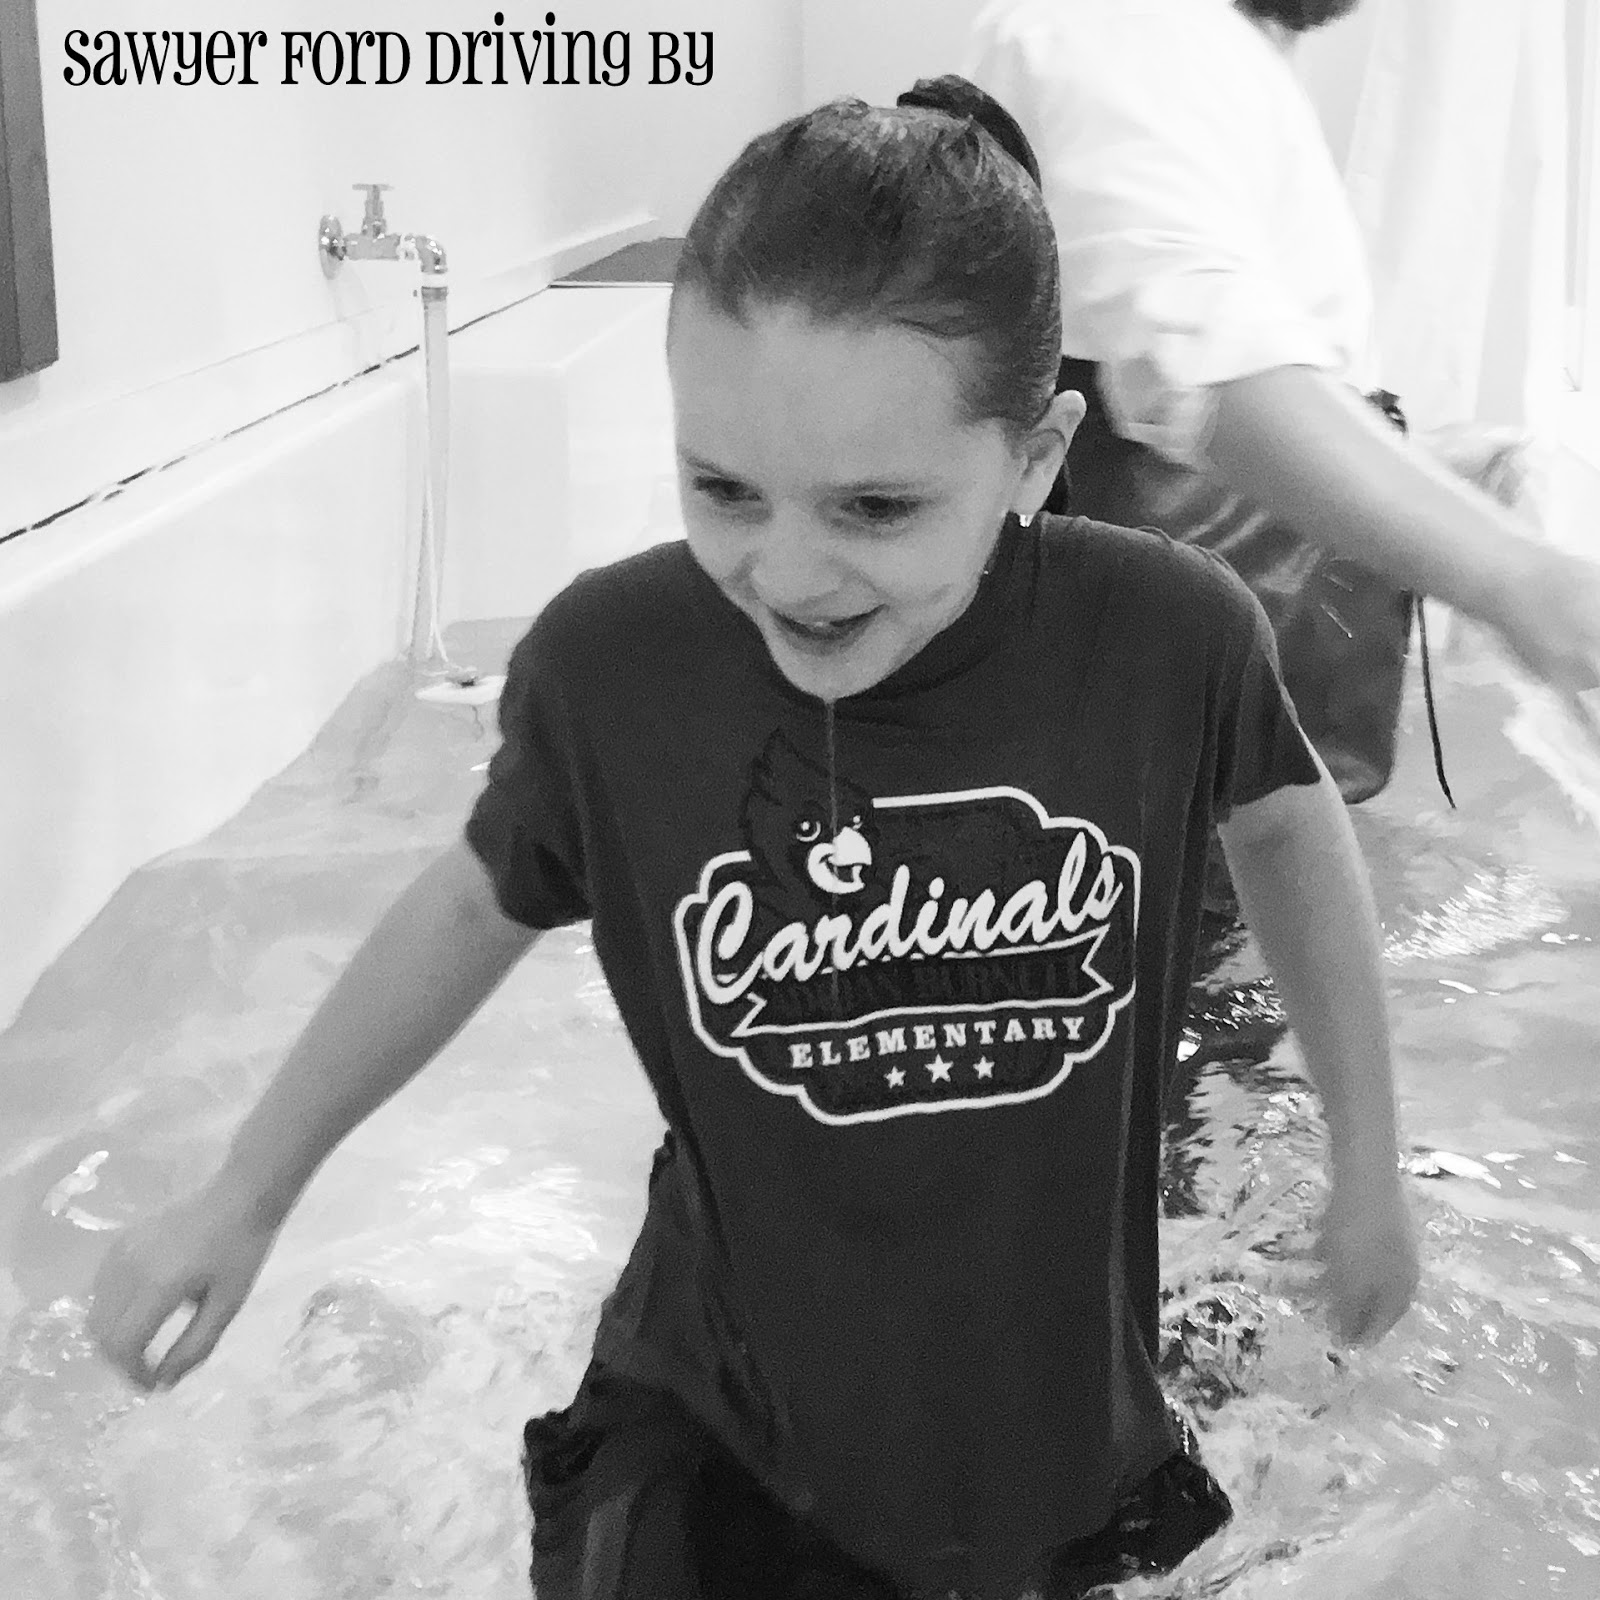
Our Lily girl got baptized a couple of weeks ago, and she couldn't have been more precious.


So those are a few of the things that have been keeping us busy lately. What have you been working on?

*There are no affiliate links in this post. I have not been compensated for using any product mentioned in this post. I just like to share what I have used in case you might want to use it too!

Friday, October 23, 2015

Poking my head up...

I've been trying to post for like a week now, but I'm sick, and it just seems like by the time I finish all the necessary tasks like feeding the kids and putting on pants, I have nothing left in me. It's nothing terribly serious, just a sore throat, but I'm on antibiotics now, so hopefully it's on its way out.

So here's what's happening. We have a contract on the house. Yay us! Actually, we had a contract before this one, but the buyer backed out because the inspection turned up some foundation damage. Boo! BUT, we are getting it fixed in 10 days, with a lifetime transferable warranty, so it shouldn't be an issue. Even with that, the first buyer didn't want to stay on board. Fortunately, he'd been in a bit of a bidding war with another buyer, and they were happy to take his place with the assurance that the foundation work is being done.

So now the race is on to find our next house. We found one that we really liked, but it sold the day before the contract went on ours. And we've since found one that we really love, but there are some issues with it that would have to be resolved for it to be an actual option for us. It's all very much up in the air from our viewpoint, but God has definitely been moving and providing, so we will see what happens.

So as far as crafting goes, there's been a little bit. Not much, but a little. And I don't have any tutorials for you right now, but here are a few things I've made.

Back in July a little girl at our church had a birthday, and I made her this fun candy colored paracord bracelet and earrings set. The bracelet actually ended up being a little small for her, so I made her a bigger one and she sent this one back to Lily.


My friend Melissa just had her gorgeous baby girl MacKenzie. Her nursery is done in gray and yellow with accents of teal in an elephant motif. So back in August for her baby shower I made her a few gifts. First was this paper banner with bows made using my Sizzix Bow Die.


I found this yellow and gray photo box at Hobby Lobby to put it in for gifting, and she can use the box in baby girl's room.


I made her a couple of curved burp cloths out of white terry cloth and this super soft cuddle minky.


And I also made her a faux chenille blanket. I'll be honest, I wasn't entirely happy with how the blanket turned out. The blue looked more teal in the store, and I should have used it as the one of the chenille layers and not the base fabric on the back. I should have sewn the lines half as far apart so the chenille strips would have been more even and stuck out less from the blanket. But it's still super cuddly, and she said she loves it.


My mother-in-law Brenda's birthday was also in August, and I made her this card.


It's very simple, but I like it. I'd really like to get into making cards on a more regular basis. I've got stamps, stamp pads, and embossing folders for days, but not much of a place to do it right now. And most of my stamps and ink pads are in storage right now anyway. When I get a craft room one of these days I plan on making up a bunch of different elements and having my girlfriends/sisters in law over for a card making party.

I also made Brenda this pretty patchwork zipper pouch.


The mint fabric was a duck cloth remnant from Hobby Lobby I think, and the coral polka dot fabric was from a pair of pants in the giveaway pile. I made my Mom a very similar one for her birthday in July.

Inside the pouch for Brenda I included this simple bead and chain set I made with these awesome metal filigree beads I got on clearance at Hobby Lobby.


We also had another Walridge Baptist Church Ladies Craft Meeting last month, but that one deserves a post of its own.

We could really use your prayers that God will show us to the house He has for us and that everything will go smoothly with the sale/closing on our own house. It looks like the timing may end up pretty tight on it - for us to close on the new home the same day as we close on the old home we will have to find the right house and have an offer accepted in the next week or so. Exciting times, people!

Saturday, January 24, 2015

Vintage Tart Tin Pincushions

Guys, we're getting ready to put our house on the market. This little home has been oh so good to us, but we're bursting at the seams, so we're working on saying goodbye. We've (well mostly I've, since Nick's been working) been packing up a good 45ish% of our stuff, and we've been stacking it all up in the garage in anticipation of renting a storage unit here in a few weeks. People, we've got boxes for days. And the number of boxes that are labeled Craft Room (faith, guys, it's called faith) is kind of embarrassing, in no small part because I've kept back the stuff I feel like I can't live without for potentially the next few months, and there's still enough stuff out there to build a pretty respectable igloo. You know, assuming igloos were made of boxes of fabric and happiness.

Once all this stuff is safely in storage, the carpet people are going to come and lay new carpet and we will be putting new flooring in the kitchen and bathrooms and basically making it seem like 13 years of kids and mechanic's boots never happened. And after the floors and the painting and the cleaning and the threatening the kids with doom if they spill anything, we plan on listing this bad boy and continuing to pray that God will send just the right family (come quickly, Lord).

In the meantime, my crafting is going to have to be, of necessity, a bit more streamlined. So while I still have my sewing machine and enough fabric to take care of any Etsy orders I may get, all my friends and family are forbidden to have any babies until I'm reunited with my box(es) of minky and flannel. And it may be a bit before I get to show you some of the cool crafting tools I got for Christmas.

But if (when please, Lord) I get my craft room, I'm going to not only have access to all my stuff, but I've got all kinds of decorating plans to share! For right now though, I wanted to show you the darling little pincushions I made for Christmas.


Any time I come across little vintage tin/aluminum tart/cupcake tins I snatch them right up. I've got several different styles collected, but these just begged me to turn them into pincushions.


This is another not-really-a-tutorial tutorials for you. It's really so simple that anyone at all can make them, but here are the steps.

  • Gather your glue gun (high temp is better, but be safe), tin, scrap of fabric, bit of Polyfil or other stuffing material, scissors, needle, thread, and something to trace a circle with. I used a salad plate that was about 7 1/4 inches in diameter. I would keep the circle between say 6.5 to 8 inches across.
  • Trace a circle right onto your fabric with ball point pen. It doesn't have to be flawless, but recognizably round is preferable.
  • Cut out the circle. It doesn't even matter if the pen marks show, because the edges of the circle will be hidden when the pincushion is done.
  • Thread your needle and run a loose basting stitch around the circle by hand.
  • Pull the ends of the thread to gather your circle into a pouch-like shape, with the wrong side of the fabric on the inside. 
  • Stuff your pouch with Polyfil/other filling material.
  • Pull the threads tight to close off the stuffed circle into a ball shape. It needs to be stuffed firmly, but not so full that you break your thread trying to close it up. I didn't do that or anything. Ahem.
  • Carefully squirt hot glue onto the underside of your ball (where the gather is) and quickly press it into your tart tin. Keep in mind that you're pressing hot glue onto a metal object that you're holding, so you may want to hold the tin with a towel/hot pad to keep from getting burned.
  • Now fill your new pincushion with pretty pins and admire! 
Aren't they lovely? I just love the pairing of the fresh new fabric with the worn patina of the metal! And aren't those gold pins fun? These were so quick and easy, and the ladies who got them all loved them!


Thursday, January 15, 2015

I-Spy Bags

Some of the simple gifts I made this year were I-Spy Bags for some of the littles in my family and church. A few years ago I made some of these for Lily and her cousins Mason and Max, and they were a huge hit among the recipients.


A few weeks ago I happened across one at the thrift store made of fleece. Rather badly made, actually. The window was reeeeeaaaallly crooked, and the seams were super wonky. Not judging - my first sewing efforts weren't any better, and it was functional at least. Functional, but not very pretty. But it was only a dollar, and I knew I could use the filling, so I snatched it up. The last ones I made were from corduroy, and I finished off all the seams and made them look really nice. But I really liked the idea of using a non-fraying fabric to make these a quick project, and I knew that they would look great in felt too.


I chose patterns that were a bit I-Spyish themselves, which stretches the entertainment value of these.


Since I did these as gifts rather than as an actual blog project, I didn't take step by step photos. So this isn't really a tutorial per se, but it's a very simple project. Here are the basic steps:

  • Cut two pieces of felt to the same dimensions. I just cut mine into squares the size of the width of the piece of felt, but you can really do any shape/size you want. 
  • Fold one piece in half and cut out the inside of the shape, leaving at least an inch border all around. This is your front piece.
  • Cut a piece of clear vinyl the same shape as your opening, but about an inch bigger on all sides. I got my vinyl at Walmart, but you can also reuse a piece from the sorts of bags that sheet sets come in. The thicker the vinyl the better, but really any thickness is fine just so long as it's actually vinyl/plastic and not say, a Ziploc bag. 
  • Sew the vinyl over the opening of the front piece with the vinyl against the wrong side of the felt. It's okay to pin the vinyl to the felt to keep it in place, but ONLY if you keep your pins at the edge of the vinyl. If you put pin holes in your window, you will be able to see them, and it could eventually cause a tear in the window. Plus if you're anything like me, it will bug you forever and you'll never be quite happy with the finished project. Ahem. 
  • If you don't want to risk getting the pin holes too close, you can hold the felt and vinyl together with wonder clips while you sew them. I actually just bought these (not an affiliate link) with an Amazon gift card I got for Christmas, and I love them! Way cheaper than Clover Wonder Clips, and they worked awesome holding slippery chiffon in place on some curtains I recently hemmed for a lady at church. 


  •  Also, vinyl tends to stick to your presser foot, so you can either switch to a Teflon foot or walking foot for this step, or you can stick a piece of scotch tape to the bottom of your presser foot to help it slide.
  • Clip the edges of your vinyl 1/4 inch from your seam.
  • Place your front and back pieces wrong sides together and sew with a 1/4 inch seam all the way around, leaving 2-3 inches open for filling.
  • Fill your bag about 2/3 full with the filling of your choice. I always use poly pellets just because they won't mold or decay if they happen to get wet. When I gave Max his, he was Sawyer's age, and he promptly chucked it into the lobster tank at Red Lobster. We pulled it out and rinsed it out very well, then laid it out to dry and it was good as new by the next day. But if you don't want to use poly pellets, you can use rice, beans, lentils, corn, or even pony beads. 
  • Add your treasures. These can be anything tiny like buttons, Barbie shoes, dollhouse miniatures, coins, mini seashells, toy soldiers, etc. I made one for Lily, and hers included mostly girly/princessy stuff, like Barbie high heels, tiny dishes, mini baby blocks, etc. I made one each for Sawyer, my nephews Lawrence and Levi, and my friend Melissa's little boy Jackson. Theirs had things like buttons, miniature animals, a tiny pirate sword, small wood cuts shaped like mustaches and cameras, toy coins, and skull beads to name a few. If you're making several, you might want to hit up the baby shower section at Dollar Tree or Hobby Lobby for cupcake toppers like mini teddy bears, baby figurines, and pacifiers. Or you can find an assortment of trinkets on Etsy. 
  • Sew your opening shut. Either go slowly to make sure your filling is not getting under your needle or move it all to the opposite side of the bag from the opening and pin the bag shut to keep it out of the way. All done!

Jackson was a fan of his. :)


These are a super quick sew, and they're great for keeping little ones quiet in church. 

Tuesday, December 2, 2014

Thanksgiving Outfits

Did you guys have a good Thanksgiving? Ours was wonderful! Phenomenal food, a truly wonderful time with the whole family together, and babies, babies, babies! This year the 5 and under set included Lily - 5, Sawyer - 2, Levi - 2, Lawrence - 1, and Adelaide - 6 1/2 months.

A few weeks ago my sis-in-law and fellow Pinterest addict Rachael and I were oohing and aahing over some cute little dresses online, and we decided that we should make matching Christmas dresses for Lily and Adelaide. Then we decided that we might as well go ahead and come up with something cute for them to wear for Thanksgiving. And if we were going to make the girls matching dresses, we couldn't leave their brothers out. So we decided to make Sawyer and Levi matching turkey shirts. And of course if we were going to make them for Sawyer and Levi, their cousin Lawrence was going to need one too. And if Sawyer, Levi, and Lawrence were going to be little gobblers, then we certainly had to make one for Jackson, their honorary cousin. You can see how my crafting gets out of control.

So anyway, Rachael, my sis-in-law Leah (Lawrence's mom) and I got together for a day of sewing, and we made dresses for the girls and shirts for the boys.

I made Sawyer a turkey onesie like this for his first Thanksgiving when he was not quite 11 months old. I've mentioned that he was a preemie, and while he's all caught up now, for a long time he was very small for his age. I just have to show you what a ridiculously cute, tiny little turkey he was in 2012. This was a 3 month onesie.


Gah! Why isn't he so tiny anymore?

Anyway, we decided to make peasant dresses for the girl with their initial appliqued on them. We followed this tutorial, and let me tell you: Mind. Blown. This was SO easy! I'm going to make tons of these! In fact, it's what we'll make for them to wear for Christmas too, and I already have the perfect corduroy pulled out to make one as a Christmas gift for Lily. And I plan on making a matching one for her doll. I also made one for my friend Amy's little girl's birthday, and I barely got it out the door without Lily claiming it, despite it being 3 sizes too small for her lol.

Please excuse the picture. I ran out of time to shoot it at home, so I snapped a quick pic of it laid out on the Jake and the Neverland Pirates coloring table at the party. :)

Here are Lily and Addie in their matching dresses and headbands.


It's hard to see the monograms here, but Lily's has an L and Addie's has an A in brown corduroy just above the hem on the right side.

And the turkeys...


Want to see the back? Here you go...


Which of course quickly turned into this:


Not to worry, soon they were best buddies again. :)


The shirts were just purchased black t-shirts with turkey faces and feathers hand cut from eco-felt and just sewn on with a straight stitch. We even freehanded the pieces. Easy peasy!