Showing posts with label kids crafts. Show all posts

Monday, August 8, 2016

Easy Cardboard Rocket Craft


This year's Vacation Bible School curriculum was called To The Edge, and it was space themed. My sister-in-law Rachael was in charge of the decorations, and people, it was out of this world! (Bahahahaha! Snort. Okay, just ignore me) Seriously though, she did an amazing job. Check out a few of the pictures (Excuse the quality of some of them. The lighting wasn't the best in some areas. I plan to post some of the pictures from the actual event on a later post.):

The black light hallway was a huge hit.


My mom and dad put these rockets together, and Rachael made that awesome astronaut herself!

The "computer screens" at the control panels even lit up!

This robot. How amazing is this? Of course I think the guy standing next to him is pretty amazing too. :)

I can't believe how detailed everything was. Have I mentioned that she's five months pregnant and has two kids under four? Yeah, serious supermom stuff.

Anyway, I was really surprised at the lack of VBS friendly space themed crafts out there on Pinterest. There were a lot of space themed projects, but very little that could be done with multiple kids in 20 minutes. So I wanted to share these awesome rockets we made!

This is a super quick and simple craft, even for a group, especially if you have your paper pre-cut. Materials needed are as follows:

5 inch cardstock circle
Toilet paper roll or other cardboard tube about 4 inches in height
Scrapbook paper or plain white copy paper 4x8 inches
3-4 wood half circles
Hot glue gun


At VBS we used plain white paper to wrap the rockets and let the kids color on them. You can absolutely use toilet paper rolls, but a friend at church brought me a massive bag of these heavy duty cardboard shipping tubes from his job. They were already 4 inches long, and they were perfect for this craft!

First run a line of hot glue down the side of your cardboard tube.


Glue down your paper on the short edge, wrap all the way around the rocket and glue down the other end.


Cut a slit halfway across your 5 inch circle and form into a cone shape.


Glue the cone closed.


 Run a thick line of hot glue around the rim of your tube and set the cone on top. Make sure to put it on straight, and make sure it touches the glue all the way around.


Glue on your wooden half circles as feet. (Or a stand maybe? thrusters? I don't know.) I found these in bags of 100 pieces at Hobby Lobby. However, they were in the clearance section for about $4, so I don't know if they stock them anymore,  but if you are making a bunch of these and can't find the half circles, you could buy wood circles to cut in half. If you are just making one or two, you could use any number of things in their place - paper straws, popsicle sticks, short lengths of dowel rod, etc.


The kids had a blast (hehe) with these, and they were appealing to a wide age group. At VBS I had the kids glue on the paper around the side and glue the cones closed with glue sticks for safety reasons. I and another worker glued the cones to the top and glued the feet on with hot glue. I made some extras for our nursery age kids who didn't get to participate in craft time, and they were a universal hit (ha! I can't stop!).


Saturday, August 6, 2016

Clay Typography Wall Art

It's honestly kind of rare for me to have a project turn out exactly how I envisioned it, but this one did just that. A few days ago the kids wanted to play with clay, so I got out my molds and Sculpey. I have a bunch of the Martha Stewart Clay Molds as well as a bunch of the Mod Molds. The great thing about all of these is that you can bake the clay right in them. I don't know if it's actually recommended, but I've done it many times and don't have any sort of damage to my molds. That said, the Sculpey I usually use bakes at 275° F, so I would be cautious baking the molds at any higher temperatures.

I've been making a lot of little wood burned pieces for Sawyer's and Lily's rooms, which I love, but I wanted something with a little more color. So I used various colors of Sculpey and my Mod Molds alphabet mold to make letters spelling out Sawyer the Brave and Lily the Lovely.


These were easy peasy, although they took a little over an hour to make because the mold has one of each letter and Lily had 4 L's on her piece and there were 5 E's between the two. Most of that time was bake time though. Actual working time was probably 10 minutes.

Materials needed(non affiliate links):

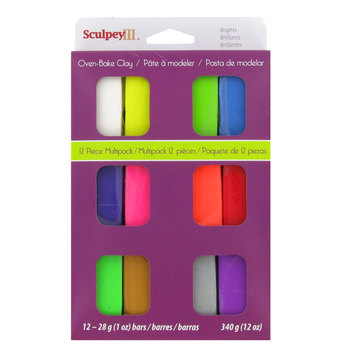
Sculpey oven bake clay in various colors (I think mine was Sculpey III)
Mod Molds Alphabet Mold
Unfinished 3.5 inch wood circle (Mine came in a 6 pack at Walmart for $1.47)
Hot glue gun


Knead your clay until soft, then fill mold letters needed for your message.

Bake according to package directions. Allow to cool enough to remove from molds.

When you have all your letters baked, lay out your message as you want it to be on the finished piece.

Pick up one letter at a time and glue in place with hot glue.

Clean up any glue strings and you're done!

These pieces are so fun! I had to make Lily and Sawyer both bring them back so I could get pictures of them, because they took off with them as soon as they saw them! And they are easy enough that they would make a great kid craft just so long as you help with the hot gluing.

You can add a picture hanger to the back if you want, but the wood is thin, so I've found that sticky back velcro dots are a better option. Most of the items on Sawyer's gallery wall are hung with these, including his big letters, and I've had no problem with anything falling off. Yes, I know the clay piece isn't up there yet. Baby steps, people.


If you make a Sculpey art piece like this I'd love to see it!

Thursday, January 15, 2015

I-Spy Bags

Some of the simple gifts I made this year were I-Spy Bags for some of the littles in my family and church. A few years ago I made some of these for Lily and her cousins Mason and Max, and they were a huge hit among the recipients.


A few weeks ago I happened across one at the thrift store made of fleece. Rather badly made, actually. The window was reeeeeaaaallly crooked, and the seams were super wonky. Not judging - my first sewing efforts weren't any better, and it was functional at least. Functional, but not very pretty. But it was only a dollar, and I knew I could use the filling, so I snatched it up. The last ones I made were from corduroy, and I finished off all the seams and made them look really nice. But I really liked the idea of using a non-fraying fabric to make these a quick project, and I knew that they would look great in felt too.


I chose patterns that were a bit I-Spyish themselves, which stretches the entertainment value of these.


Since I did these as gifts rather than as an actual blog project, I didn't take step by step photos. So this isn't really a tutorial per se, but it's a very simple project. Here are the basic steps:

  • Cut two pieces of felt to the same dimensions. I just cut mine into squares the size of the width of the piece of felt, but you can really do any shape/size you want. 
  • Fold one piece in half and cut out the inside of the shape, leaving at least an inch border all around. This is your front piece.
  • Cut a piece of clear vinyl the same shape as your opening, but about an inch bigger on all sides. I got my vinyl at Walmart, but you can also reuse a piece from the sorts of bags that sheet sets come in. The thicker the vinyl the better, but really any thickness is fine just so long as it's actually vinyl/plastic and not say, a Ziploc bag. 
  • Sew the vinyl over the opening of the front piece with the vinyl against the wrong side of the felt. It's okay to pin the vinyl to the felt to keep it in place, but ONLY if you keep your pins at the edge of the vinyl. If you put pin holes in your window, you will be able to see them, and it could eventually cause a tear in the window. Plus if you're anything like me, it will bug you forever and you'll never be quite happy with the finished project. Ahem. 
  • If you don't want to risk getting the pin holes too close, you can hold the felt and vinyl together with wonder clips while you sew them. I actually just bought these (not an affiliate link) with an Amazon gift card I got for Christmas, and I love them! Way cheaper than Clover Wonder Clips, and they worked awesome holding slippery chiffon in place on some curtains I recently hemmed for a lady at church. 


  •  Also, vinyl tends to stick to your presser foot, so you can either switch to a Teflon foot or walking foot for this step, or you can stick a piece of scotch tape to the bottom of your presser foot to help it slide.
  • Clip the edges of your vinyl 1/4 inch from your seam.
  • Place your front and back pieces wrong sides together and sew with a 1/4 inch seam all the way around, leaving 2-3 inches open for filling.
  • Fill your bag about 2/3 full with the filling of your choice. I always use poly pellets just because they won't mold or decay if they happen to get wet. When I gave Max his, he was Sawyer's age, and he promptly chucked it into the lobster tank at Red Lobster. We pulled it out and rinsed it out very well, then laid it out to dry and it was good as new by the next day. But if you don't want to use poly pellets, you can use rice, beans, lentils, corn, or even pony beads. 
  • Add your treasures. These can be anything tiny like buttons, Barbie shoes, dollhouse miniatures, coins, mini seashells, toy soldiers, etc. I made one for Lily, and hers included mostly girly/princessy stuff, like Barbie high heels, tiny dishes, mini baby blocks, etc. I made one each for Sawyer, my nephews Lawrence and Levi, and my friend Melissa's little boy Jackson. Theirs had things like buttons, miniature animals, a tiny pirate sword, small wood cuts shaped like mustaches and cameras, toy coins, and skull beads to name a few. If you're making several, you might want to hit up the baby shower section at Dollar Tree or Hobby Lobby for cupcake toppers like mini teddy bears, baby figurines, and pacifiers. Or you can find an assortment of trinkets on Etsy. 
  • Sew your opening shut. Either go slowly to make sure your filling is not getting under your needle or move it all to the opposite side of the bag from the opening and pin the bag shut to keep it out of the way. All done!

Jackson was a fan of his. :)


These are a super quick sew, and they're great for keeping little ones quiet in church. 

Tuesday, November 25, 2014

The Fault in Our Stars Earrings


Have you read The Fault in Our Stars? Have you seen the movie? I read the book on my Kindle, then took Taylor to see the movie this past summer. And yes, we totally cried. Not quite like the lady behind us though. She was hardcore loud ugly-sobbing through pretty much the whole movie. I kind of felt like I should get her a Gatorade when it was over. Whoever you are, lady, I hope you eventually recovered. You know, fiction and all. But anyway.

One of the most beloved parts of both book and movie is the gentle banter between Gus and Hazel where they have a hard time hanging up the phone and keep stretching out the conversation with "Okay?" "Okay." "Okay?" "Okay."....and it becomes their thing. Their always.


I've seen all kinds of memes and pictures all over the internet honoring that little word, not to mention tons of accessories, many of them DIY. So I thought I would try my hand at a project of my own. I asked Taylor to give me a hand, and together we made up three styles of TFiOS themed earrings.


For this easy project I pulled out one of my favorite crafting materials: Shrinky Dinks. I used a sheet of the frosted and a sheet of the opaque white. Before you get started on cutting out your clouds, turn your oven on to 325° to preheat. Now, to cut out the clouds I used a Fiskars X-Large Cloud Squeeze Punch. You can totally cut these out by hand if you don't have a cloud punch. In fact, my first version of this was a set of best friends backpack tags I cut out by hand for Taylor and her bestie, and they disappeared immediately. But they were about 3 times the size of the earrings, and my cutting skills on anything small are highly suspect.


I'm going to show you the steps to make all three pairs of earrings at once. Of course if you just want to make one pair, just follow the directions for the pair you want. The first pair will require one cloud punched from each sheet, and the second and third pairs will each require two clouds cut from each sheet. So to make all three pairs, cut 5 clouds from the opaque white and 5 clouds from the frosted. A quick note: I made all my earrings with the white cloud on top and the black cloud on the bottom. Apparently this is backwards. But this is my blog, so nyah, nyah, nyah, nyah, nyah! If you want to make them the "right" way, just switch all the black and white clouds in the instructions. No biggie.


Imagine you see 5 frosted clouds here too. You'll see them in a minute.

Take your 5 frosted clouds (see?) and color them completely with black Sharpie. Color on the rough side. Taylor helped me with this.


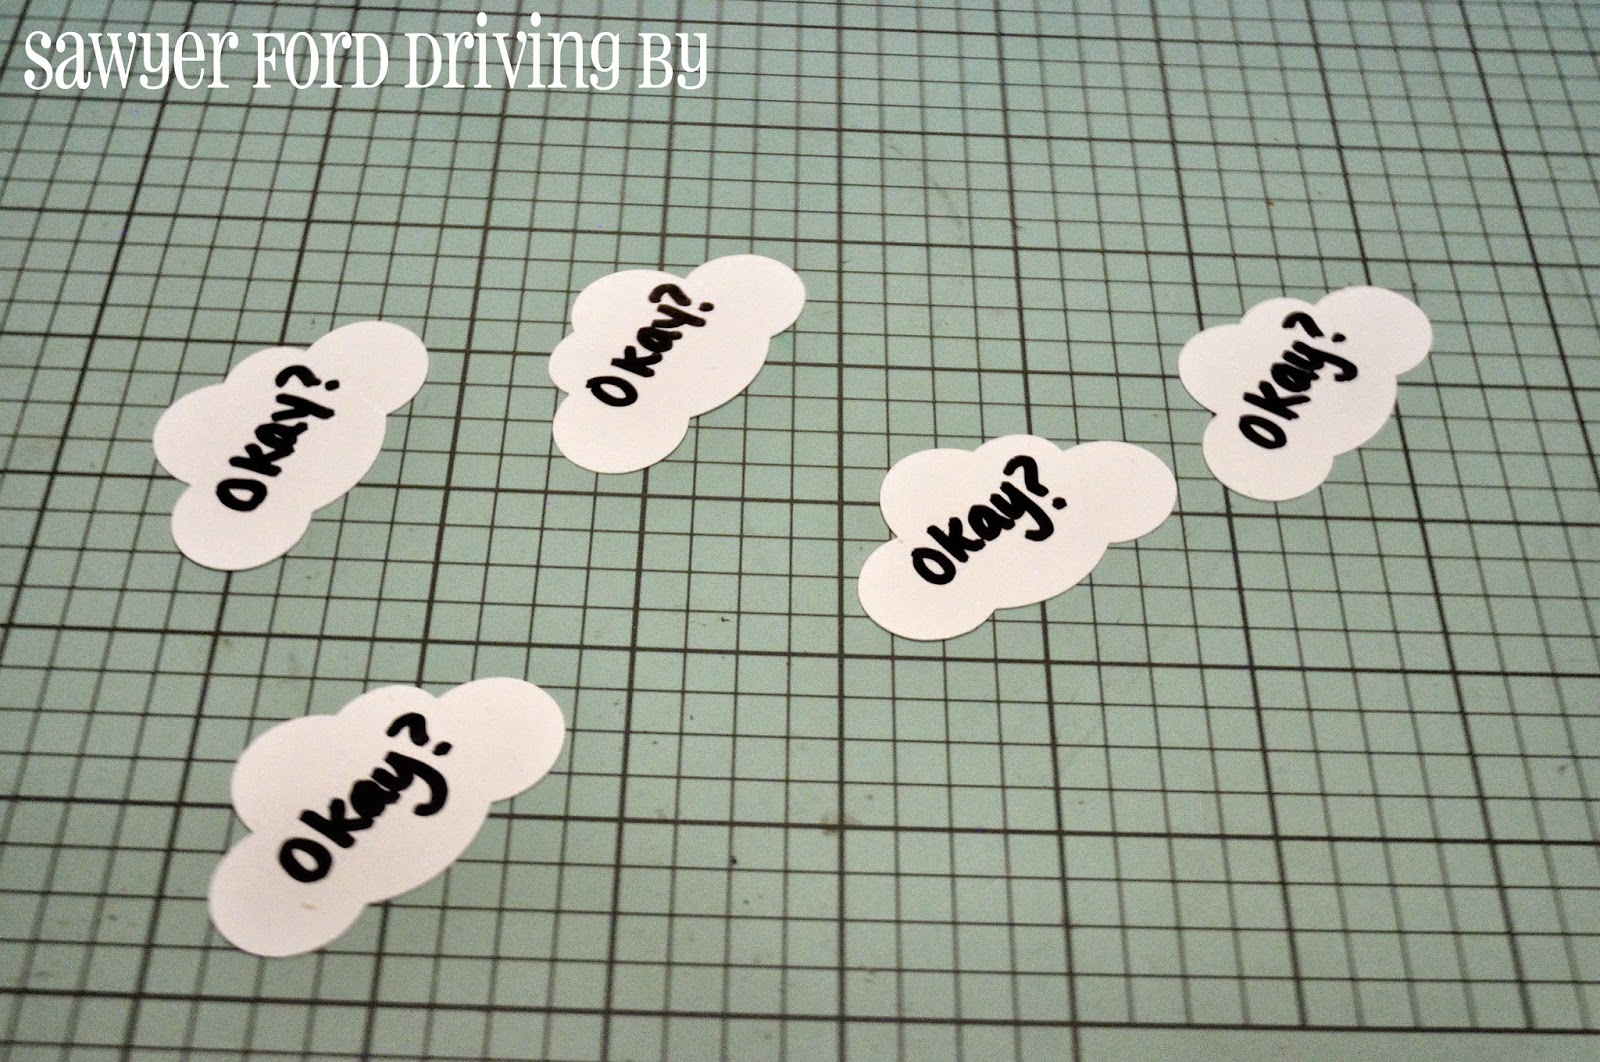
Let these dry for a minute, and in the meantime take your 5 white clouds and use your black Sharpie to write {Okay?} on each one. Write it as neatly as you can, but you're going for a handwritten look here.


Now take your black clouds and, using a silver Sharpie, write {Okay.} on each of them. You can write on either side. I chose to write on the rough side, because sometimes the shiny side tends to show a little scuffed after baking.

Now we're going to punch the holes for our jump rings. When you bake Shrinky Dinks, any holes shrink right along with the rest of it. For the tiny jump rings I'm using, a 1/8 inch punch makes a hole that shrinks to just the right size, but if you only have bigger jump rings, you might want to use a 1/4 inch hole punch. These are the holes you will punch for each pair. You can click on the picture to make it bigger if you have a hard time reading it.


Once you have your holes punched, place your clouds writing side up on a piece of paper on a cookie sheet. I usually use a lunch sized paper bag.


Slide them in the oven to bake, checking them after about 90 seconds. At that point mine were still curled up a bit, but a few seconds later they were all lying flat, which is how you know they're done.


When I take Shrinky Dinks out of the oven, I press them quickly with an acrylic stamp block, just to make sure they're all nice and flat.


See how much smaller they are? 


Now we're going to attach our findings. Here are the findings you'll need for each pair. Again, click the picture to make it bigger if you need to.


For the first pair, just glue your earring posts right to the back. You will be using one white cloud and one black cloud, both hole-free. I actually just used high temp hot glue for these, and they've held up fine. Taylor has worn them several times and they're still holding fast. But you can absolutely use something like E6000 if you prefer. Just make sure you let them sit for the instructed amount of time before wearing.


Add your earring backs and you're done!


For the next pair, you're going to use a jump ring to attach a black cloud with a hole punched in the top to a white cloud with a hole punched in the bottom. Repeat for the other earring. 


Now glue your posts to the backs of the two white clouds and add your earring backs.  Done!


For the last pair, attach your black and white clouds together like you did on the last pair, then carefully open the loop at the bottom of your earring hook with a pair of round nose pliers. 


Loop it  through the hole at the top of the white cloud, making sure to put it on so that the clouds will face front when you wear them. Carefully squeeze the loop closed with flat or needle nosed pliers, being careful not to crush it. Repeat for the other earring and attach the backs. All done! Now you'll be the envy of your book club!


I had so much fun making these that I whipped up another couple of pairs using different punches I had. These were made with a Fiskars Large Cupcake Squeeze Punch. Aren't they fun?


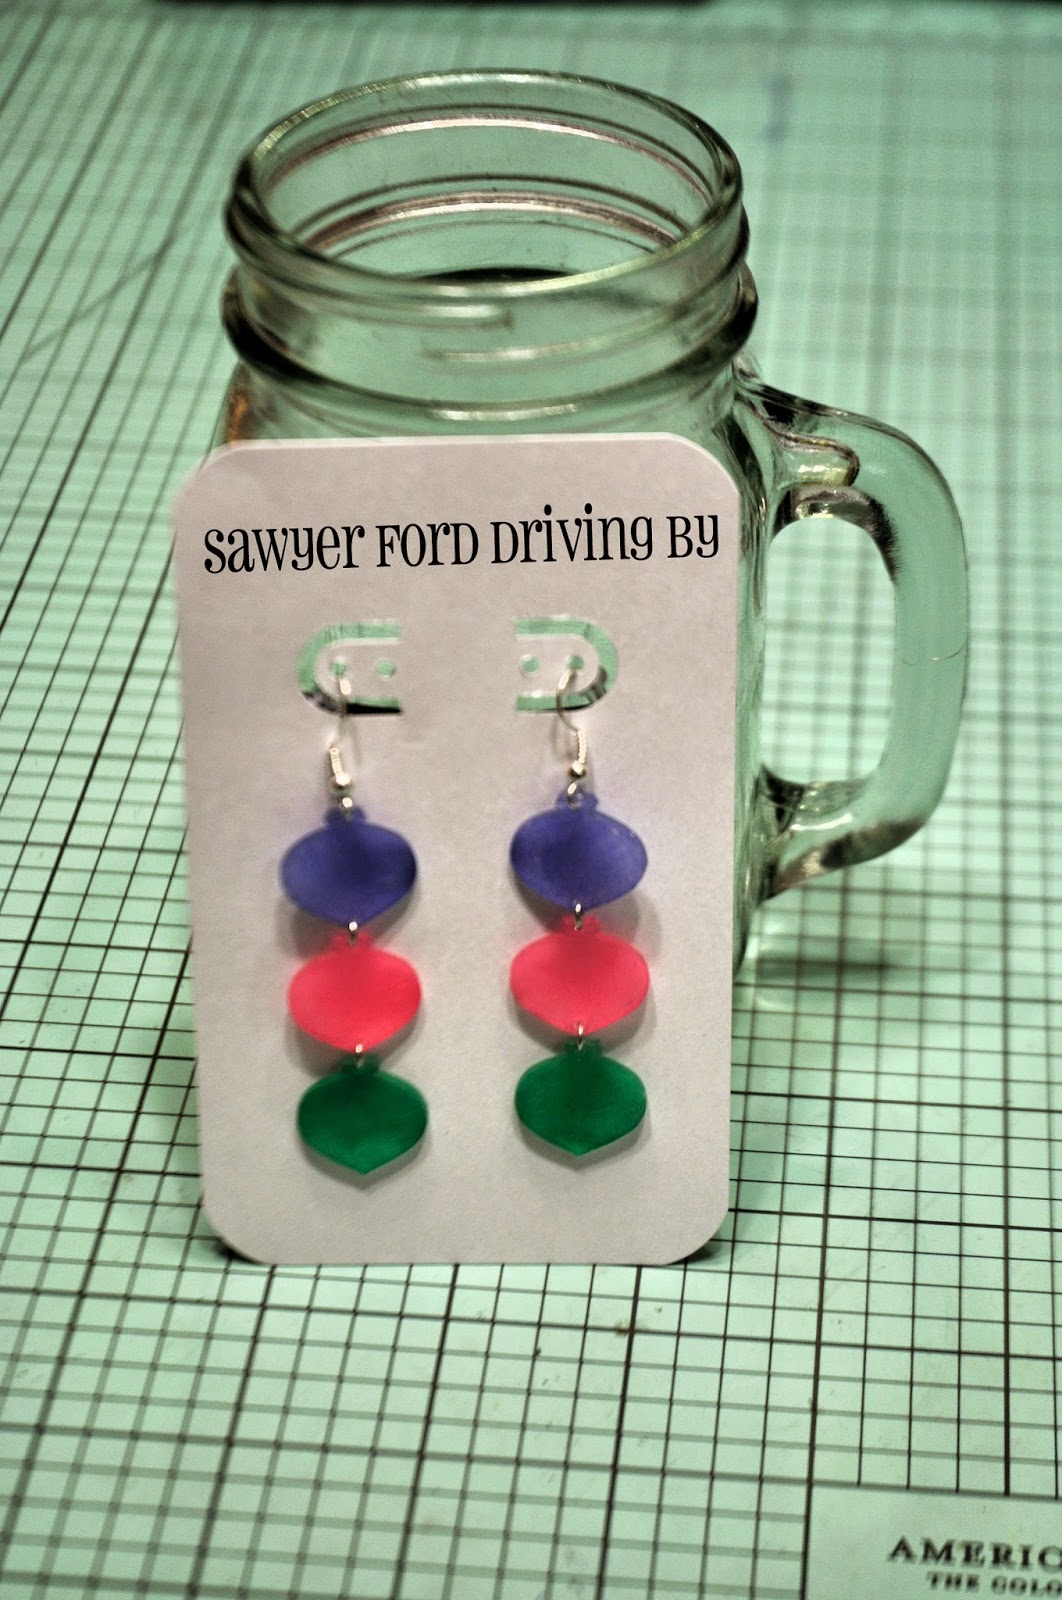
And the other day I found this retired Stampin' Up ornament punch for $2.99 at the thrift store they just opened up practically walking distance from my house! Score! (On both the punch and the new thrift store!) It turns out there are entire Pinterest boards dedicated to all the things you can do with this punch. Seriously. I'm so excited! I punched 6 ornaments from frosted Shrinky Dinks and colored them with pastel Sharpies. They turned out with this cool stained glass effect, and I love them!


I may end up going over the edges with a silver paint pen as well. I haven't decided yet. I love how many options there are with this craft! Shrinky Dinks are always a winner around here!