Showing posts with label felt. Show all posts

Thursday, January 15, 2015

I-Spy Bags

Some of the simple gifts I made this year were I-Spy Bags for some of the littles in my family and church. A few years ago I made some of these for Lily and her cousins Mason and Max, and they were a huge hit among the recipients.


A few weeks ago I happened across one at the thrift store made of fleece. Rather badly made, actually. The window was reeeeeaaaallly crooked, and the seams were super wonky. Not judging - my first sewing efforts weren't any better, and it was functional at least. Functional, but not very pretty. But it was only a dollar, and I knew I could use the filling, so I snatched it up. The last ones I made were from corduroy, and I finished off all the seams and made them look really nice. But I really liked the idea of using a non-fraying fabric to make these a quick project, and I knew that they would look great in felt too.


I chose patterns that were a bit I-Spyish themselves, which stretches the entertainment value of these.


Since I did these as gifts rather than as an actual blog project, I didn't take step by step photos. So this isn't really a tutorial per se, but it's a very simple project. Here are the basic steps:

  • Cut two pieces of felt to the same dimensions. I just cut mine into squares the size of the width of the piece of felt, but you can really do any shape/size you want. 
  • Fold one piece in half and cut out the inside of the shape, leaving at least an inch border all around. This is your front piece.
  • Cut a piece of clear vinyl the same shape as your opening, but about an inch bigger on all sides. I got my vinyl at Walmart, but you can also reuse a piece from the sorts of bags that sheet sets come in. The thicker the vinyl the better, but really any thickness is fine just so long as it's actually vinyl/plastic and not say, a Ziploc bag. 
  • Sew the vinyl over the opening of the front piece with the vinyl against the wrong side of the felt. It's okay to pin the vinyl to the felt to keep it in place, but ONLY if you keep your pins at the edge of the vinyl. If you put pin holes in your window, you will be able to see them, and it could eventually cause a tear in the window. Plus if you're anything like me, it will bug you forever and you'll never be quite happy with the finished project. Ahem. 
  • If you don't want to risk getting the pin holes too close, you can hold the felt and vinyl together with wonder clips while you sew them. I actually just bought these (not an affiliate link) with an Amazon gift card I got for Christmas, and I love them! Way cheaper than Clover Wonder Clips, and they worked awesome holding slippery chiffon in place on some curtains I recently hemmed for a lady at church. 


  •  Also, vinyl tends to stick to your presser foot, so you can either switch to a Teflon foot or walking foot for this step, or you can stick a piece of scotch tape to the bottom of your presser foot to help it slide.
  • Clip the edges of your vinyl 1/4 inch from your seam.
  • Place your front and back pieces wrong sides together and sew with a 1/4 inch seam all the way around, leaving 2-3 inches open for filling.
  • Fill your bag about 2/3 full with the filling of your choice. I always use poly pellets just because they won't mold or decay if they happen to get wet. When I gave Max his, he was Sawyer's age, and he promptly chucked it into the lobster tank at Red Lobster. We pulled it out and rinsed it out very well, then laid it out to dry and it was good as new by the next day. But if you don't want to use poly pellets, you can use rice, beans, lentils, corn, or even pony beads. 
  • Add your treasures. These can be anything tiny like buttons, Barbie shoes, dollhouse miniatures, coins, mini seashells, toy soldiers, etc. I made one for Lily, and hers included mostly girly/princessy stuff, like Barbie high heels, tiny dishes, mini baby blocks, etc. I made one each for Sawyer, my nephews Lawrence and Levi, and my friend Melissa's little boy Jackson. Theirs had things like buttons, miniature animals, a tiny pirate sword, small wood cuts shaped like mustaches and cameras, toy coins, and skull beads to name a few. If you're making several, you might want to hit up the baby shower section at Dollar Tree or Hobby Lobby for cupcake toppers like mini teddy bears, baby figurines, and pacifiers. Or you can find an assortment of trinkets on Etsy. 
  • Sew your opening shut. Either go slowly to make sure your filling is not getting under your needle or move it all to the opposite side of the bag from the opening and pin the bag shut to keep it out of the way. All done!

Jackson was a fan of his. :)


These are a super quick sew, and they're great for keeping little ones quiet in church. 

Tuesday, December 2, 2014

Thanksgiving Outfits

Did you guys have a good Thanksgiving? Ours was wonderful! Phenomenal food, a truly wonderful time with the whole family together, and babies, babies, babies! This year the 5 and under set included Lily - 5, Sawyer - 2, Levi - 2, Lawrence - 1, and Adelaide - 6 1/2 months.

A few weeks ago my sis-in-law and fellow Pinterest addict Rachael and I were oohing and aahing over some cute little dresses online, and we decided that we should make matching Christmas dresses for Lily and Adelaide. Then we decided that we might as well go ahead and come up with something cute for them to wear for Thanksgiving. And if we were going to make the girls matching dresses, we couldn't leave their brothers out. So we decided to make Sawyer and Levi matching turkey shirts. And of course if we were going to make them for Sawyer and Levi, their cousin Lawrence was going to need one too. And if Sawyer, Levi, and Lawrence were going to be little gobblers, then we certainly had to make one for Jackson, their honorary cousin. You can see how my crafting gets out of control.

So anyway, Rachael, my sis-in-law Leah (Lawrence's mom) and I got together for a day of sewing, and we made dresses for the girls and shirts for the boys.

I made Sawyer a turkey onesie like this for his first Thanksgiving when he was not quite 11 months old. I've mentioned that he was a preemie, and while he's all caught up now, for a long time he was very small for his age. I just have to show you what a ridiculously cute, tiny little turkey he was in 2012. This was a 3 month onesie.


Gah! Why isn't he so tiny anymore?

Anyway, we decided to make peasant dresses for the girl with their initial appliqued on them. We followed this tutorial, and let me tell you: Mind. Blown. This was SO easy! I'm going to make tons of these! In fact, it's what we'll make for them to wear for Christmas too, and I already have the perfect corduroy pulled out to make one as a Christmas gift for Lily. And I plan on making a matching one for her doll. I also made one for my friend Amy's little girl's birthday, and I barely got it out the door without Lily claiming it, despite it being 3 sizes too small for her lol.

Please excuse the picture. I ran out of time to shoot it at home, so I snapped a quick pic of it laid out on the Jake and the Neverland Pirates coloring table at the party. :)

Here are Lily and Addie in their matching dresses and headbands.


It's hard to see the monograms here, but Lily's has an L and Addie's has an A in brown corduroy just above the hem on the right side.

And the turkeys...


Want to see the back? Here you go...


Which of course quickly turned into this:


Not to worry, soon they were best buddies again. :)


The shirts were just purchased black t-shirts with turkey faces and feathers hand cut from eco-felt and just sewn on with a straight stitch. We even freehanded the pieces. Easy peasy!

Sunday, November 2, 2014

Thanksgiving Headband

Happy November! Can you even believe it's almost Thanksgiving already? And that means it's just a hop, skip, and a jump to......Christmas. I don't want to talk about it. I could not be more unprepared.

What I do have prepared though is a tutorial for a very cute headband for the toddler or baby girl in your life!


This one went to my gorgeous niece Adelaide, but I will probably make another one for Lily so they can match.

To make this easy headband, first you will need a leaf/petal shape in 3 graduating sizes cut from cardstock. I just free-handed a design for the first one, cut it out, then cut around it a bit bigger to get the middle size one, then cut around that one to get the biggest. Trust me, I am not what you would call skilled at drawing or cutting things out, so if I can do this, so can you. My smallest shape was about 1.5 inches high, and they went up from there.


Now you want to choose three colors of felt. For the turkey of course I went with yellow orange and brown, but this basic construction can be made with lots of different themes.


Decide what order you want your colors to be layered, and cut nine petals of the largest size from the back color, 9 of the medium size from the middle color, and 9 of the small size from the top color.


Stack them like this, gluing them together with hot glue. Repeat with the rest of the petals until you have 9 petal stacks.


Next, run a short line of glue down from the middle of the bottom part of the smallest petal to the bottom edge of the biggest petal like this.


Then pinch the bottom of the petal stack together and hold for a few seconds till the glue sets. Repeat for the other 9 petal stacks.


You will also need a scrap piece of felt cut 1 x 3 inches.


Now, run a line of glue on the lower half of the side of one of the petal stacks and glue another petal stack right beside it. 


Glue another one to the side of that one, so that you have three petal stacks glued side by side at the base. Repeat that with the rest of the petal stacks so that you have three sets of three side by side petals. Glue them to the scrap of felt, starting at the top and moving down, overlapping each one just a little and leaving a little bit of room at the bottom for the turkey.


Now for the actual turkey I used one of these fun little felt stickers that got in a 7 pack at Michael's for $1.00.


Just glue it right to the bottom of the felt strip, overlapping the bottom layer of petals. I didn't remove the white paper from the back of the turkey, because I didn't want the adhesive exposed since it is not laying against a flat surface.


Look how cute already! Wouldn't it also make a great embellishment for a gift bag or even a little Thanksgiving shirt?

Now cut a length of elastic appropriate to the size headband you want to make. This was a fold over elastic hair tie I got in a six pack at the Dollar Tree and just untied, thus the wrinkled end. Glue the elastic into a circle, overlapping the ends.


Glue your turkey embellishment to the headband and you're all done!


Thursday, October 16, 2014

Lily's 5th Birthday Party

On the 11th we had a birthday party for Lily at the Life Center at our church. We've always had small family celebrations for her, but this was her very first friend party, and it went so well!

We went with an Adopt-A-Baby theme, and it was easy breezy to put together. Now here's the part where I realize that I am ridiculous and forgot to get a picture of the the baby table before all the adoptive mothers descended on it. These two are the sum total of the pictures I got before the babies were all passed out.


But here's what they all got: a baby, two felt diapers, a blanket, a diaper bag, a gown, a felt bib, a baby bracelet, a pacifier, a baby headband, and a baby bottle.


The babies were collected over the last few months from various thrift stores and lovingly (and thoroughly) cleaned. What I loved about this (beyond the cost effectiveness) was that each baby was unique. Because there was a range of sizes, I made the diapers specifically for each baby. I just free-handed a couple of sizes based on baby diapers we already had, and made each baby one solid color diaper and one print diaper. They closed with Babyville plastic snaps.

I bought a pattern for the gowns (Simplicity 1937), and my mom sewed up the gowns using vintage fabric. The pattern was for a 15 inch doll, so for the smaller dolls I just flipped the gowns inside out and moved in the seam allowance. I added Babyville snaps to each gown to close it up the front.


The bibs were just cut from a couple of free-handed paper patterns and also closed with a Babyville snap.

I got the pretty ruffled elastic for the headbands from Tuesday Morning, and each headband had a different embellishment, some handmade, some purchased, all of them from my stash. I also made my sweet niece Adelaide one to match. :)

My mom made the blankets from fleece and flannel, and she found the diaper bags at the Dollar Tree. The bracelets were leftover cupcake embellishments from a baby shower, and the bottles and pacifiers came from the Dollar Tree as well.

There were a few boys there too, and they got to choose from an assortment of stuffed animals since baby dolls weren't really their bag. :) The boys who were big enough got to make Shrinky Dink name tags for their chosen animals while the girls played with dolls, and we tied them on with leather cord.


Since a lot of the accessories were crafted from materials already on hand, I think our total outlay for eight babies and accessories was about $30, or less than $4/each for what was a stunningly successful party favor. I saw a number of the adopted babies make an appearance at church the next day. :)

The animals cost even less, since I averaged about 50¢ each for those, and the Shrinky Dinks and leather were things I had in my stash.

There were no formal games at the party. What I did instead was cart in all our big baby doll items, including 3 beds, 2 bath tubs, a baby changing station, 2 cradles, a high chair, a bouncy seat, and numerous baby accessories. My mom also brought in two dollar store doctor kits and a box of princess Band-Aids, the latter of which lasted about 17 seconds lol.


Levi wasn't interested in babies, but he did think he might like a nap!

My mom graciously did the decorating and the food, and I couldn't have made the party happen without her! She made some delicious pudding filled lemon cupcakes, and supplemented them with store-bought Sofia the First cupcakes and a small sheet cake to hold the all important Number Five Birthday Candle. She also made up some fun butterfly snack bags that had a different type of cereal in each wing, and little daffodil accented containers filled with fruit snacks. For drinks there were various fruit drinks with twist off tops, and pineapple-orange cream punch - yum!


Lily was so blessed with all the gifts she received, and she was thrilled with them all! I loved watching her enthusiasm, whether she was opening a giant Frozen themed pen from the Target $1 Spot from her dad and I or an awesome Queen Elsa doll from my cousin Maggie, who always spoils me and mine rotten. :)


She had plenty of helping hands to assist in opening the gifts lol.


Aunt Rachael made her this gorgeous lace crown, and one other, along with a beautiful lace trimmed pink gown. I got pictures of her opening the other gifts, but things were moving so fast that I'm afraid they were a bit blurry.

This party was so much fun, and it thrilled my heart to get to see how engrossed all the kids were in playing! A huge thank you to everyone who came and played along!

Monday, July 14, 2014

Sizzix Gift Bow Bigz L Die by Stampin' Up

First of all, this is not a sponsored post. I purchased this die, and I just wanted to share how much I love it.

Back when I made the leather hair bows for Taylor's 13th birthday party, I cut them all by hand. And it wasn't hard, just time consuming. And there were some slight variations in each bow because scissors + my cutting by hand skills. At the time I looked for a Sizzix die to use, because I love my Sizzix Big Kick like a small child, but I couldn't find one that I liked and that would cut leather.

Then my friend Shawna started selling Stampin' Up products, and they had the perfect die! This is a Stampin' Up exclusive, so you can only get it through a demonstrator. And I don't get anything for referring you, but if you're looking for a demonstrator, I would highly recommend Shawna. She's kind of awesome. :) You can shop with her here.

You'll have to excuse these pictures because some of them were quick cellphone shots before heading out the door with a birthday gift. I have found that if you fold a standard piece of craft felt in half it will fit over the die perfectly and make exactly enough pieces for one regular bow and one double bow. I actually cut out a longer center strip from the felt remnant for the double bow just because the strip cut by the die is not long enough to wrap around all the layers. Of course if you are working with paper or cardstock it will be plenty long enough.


These were for the daughter of one of Nick's friends.


The other little flowers and bows were pre-made embellishments I got on clearance at Michael's and stuck on lined clips. Easy peasy!


These are so fun!


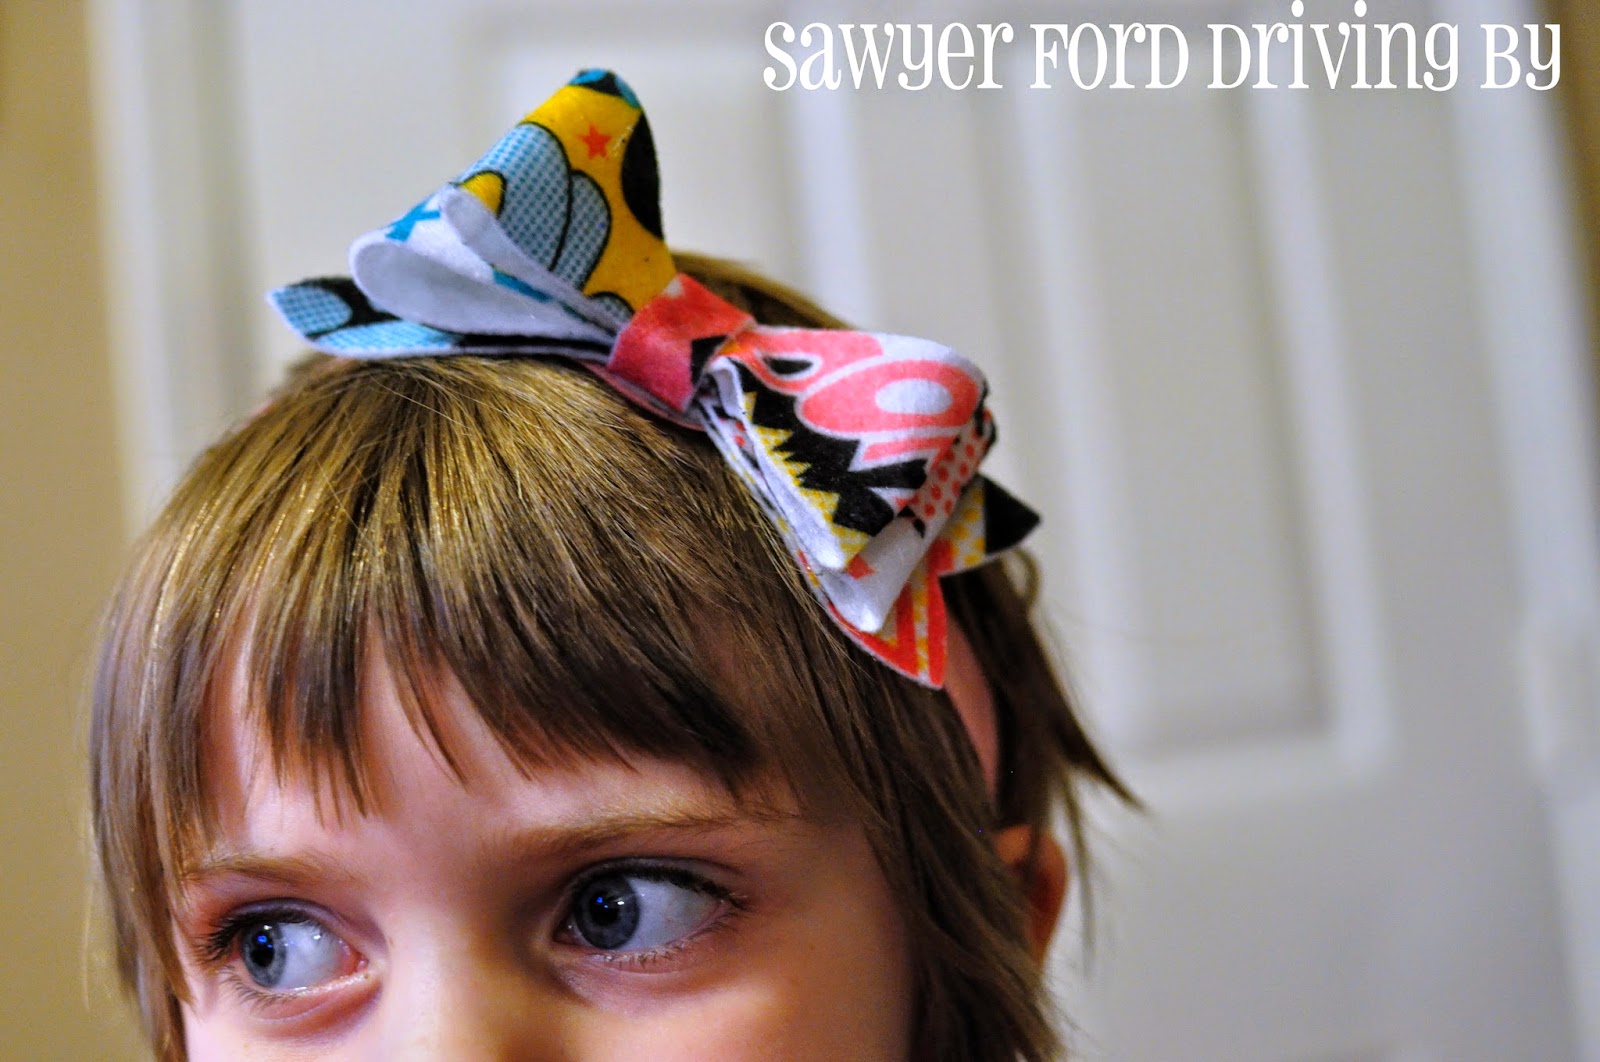
I added this one to a headband for my precious new niece Adelaide. Since I have no tiny baby girls in my house anymore, my lampshade got to be my model. Um, I need to dust.


This one is for my friend Amy's little girl Abi. 


I recently got to pass down to her a little pillowcase dress I made for Lily when she was itty bitty, and this bow matches it. Gratuitous (old) pictures of baby Lily that sort of show off the dress:


I'm dying a little from the cuteness. Those eyes! And those cheeks! Nom, nom, nom...

This one I added to a headband for big, grown up, already has a second loose tooth (sob!) Lily.


Oh my goodness, those giant Disney princess eyes...

You can of course use this die for paper gift bows too. I also made one from some yummy green leather, but Taylor confiscated it before I could snap a pic. :) I can see a lot more of these in my future!