Showing posts with label snaps. Show all posts
Friday, January 16, 2015

Leather Cord Keepers

I love giving handmade gifts. And I've got oh, 47,000 ideas pinned and planned for gifts for the moms, daughters, sisters, and girlfriends in my life. But it's become pretty dang hard to come up with handmade gifts for the guys in my life. That's why I was so excited to come up with the idea for these handsome and useful cord keepers!


Nick listens to audio books all the time, and he spends all day with a set of headphones in his ears. But when he does take them off, they tend to get tangled up or caught on one thing or another, so this was the perfect gift for him. I also wanted something to round out the gift we sent my brother-in-law Scott, who does a lot of traveling, and I though these would work well for corralling various phone and Ipad chargers. These are the ones I sent him.


These are crazy simple to make, and you just need a scrap of leather, a ball hitch fastener (or a snap), and a 1/8 and 1/4 hole punch (or a snap setter).

I've had this gorgeous, worn leather for ages, and I loved it, but it was too small for most projects. So I was thrilled to be able to turn it into something both lovely and functional.


First cut your leather to 1 by 4 inches. You can round your corners if you like. Then add your fastener. If you use a ball hitch fastener, you can find instructions on my Embossed Leather Cuff tutorial here. If you use a snap, follow the instructions on your snap package.


And you're done! Easiest tutorial ever! I love them, and I hope the guys loved them too. I have a shameful assortment of leather remnants, and I can't wait to make up some more. I think I will be adding a few to my shop as soon as I have the chance.

Thursday, October 16, 2014

Lily's 5th Birthday Party

On the 11th we had a birthday party for Lily at the Life Center at our church. We've always had small family celebrations for her, but this was her very first friend party, and it went so well!

We went with an Adopt-A-Baby theme, and it was easy breezy to put together. Now here's the part where I realize that I am ridiculous and forgot to get a picture of the the baby table before all the adoptive mothers descended on it. These two are the sum total of the pictures I got before the babies were all passed out.


But here's what they all got: a baby, two felt diapers, a blanket, a diaper bag, a gown, a felt bib, a baby bracelet, a pacifier, a baby headband, and a baby bottle.


The babies were collected over the last few months from various thrift stores and lovingly (and thoroughly) cleaned. What I loved about this (beyond the cost effectiveness) was that each baby was unique. Because there was a range of sizes, I made the diapers specifically for each baby. I just free-handed a couple of sizes based on baby diapers we already had, and made each baby one solid color diaper and one print diaper. They closed with Babyville plastic snaps.

I bought a pattern for the gowns (Simplicity 1937), and my mom sewed up the gowns using vintage fabric. The pattern was for a 15 inch doll, so for the smaller dolls I just flipped the gowns inside out and moved in the seam allowance. I added Babyville snaps to each gown to close it up the front.


The bibs were just cut from a couple of free-handed paper patterns and also closed with a Babyville snap.

I got the pretty ruffled elastic for the headbands from Tuesday Morning, and each headband had a different embellishment, some handmade, some purchased, all of them from my stash. I also made my sweet niece Adelaide one to match. :)

My mom made the blankets from fleece and flannel, and she found the diaper bags at the Dollar Tree. The bracelets were leftover cupcake embellishments from a baby shower, and the bottles and pacifiers came from the Dollar Tree as well.

There were a few boys there too, and they got to choose from an assortment of stuffed animals since baby dolls weren't really their bag. :) The boys who were big enough got to make Shrinky Dink name tags for their chosen animals while the girls played with dolls, and we tied them on with leather cord.


Since a lot of the accessories were crafted from materials already on hand, I think our total outlay for eight babies and accessories was about $30, or less than $4/each for what was a stunningly successful party favor. I saw a number of the adopted babies make an appearance at church the next day. :)

The animals cost even less, since I averaged about 50¢ each for those, and the Shrinky Dinks and leather were things I had in my stash.

There were no formal games at the party. What I did instead was cart in all our big baby doll items, including 3 beds, 2 bath tubs, a baby changing station, 2 cradles, a high chair, a bouncy seat, and numerous baby accessories. My mom also brought in two dollar store doctor kits and a box of princess Band-Aids, the latter of which lasted about 17 seconds lol.


Levi wasn't interested in babies, but he did think he might like a nap!

My mom graciously did the decorating and the food, and I couldn't have made the party happen without her! She made some delicious pudding filled lemon cupcakes, and supplemented them with store-bought Sofia the First cupcakes and a small sheet cake to hold the all important Number Five Birthday Candle. She also made up some fun butterfly snack bags that had a different type of cereal in each wing, and little daffodil accented containers filled with fruit snacks. For drinks there were various fruit drinks with twist off tops, and pineapple-orange cream punch - yum!


Lily was so blessed with all the gifts she received, and she was thrilled with them all! I loved watching her enthusiasm, whether she was opening a giant Frozen themed pen from the Target $1 Spot from her dad and I or an awesome Queen Elsa doll from my cousin Maggie, who always spoils me and mine rotten. :)


She had plenty of helping hands to assist in opening the gifts lol.


Aunt Rachael made her this gorgeous lace crown, and one other, along with a beautiful lace trimmed pink gown. I got pictures of her opening the other gifts, but things were moving so fast that I'm afraid they were a bit blurry.

This party was so much fun, and it thrilled my heart to get to see how engrossed all the kids were in playing! A huge thank you to everyone who came and played along!

Thursday, May 8, 2014

Sewing Machine Accessories Pouch

I don't know about other brands of sewing machines because I've only had Brothers, but both of mine came with all the accessories in a flimsy little white vinyl pouch.


That might work for some people, but for me, once I started adding bobbins with different colors of thread, not to mention all my extra sewing feet, the sides started to split pretty quick.

So of course I had to break out my felt and Babyville snaps and whip myself up a new much cuter and sturdier one!

I love this project for several reasons:
1) It's super quick, like 10 minutes or less (assuming you aren't also juggling a two year old).
2) It's cheap, under $1 if you have the snap tool, although you could totally make it with a different fastener if you wanted.
3) It uses two of my favorite crafting materials - printed felt and Babyville snaps.
4) It's super easy - if you can sew a straight line, you can do this!

 I made my original pouch one evening when I'd had a stressful day and needed to sit down and just create something to decompress. It was such a quick and simple project, and it was just what I needed.


First of all, keep in mind that if you want to store this in the storage compartment in your sewing machine, it needs to be made small enough to fit there. That particular compartment on my machine is missing (grrr!), so that was not an issue for me. I just made mine large enough that I felt it would accommodate all my accessories.

First of all grab a piece of printed felt. I've found the best selection at Hobby Lobby, and most pieces are 50¢ without a coupon. For my original pouch I chose a fun chevron print, but for the tutorial I went with this awesome sock monkey felt.


Cut your felt to 12 inches by 5 inches. Or if you want to create two equally sized pouches and your felt is the standard 9 x 12 inches, you can just cut it straight down the middle.


Fold the bottom edge up to about 2 1/2 inches from the top edge,wrong sides together.


At this point I used a small bowl as an edge to round off the corners on the flap, but this is optional. If you choose to do this, you can either trace around the bowl and cut the corners off with scissors or just lay the bowl down and cut around it with a rotary cutter.


If you want to pin the sides before sewing, do so now.


Sew up the sides, stopping at the flap. I just lined my edge up with my presser foot and did a 1/4 inch seam. Because felt doesn't fray, there's no need to sew right sides together and flip.


Now for the snap. I chose this baby blue monster set. You will need two backings and one each of the male and female sides.


The pliers come with this handy awl that I also keep handy for piercing leather when I'm making jewelry.


To start, fold your flap down and press the point of the awl into the felt where you want the snaps to go, hard enough to indent the felt, but not hard enough to pierce it.

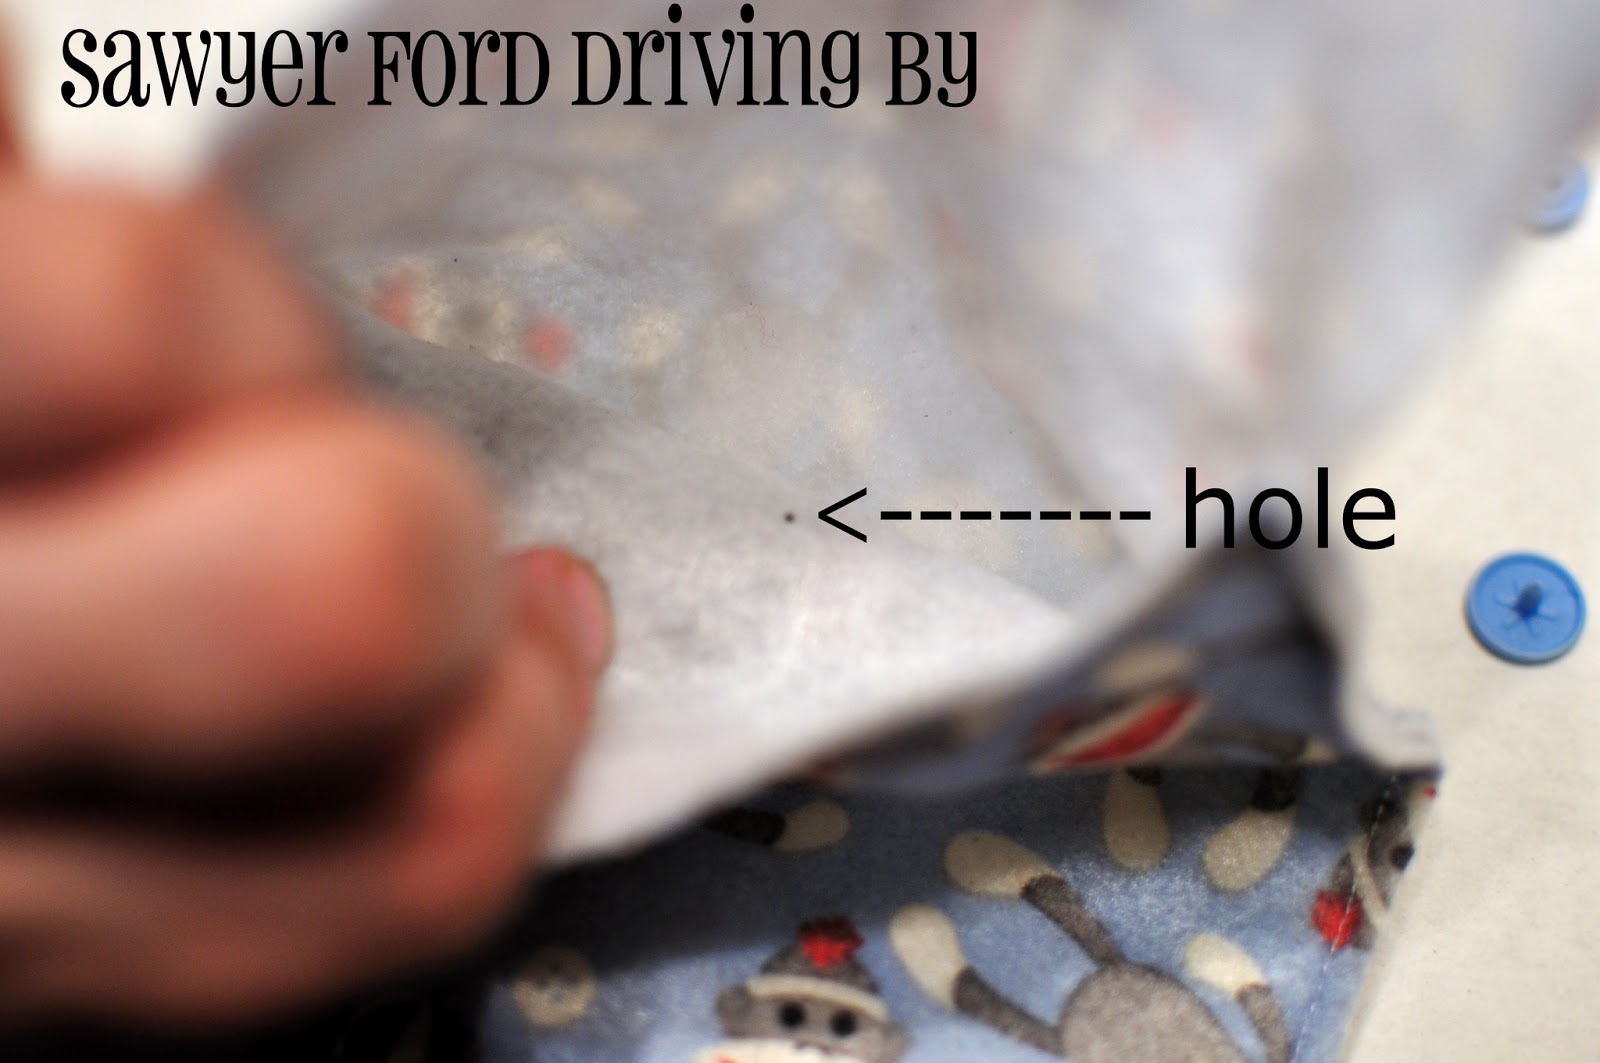
Then, being careful not to poke it through the back of the pouch, pierce the front of the pouch where you indented it, then the flap.


Working from the inside, insert one of the backings into the hole you just made in the pouch body.


Place your female side onto the stem of the backing sticking out the front of the pouch body.

Slide the whole assembly between the die tray and pressing head of the pliers, making sure to seat the backing into the die tray. Squeeze the pliers closed to set the snap.

Repeat the whole process on the flap, but this time insert the backing into the printed side of the felt, and place the male side of the snap onto the other side of the backing.


Now you have a finished pouch, perfect for all your sewing machine accessories! This one is going to hold crayons and live in the diaper bag.


These would be great for all kinds of things. I can see one of these filled with flash cards in a homeschool classroom, or as a fun way to gift a set of photos.