Saturday, October 8, 2016

A Birthday Banner for the Birthday Girl

So this girl turned SEVEN on Wednesday! I can't even handle this. She just got out of diapers, I swear.


We had a simple family get together at the house on Tuesday, and I made this Happy Birthday Banner to hang in the dining room. I used 4 sheets of kraft cardstock and 2 sheets of scrapbook paper. I cut the cardstock in fourths (I had 3 extra fourths), and cut the scrapbook paper into 3"x 5" pieces to use in my Alphabet Punch Board. I ran the letters through my Xyron Creative Station to adhere them to the cardstock and strung it all on baker's twine. I think I'm going to take the BIRTH off now that we're done so that it just says Happy Day and hang it in her room.


Man, I love banners! This is one I made a couple of weeks ago for a baby shower at church. I cut the flags using my paper cutter, the letters using my Alphabet Punch Board, and the deer using a paper punch. I ran all the letters and the deer through my Xyron Creative Station to turn them into stickers which made the assembly super quick. Colton's mom is doing his nursery in an outdoorsy theme, so hopefully she can use it in there too. 

Friday, October 7, 2016

My Craft Room Tanker Desk and One for Rachael

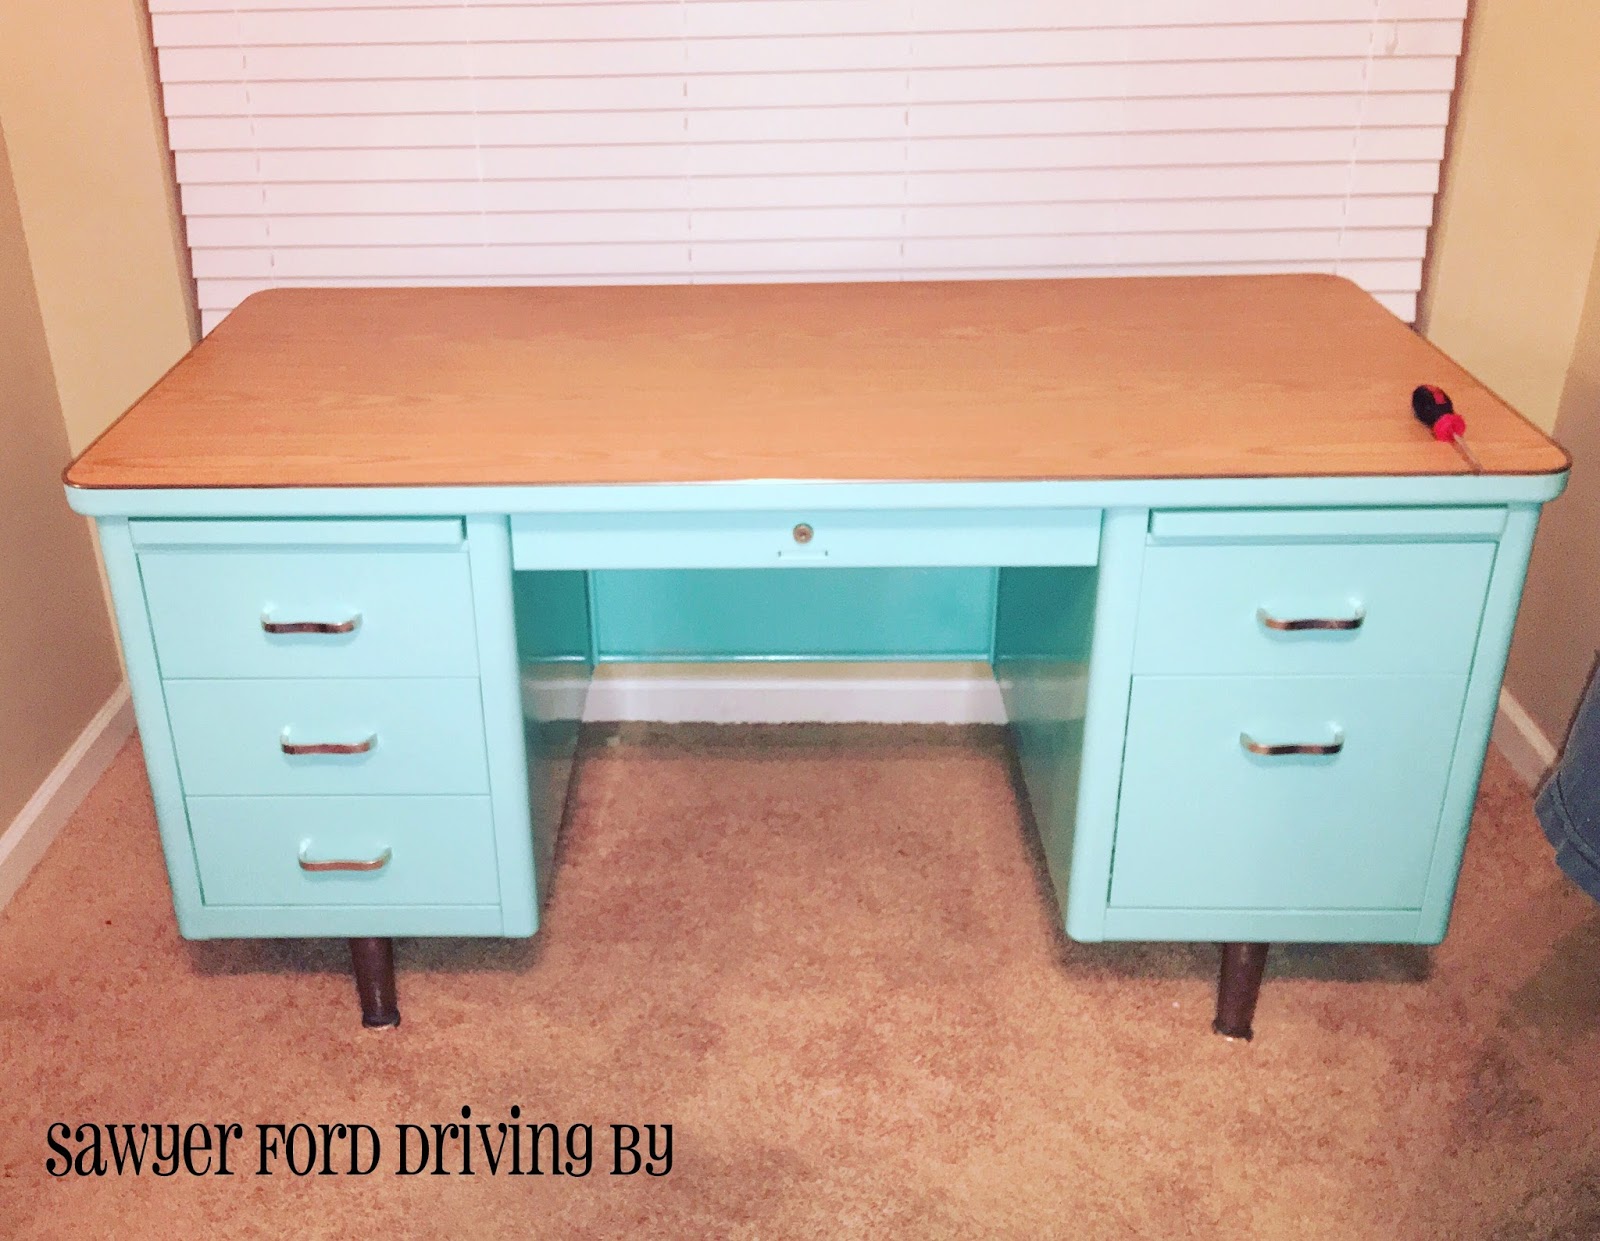
The tanker desk in my craft room is one of my favorite things ever. It came originally from my brother Cary and sister-in-law Rachael (who incidentally is Nick's sister). It was in their basement when they bought their house several years ago, and Cary didn't want it. It was in good shape, but it was old and kind of ugly, standard government gray, and it went into our garage for lack of a better place to put it. Nick told me that I could have it for a craft desk when I got a craft room, so this year for Mother's Day I told him I wanted him to paint it for me.


Guys! Isn't she gorgeous!! I love her so much! The thing is, every time Rachael came over and saw how amazing it turned out, she seemed a little wistful. Then Nick found a Craigslist ad offering free office furniture. We went to check it out, and we came home with FOUR tanker desks, a huge wooden desk, and a big kitchen table, all for free! 

One tanker desk is at home in the garage for Nick, two are eventually destined for my craft room, the wooden one will be my cutting table, and the kitchen table will eventually replace the one we have now (once we refinish it). But the fourth tanker desk - that one was for Rachael. It was her birthday last week, and we've been working on this thing for a couple of months now. We cleaned it up, fixed a few dings, painted it her favorite color and cut a pretty monogram for the big drawer. We even found the key buried in the mound of debris stuck behind one of the drawers when we brought it home. We delivered it to her last Friday and she loved it!


Here it is in her craft room. Now I can't wait to get the other two painted for my craft room!

Thursday, October 6, 2016

Early Fall

Okay, a reasonable person might be expected to believe that I had dropped off the face of the earth. In reality, the settling in to the school year along with various other unexpected occurrences has hit us like a freight train and blogging has gotten pushed to the back burner. But I'm here now! So I hope you're ready for some pictures, because I've got a few to share.


This is a little half octagon table Nick and I refinished. Okay, it was way more him than me, but I helped a little. I am so terribly sad that I didn't get a picture before he started tearing it apart, but trust me, it was UH-GLEE. Think sea foam crackle paint all over, and the veneer on two of the doors was badly damaged. That's where he really impressed me - he smoothed it all out with Wood Bondo, and you can't even tell it's not original. The top was in good condition, so we just stripped, sanded, and stained it. We used a Rustoleum stain in Kona.


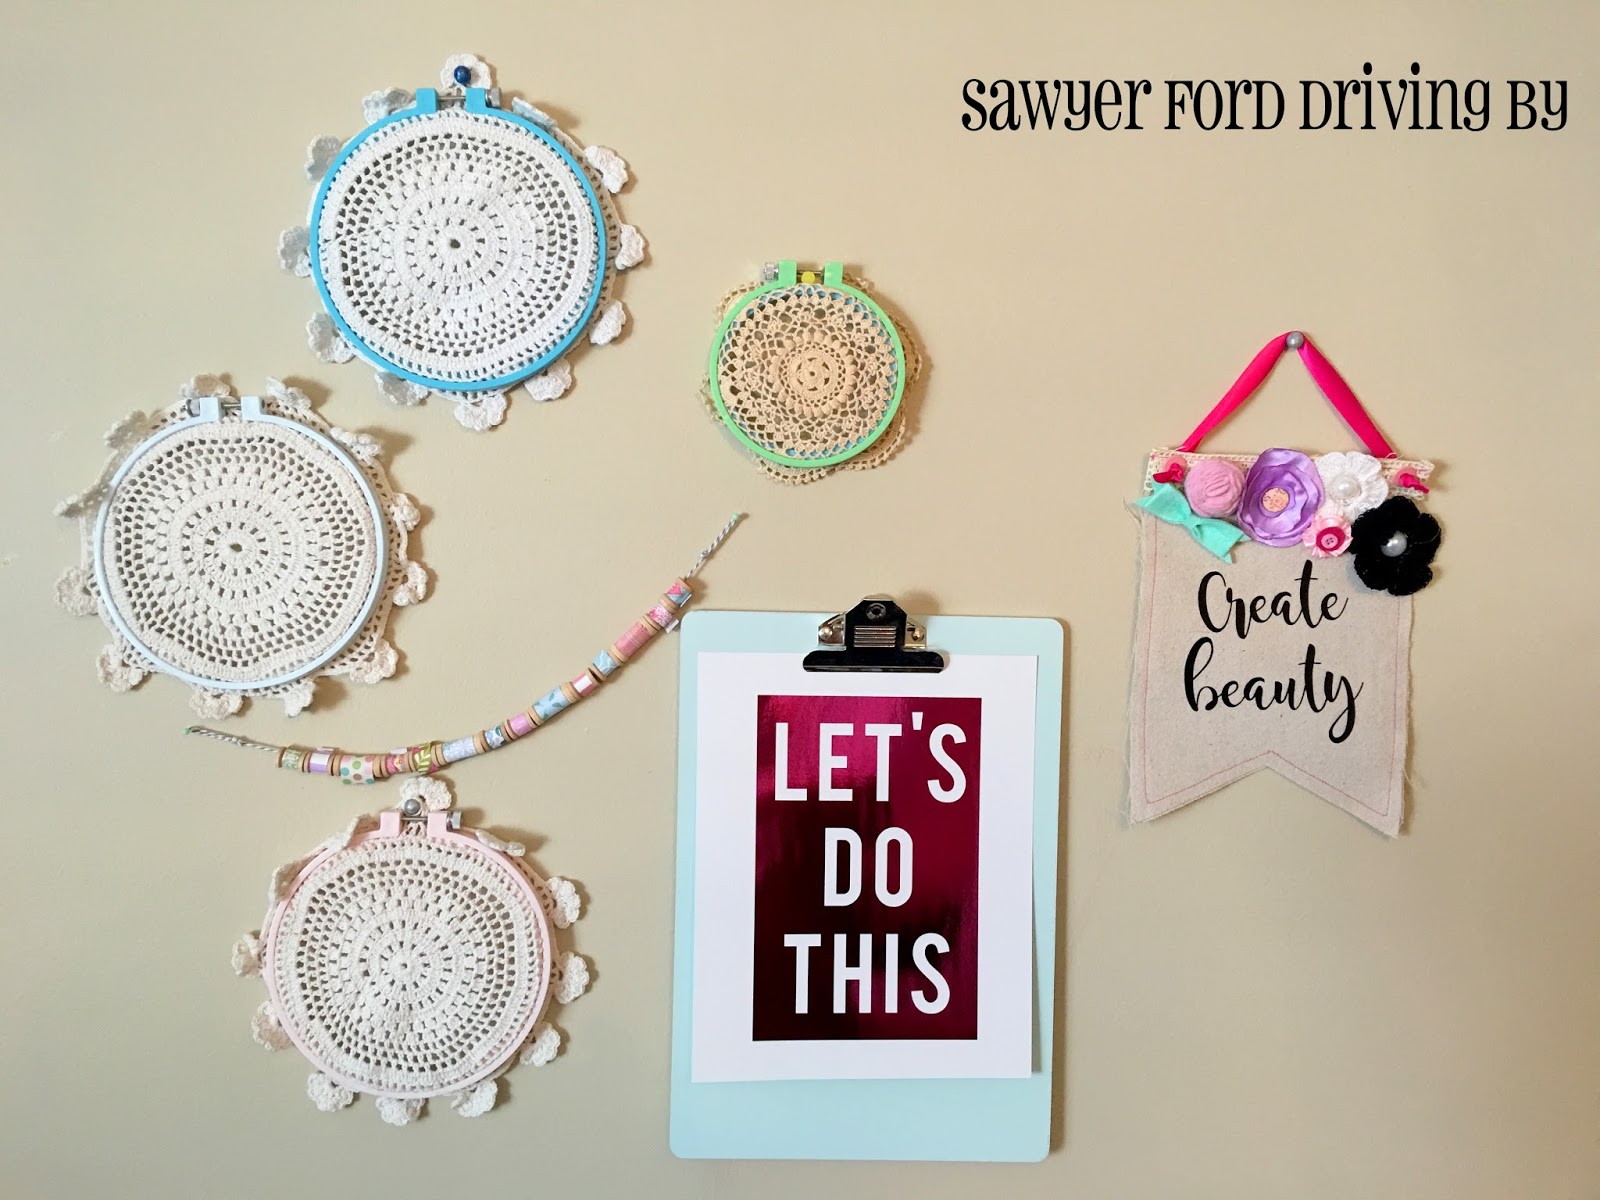
I shared this image over on Instagram. These lovely little banners were inspired by the one made by the adorable Bethany at Pitter & Glink. I made a cardstock template for my banners using my We R Memory Keepers Banner Punch Board, then cut two for each banner from dropcloth. I machine stitched them together with pink thread, then cut the words from htv using my Cameo. The font I used was Magnolia Sky, which is free for personal use. The flowers and bow are a variety of purchased and handmade pieces. I punched holes in the corners and added eyelets using my Crop-a-Dile Punch and Eyelet Setter, threaded in some random satin ribbon I had on hand, and knotted the ends on the front. On the back of each banner I hot glued a wooden skewer cut to size along the top to keep the banner hanging straight. The Create Beauty banner is hanging in my craft room (as pictured below), and the Be Kind is part of Lily's gallery wall.


So this happened in late August. Sawyer wasn't feeling well at all and we couldn't get a doctor's appointment, so I took him to the ER. By the time we got there he was having some breathing distress and they ended up keeping us for two days. We never did find out exactly what the problem was, but the best guess was that he had a virus combined with an allergic reaction to something that really hit him hard. Below is a picture of him hanging out with his buddy Chase, who brought him Play-Doh, cars, and snacks and spent some time looking suitably impressed with Sawyer's grand tour of his hospital room.


Nick works for Lexus and they sent him this amazing gift basket, which was such an awesome thing for them to do!


Nick's cousin got married last month, and we stayed at an amazing chalet near the wedding venue where they had this gorgeous handmade quilt on the bed. I'm in love!


We got to see Nick's sister Kristin and her family, which was awesome. They live in Texas, and it had been over a year since we'd seen most of them. It was so much fun to get the kids together with their cousins!


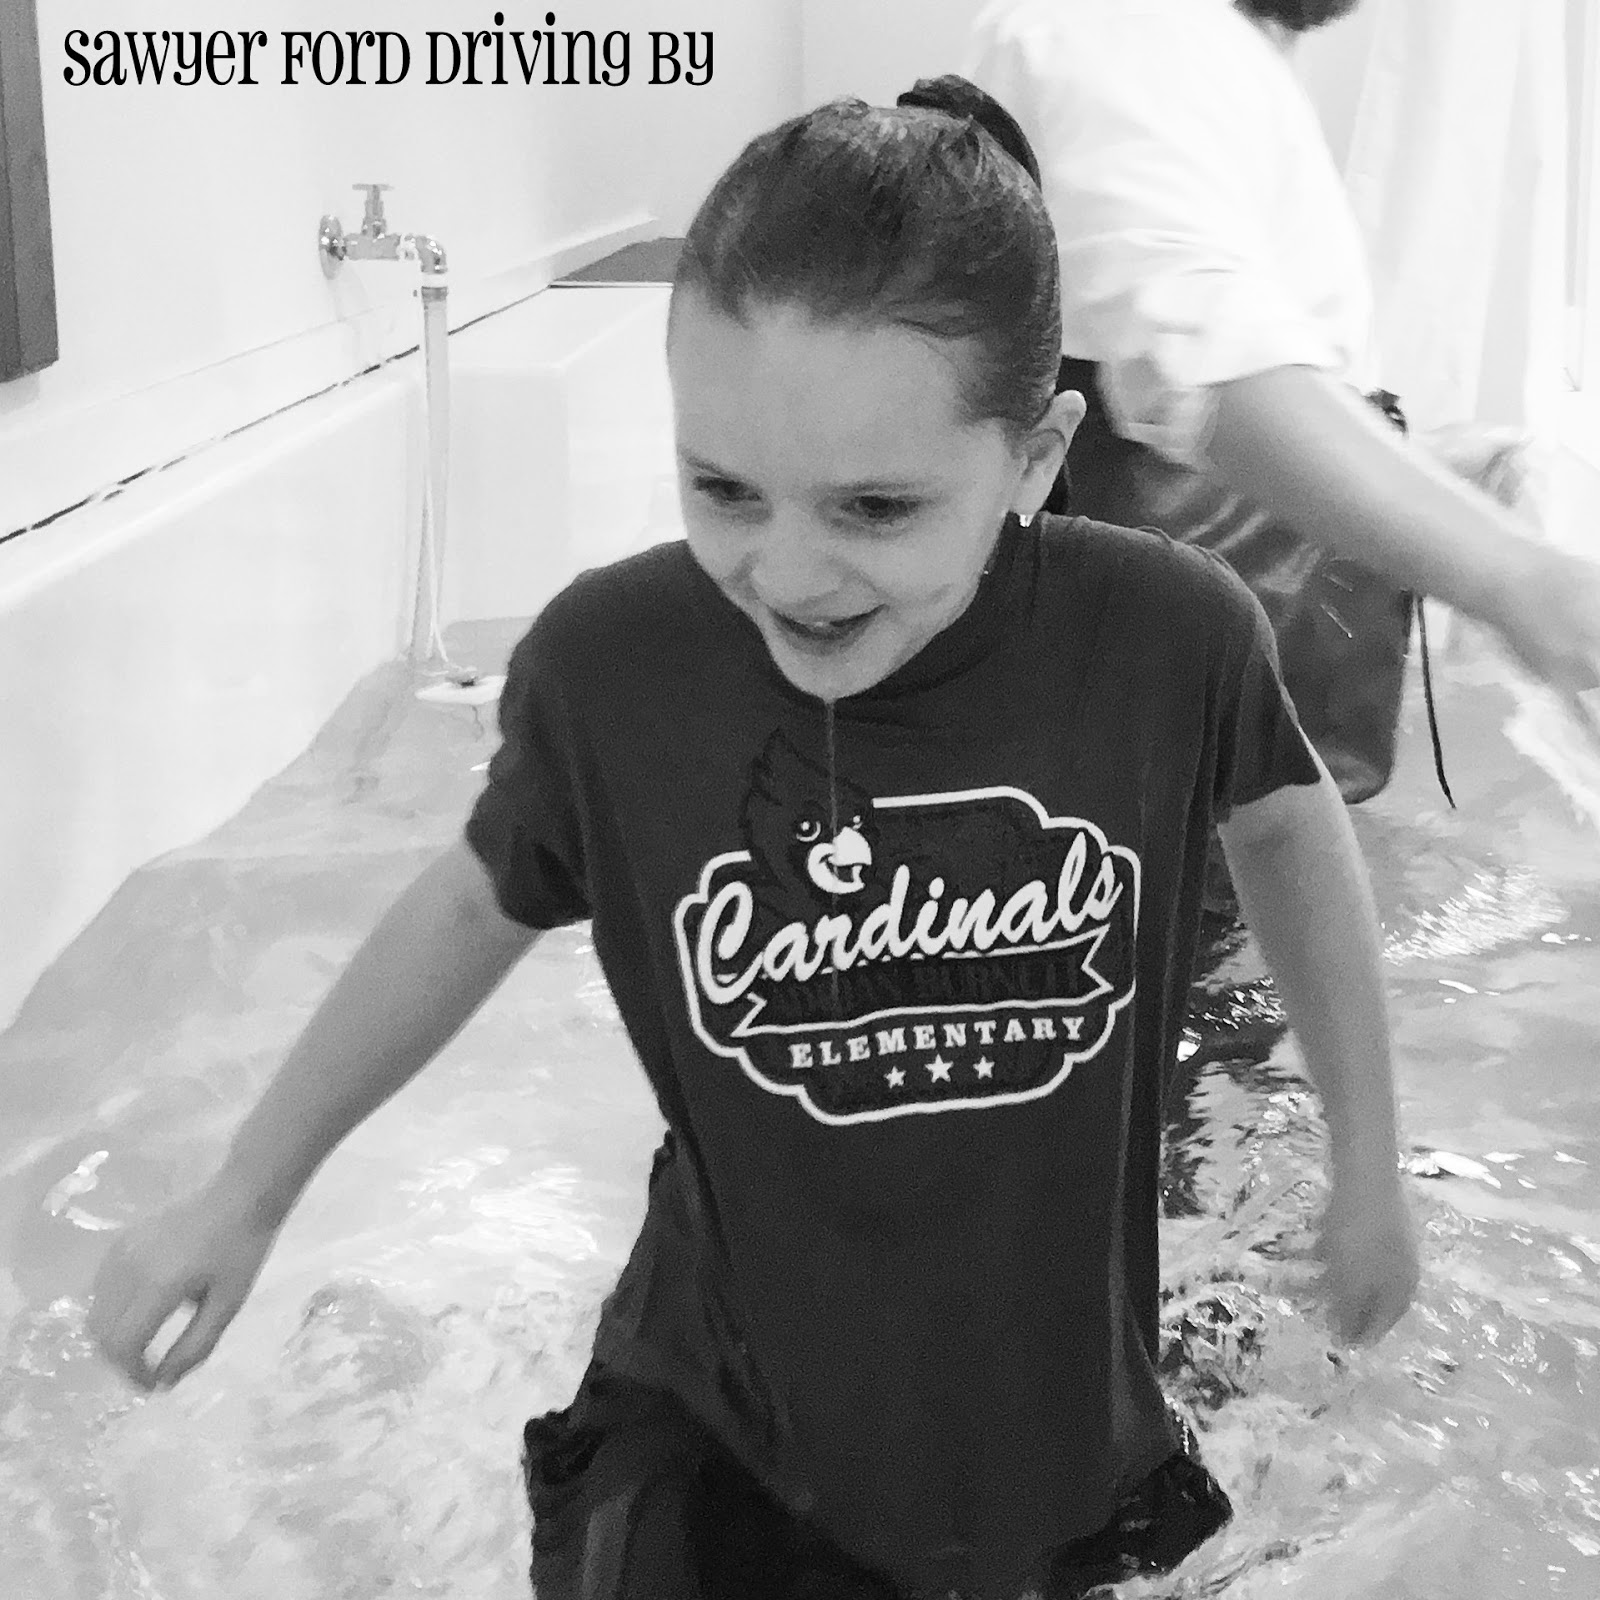
Our Lily girl got baptized a couple of weeks ago, and she couldn't have been more precious.


So those are a few of the things that have been keeping us busy lately. What have you been working on?

*There are no affiliate links in this post. I have not been compensated for using any product mentioned in this post. I just like to share what I have used in case you might want to use it too!

Wednesday, August 10, 2016

Veggie Chicken and Dumplins


School started back for us this week, and it's a whole new routine here at our new house. We live close enough to the school to be disqualified for bus service, which in turn qualifies us to wait 30 minutes in the drop off/pick up line. Since it's a 10 minute walk, that's what we're going with, and I have loved it so far. One on one time with my middle kiddo, 10 minutes to myself on the way back, and easy exercise to boot!

But, it does mean I don't want to spend hours on dinner if I can help it, so last night I made one of our very favorite fast and easy meals. It might actually be my very very favorite. Lily especially can be very picky, and this is one where she will always ask for seconds. And bonus - you get to get some veggies in them!

Okay, a couple of disclaimers: I am not a food blogger, so I don't have amazing presentation pictures here. It's hard to stage things when you're trying not to eat your subject first. Second of all, this is the FAST MAMA version. Yes, this can absolutely be made healthier. You can use fresh chicken and fresh veggies and homemade cream of whatever soup mix and skim milk etc. etc. And it's very good that way. But it's amazing this way too, and it's not only quick, but cheap. So if you are looking for a way to get something yummy, hot, and comforting in their bellies between homework and bedtime, this is the ticket.

This recipe was adapted from a recipe my friend Rebecca gave me seven years ago, and it has never not been a hit. I added the veggies and adjusted the soup/milk ratio some to stretch it out and it is so very, very good! This amount feeds my family of five with just enough left over to send Nick lunch to work the next day (if we show great restraint and don't make poor decisions about how much is actually a reasonable amount to eat for one meal. This is not a single serve portion, even if you believe you can).

Start out with the following:
26 Ounce Can of Cream of Chicken Soup
29 Ounce Can of Veg-All/Mixed Vegetables
2 Cups Bisquick/Baking Mix
3 2/3 Cups of milk, divided
2 10 ounce Cans of Chicken/2-3 cooked chicken breasts, cut into chunks


Your milk will need to be divided into 3 cups and 2/3 cup


Add 3 cups milk, vegetables, soup, and chicken to large pot on high. My chicken was a tomato herb flavor, just because it's what I had on hand, but plain chicken is just fine. 

While this heats, mix Bisquick and remaining 2/3 cup milk. 


Form into small dumplins about the size of a heaping tablespoon and add to soup mixture.


Bring to a boil, then set heat on low. Simmer for 10 minutes, then cover and simmer for 10 minutes more. Stir occasionally. Before removing from heat check to make sure your dumplins are not gooey. If they are undercooked, leave it on the heat for another 5-10 minutes, stirring frequently.

And you're done! I love this with black pepper, which is weird, because I don't like black pepper on really anything, but it's SO good on this dish. Nick's papaw passed away a few years ago, and he put copious amounts of black pepper on everything he ate, so this dish always makes me think about him. 


This stuff is so yummy! I'm super jealous that Nick got to take the rest of it for lunch today. Let me know if you try it!

Monday, August 8, 2016

Easy Cardboard Rocket Craft


This year's Vacation Bible School curriculum was called To The Edge, and it was space themed. My sister-in-law Rachael was in charge of the decorations, and people, it was out of this world! (Bahahahaha! Snort. Okay, just ignore me) Seriously though, she did an amazing job. Check out a few of the pictures (Excuse the quality of some of them. The lighting wasn't the best in some areas. I plan to post some of the pictures from the actual event on a later post.):

The black light hallway was a huge hit.


My mom and dad put these rockets together, and Rachael made that awesome astronaut herself!

The "computer screens" at the control panels even lit up!

This robot. How amazing is this? Of course I think the guy standing next to him is pretty amazing too. :)

I can't believe how detailed everything was. Have I mentioned that she's five months pregnant and has two kids under four? Yeah, serious supermom stuff.

Anyway, I was really surprised at the lack of VBS friendly space themed crafts out there on Pinterest. There were a lot of space themed projects, but very little that could be done with multiple kids in 20 minutes. So I wanted to share these awesome rockets we made!

This is a super quick and simple craft, even for a group, especially if you have your paper pre-cut. Materials needed are as follows:

5 inch cardstock circle
Toilet paper roll or other cardboard tube about 4 inches in height
Scrapbook paper or plain white copy paper 4x8 inches
3-4 wood half circles
Hot glue gun


At VBS we used plain white paper to wrap the rockets and let the kids color on them. You can absolutely use toilet paper rolls, but a friend at church brought me a massive bag of these heavy duty cardboard shipping tubes from his job. They were already 4 inches long, and they were perfect for this craft!

First run a line of hot glue down the side of your cardboard tube.


Glue down your paper on the short edge, wrap all the way around the rocket and glue down the other end.


Cut a slit halfway across your 5 inch circle and form into a cone shape.


Glue the cone closed.


 Run a thick line of hot glue around the rim of your tube and set the cone on top. Make sure to put it on straight, and make sure it touches the glue all the way around.


Glue on your wooden half circles as feet. (Or a stand maybe? thrusters? I don't know.) I found these in bags of 100 pieces at Hobby Lobby. However, they were in the clearance section for about $4, so I don't know if they stock them anymore,  but if you are making a bunch of these and can't find the half circles, you could buy wood circles to cut in half. If you are just making one or two, you could use any number of things in their place - paper straws, popsicle sticks, short lengths of dowel rod, etc.


The kids had a blast (hehe) with these, and they were appealing to a wide age group. At VBS I had the kids glue on the paper around the side and glue the cones closed with glue sticks for safety reasons. I and another worker glued the cones to the top and glued the feet on with hot glue. I made some extras for our nursery age kids who didn't get to participate in craft time, and they were a universal hit (ha! I can't stop!).


Saturday, August 6, 2016

Clay Typography Wall Art

It's honestly kind of rare for me to have a project turn out exactly how I envisioned it, but this one did just that. A few days ago the kids wanted to play with clay, so I got out my molds and Sculpey. I have a bunch of the Martha Stewart Clay Molds as well as a bunch of the Mod Molds. The great thing about all of these is that you can bake the clay right in them. I don't know if it's actually recommended, but I've done it many times and don't have any sort of damage to my molds. That said, the Sculpey I usually use bakes at 275° F, so I would be cautious baking the molds at any higher temperatures.

I've been making a lot of little wood burned pieces for Sawyer's and Lily's rooms, which I love, but I wanted something with a little more color. So I used various colors of Sculpey and my Mod Molds alphabet mold to make letters spelling out Sawyer the Brave and Lily the Lovely.


These were easy peasy, although they took a little over an hour to make because the mold has one of each letter and Lily had 4 L's on her piece and there were 5 E's between the two. Most of that time was bake time though. Actual working time was probably 10 minutes.

Materials needed(non affiliate links):

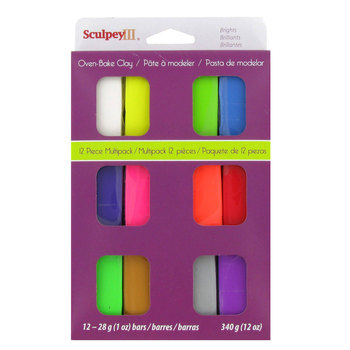
Sculpey oven bake clay in various colors (I think mine was Sculpey III)
Mod Molds Alphabet Mold
Unfinished 3.5 inch wood circle (Mine came in a 6 pack at Walmart for $1.47)
Hot glue gun


Knead your clay until soft, then fill mold letters needed for your message.

Bake according to package directions. Allow to cool enough to remove from molds.

When you have all your letters baked, lay out your message as you want it to be on the finished piece.

Pick up one letter at a time and glue in place with hot glue.

Clean up any glue strings and you're done!

These pieces are so fun! I had to make Lily and Sawyer both bring them back so I could get pictures of them, because they took off with them as soon as they saw them! And they are easy enough that they would make a great kid craft just so long as you help with the hot gluing.

You can add a picture hanger to the back if you want, but the wood is thin, so I've found that sticky back velcro dots are a better option. Most of the items on Sawyer's gallery wall are hung with these, including his big letters, and I've had no problem with anything falling off. Yes, I know the clay piece isn't up there yet. Baby steps, people.


If you make a Sculpey art piece like this I'd love to see it!