Showing posts with label Marvy Uchida. Show all posts

Saturday, January 17, 2015

Christmas Jewelry Gifts

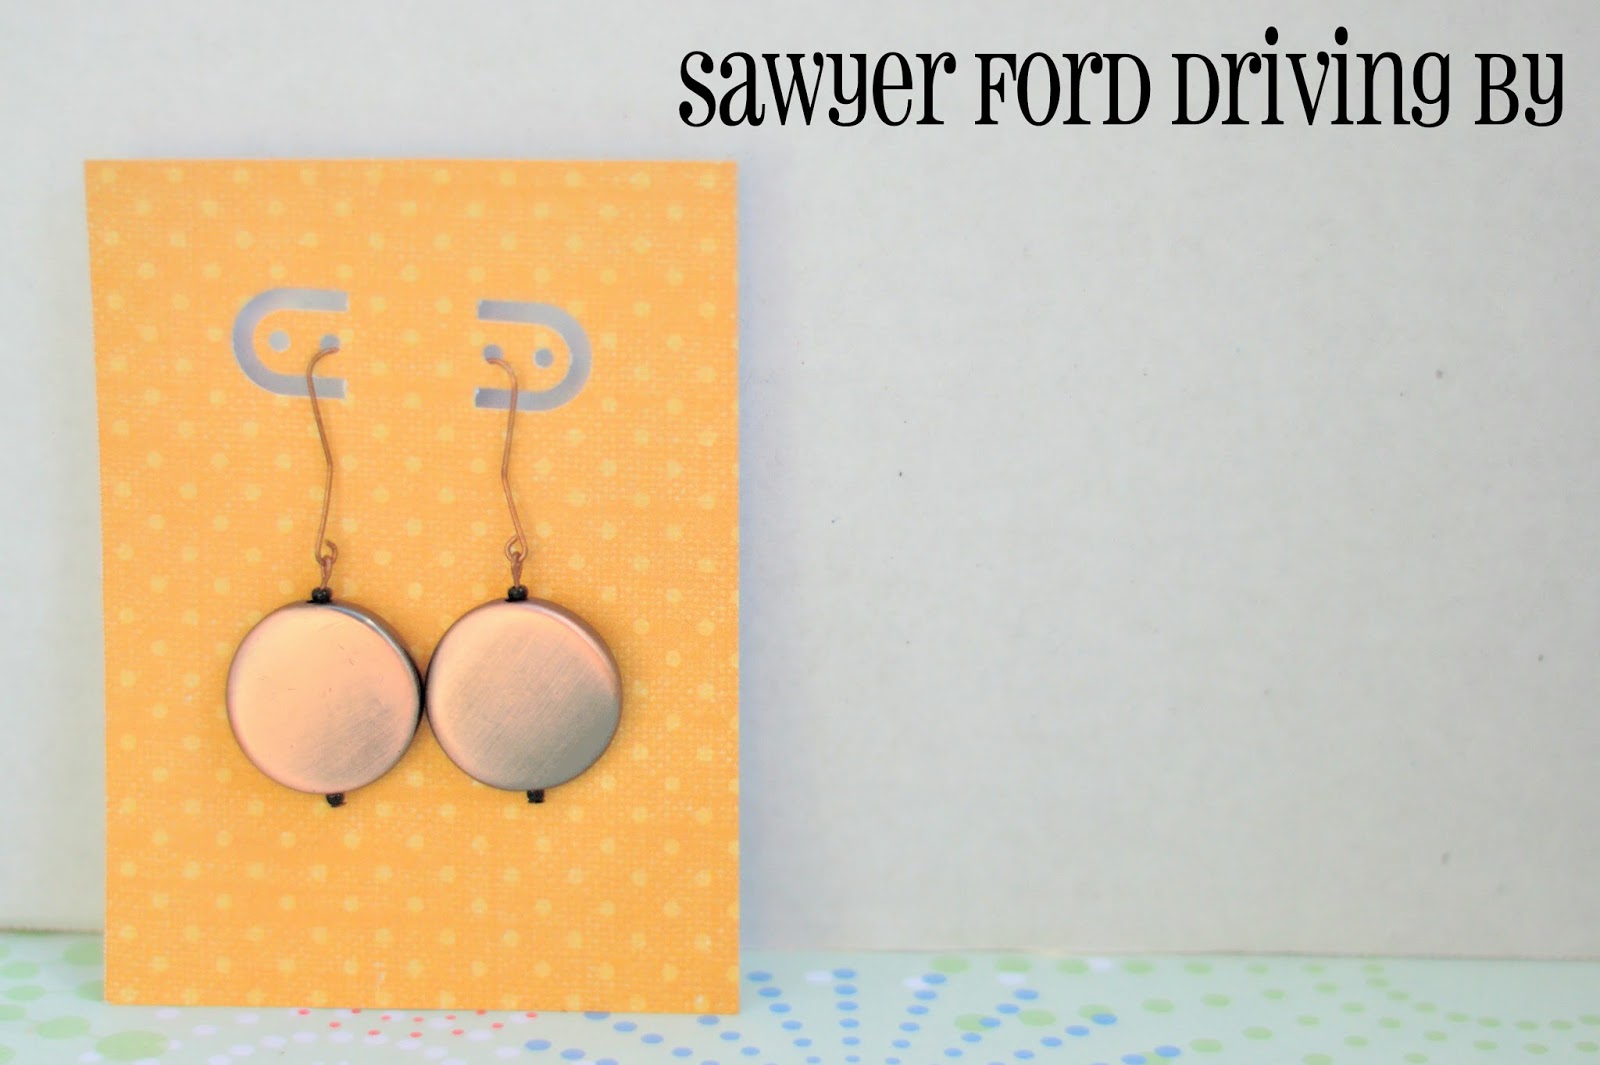
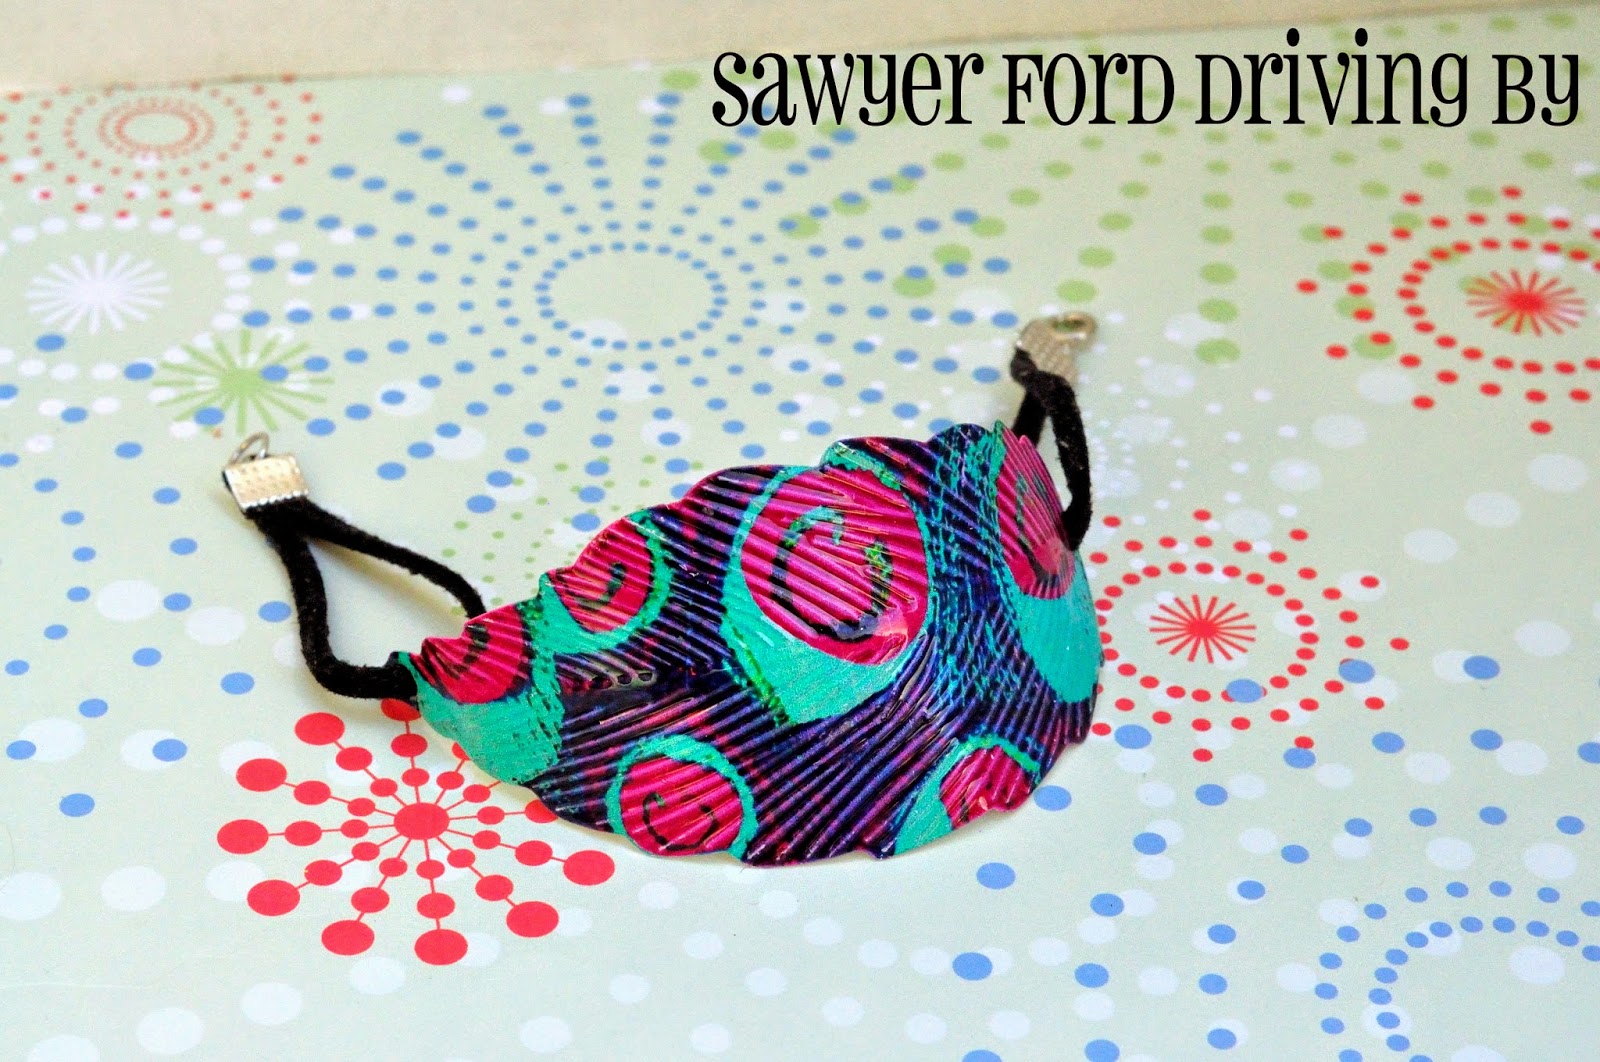
I was a jewelry-making fiend this year for Christmas. I made tons and tons and tons of earrings and bracelets, and even a few hair pins! These were all very simple to make, and they all came together very quickly. And I had so much fun making my own earring cards from pretty scrapbook paper! Here are some (but not all) of the ones that went out to loved ones this year.


Okay, this is not jewelry, but it's the bag I made to package up Lily's teacher's gift (the first two pairs of earrings pictured below). I used my Gift Bag Punch Board (tutorial coming soon) to make the bag, then punched the top with my Marvy Uchida Clever Lever Border Punch System. Then I wove ribbon through the slots and closed it with a bow at the front. Isn't it darling?


Memory wire bracelet


Coiled wire bracelet tutorial


These started as cabochons I got crazy cheap at Tuesday Morning, and I added them to hair pin blanks.

These were little scrapbook embellishments.
 
Tiny seashells for the top pair and former scrapbooking brads for the bottom.

More brads.


Covered button embellishments and cabochons.


This started as a straight metal feather. I just rounded it over my wrist, punched holes for the leather cord and added crimps, jump rings, and a clasp.

I love the worn leather paired with the gold and floral.


Metal stickers made into earrings for our oldest resident Frozen fan.


Little bitty ones for Lily.

Extra large cabochons and hair pins.

Earring and bracelet set.

Did you make any jewelry for gifts this year? Leave me a link in the comments - I'd love to see it!

Friday, July 11, 2014

Tooth Fairy Surprise

My Lily girl lost her first tooth Wednesday! On our way to the store she told me her tooth was hurting and moving, so when we got where we were going, I checked it out, and it was ready to fall out, which was crazy since it hadn't been loose at all the day before!

I took a few shots of the wiggly stage.


That night at dinner it came out, and she declared it the best day of her life. :) Then she misplaced the tooth. She actually thinks she might have swallowed it, which I suppose is possible since she was in the other room when it happened and may have been too busy touching the empty socket to pay attention to where the actual tooth went. Anyway, this devastated her, because she was sure that the Tooth Fairy wouldn't visit if she couldn't pony up a baby tooth for her. I assured her that I had a picture of her smiling without the tooth, and the Tooth Fairy would certainly accept that as proof.


When I was a kid we got a quarter under our pillow, or maybe a dollar if we were lucky. But Lily is not yet at a stage where money means much to her, and I knew she would much rather have a girly accessory as a prize. But I wanted her to have the choice, so I asked her, if I happened to see the Tooth Fairy when she came, if I should tell her she wanted money or a present, and she assured me that she would much prefer a gift!

After she went to bed I got busy making a card and a bracelet for her. The card I made using my Marvy Uchida Border Punch System, which has been so much fun!

I made the envelope using my Envelope Punch Board and this fun heart motif vellum. The other day I found a little Xyron Sticker Maker I've had in my craft stash for years, so I used my questionable scissor skills to cut her name and a heart out of pink cardstock, then turned them into stickers and stuck them to the front of the envelope.


In the card I wrote:

Dear Lily,

        Congratulations on losing your first tooth! You are such a big girl! I heard you might have swallowed it, but that's okay. I saw the pretty picture of you smiling without it, so I can still leave you a present. I hope you like it!
                           
                                                                       Love,
                                                                       The Tooth Fairy


I made the bracelet out of a little pre-made chain of blanks I got ages ago at Hobby Lobby on clearance and some mini bottle caps and cabochons I found at Tuesday Morning. I took a couple of links out of the bracelet, and it made it just the right size. I flattened the bottle caps using my Sizzix Big Kick. The Big Kick/Big Shot works very well flattening full size bottle caps, but I ran into some problems on some of the little ones. I'm not sure why, but some of them folded under, and I wasted probably 4 or 5 trying to get a good one of each color. I used a 1/2 inch circle punch to cut circles from scrapbook paper, then glued them to the backs of the cabochons. I just used my hot glue gun on high heat to attach the cabochons to the bottle caps and the bottle caps to the blank trays. If I'd had more time I probably would have used E6000, but I was trying to get it done so I could leave it for her and go to bed. I think this will hold up well enough, and she's not the sort to put things other than food in her mouth, but if you're making one for a child, make sure that they can be trusted not to put things they shouldn't in their mouth or use a stronger glue.


She LOVED both the card and the bracelet, although she woke up upset because she couldn't find them on the bed at first and was sure the Tooth Fairy had passed by because of the misplaced tooth. As if the Tooth Fairy could resist this face!


Wednesday, July 9, 2014

Birthday Gifts with We R Memory Keepers Punch Boards

Guys, I've been playing with the Envelope Punch Board (and a few others!) by We R Memory Keepers, and I've been having so much fun! Nick’s grandmother Gail’s birthday fell the week we were at camp, so we missed the party, but we got to see her on July 4th, and I gave her the birthday gifts I made for her then.

Last year, for Mother’s Day I think, I made Gail some blank note cards. I punched out butterflies and flowers from scrapbook paper and sewed them to the fronts of the cards, and she loved them! I sure wish I had thought to snap a picture before I gave them to her. Anyway, I thought she would enjoy some smaller note cards for her birthday, and okay, I really wanted to make her something using my punch boards!

I actually made her two different kinds. One set of ten were little gift card sized cards, and each one had a different image or pattern embossed on the front. I just made these with stamps and embossing powder. These will be perfect for slipping a gift card into or attaching to a package or gift bag.


The others were a bit larger at 4 x 3.25 inches and suitable for mailing if she chooses. These were my favorite! Each card and envelope was unique in pattern.


I used fun cardstock for the cards from 4.5 x 6.5 inch stacks that I trimmed to 4 x 6.5 and folded in half. Then I used a Marvey Uchida Clever Lever Border Punch System that I got for crazy cheap at Tuesday Morning ($7.99 - score!) to punch a decorative border along the front edge.


This border punch system is ah-may-zing! You can get different cartridges, which are normally about $11.99 each, but Tuesday Morning had them for $1.99! The punch cuts exactly 2 inches in each punch, which was why I trimmed the cards to 4 inches wide. There’s no guesswork with where to line up the punch for the next cut, because the guide has little slots where the punch fits, and there’s a pretty strong magnetic bar that keeps your paper from slipping out of place.


I made the envelopes from different patterned 6 x 6 sheets, and I LOVE how they turned out! I also punched a little flower out of sticker paper so she can seal them if she wants to mail them, and also a label for each so that she can write an address. I just included those in each envelope.


The labels were a little larger than I wanted them to be, but that was the size paper punch I had.


I also used all three of my other boards in making her gift, although I forgot to get a picture of the cute little gift bag I made with the Gift Bag Punch Board. First of all, I made her up some adorable little pillow boxes using the Pillow Box Punch Board.


Some of these I made using 4.5 inch length cardstock, and some using 6 inch length cardstock. The smaller ones are perfect for something small like candy or earrings, and the bigger ones fit a gift card perfectly.


I also made her a couple of pairs of earrings, and I put them in this sweet little box I made using the Candy Box Punch Board. She had already untied the baker’s twine from one end to open it when I took this picture.


I’ll go into a little more on how to use each of the punch boards in my upcoming posts, but for now I’ll just say that they are all just the best thing ever, ever, ever! None of the links in this post are affiliate links, and these products were not provided to me for review.