

A couple months ago I heard that We R Memory Keepers was coming out with a new punch board: The Pinwheel Punch Board! I was so excited that I immediately emailed them to ask if they might be willing to send me one to review here on the blog. The very sweet lady who responded to me told me that they didn't currently have a budget for reviews on that product, but she would be happy to send me one to try anyway! I was so excited!

I got busy playing with it right away, but I wanted to wait until I could get a hold of a set of the pinwheel attachments before I told you all about it here. Unfortunately, once the punch boards hit the craft stores, the attachment sets were sold out everywhere I went. I finally found some in stock last time I went to Hobby Lobby, so I'm ready to show you how it works!


First of all, raise the arm on the punch board.

Now slide the corner of your paper under the red button, square it up and punch.


Now punch the other four corners. Repeat for the other paper. The side of the papers that is facing up when you punch it will be the side that shows in the center of your pinwheel.

 |
| Back side of bird paper. |

Now line your first paper up with the corresponding mark on the left side of the punch board.

Bring the arm down so that it pokes a hole through the center of your paper and anchors it in place.


Slide it down the track, cutting the paper until the track ends.

Without lifting the arm, turn the paper 90 degrees and repeat. On half of the turns the corner will not line up exactly with the measurement mark - that's okay. Just make sure that the notch in the paper sits over the blade track. Repeat on the other two corners.


 |
| Back view so you can see the cuts better. |


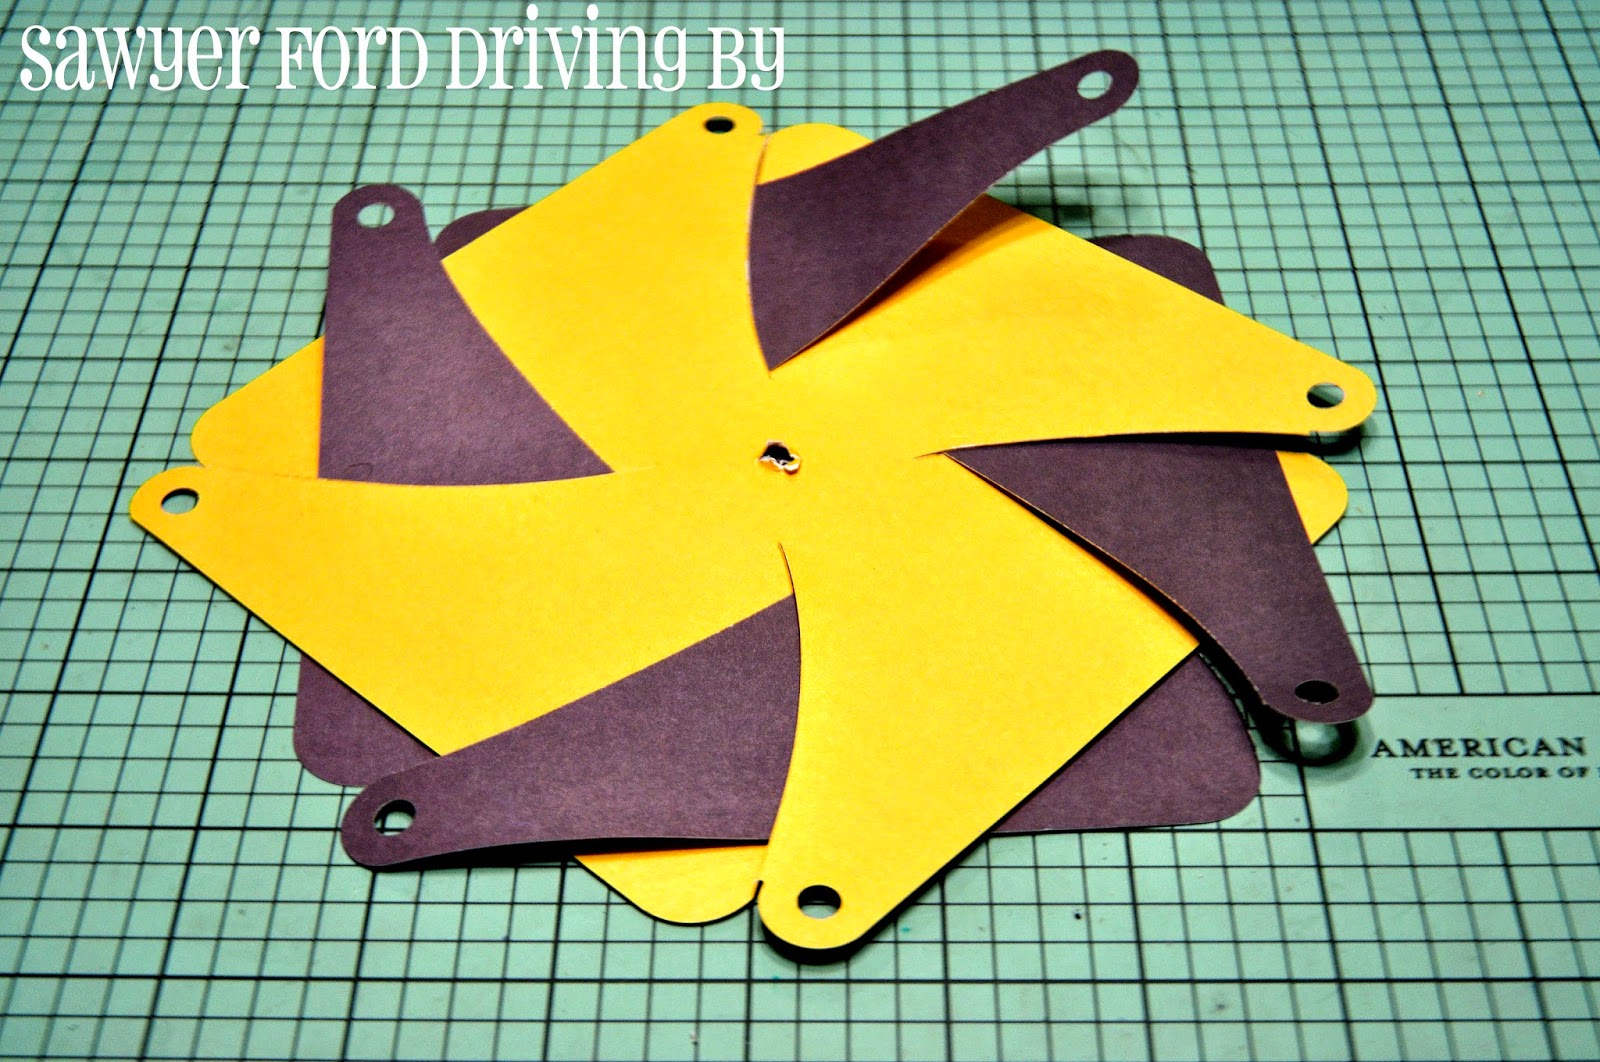
Now, lay your papers face down, one on top of the other at a 90° angle, like this. The paper you slit using the right side of the punch board (here the floral/purple sheet) will go on the bottom.

Make sure the holes in the centers line up.
 |
Now, take one of the skinny sections of the bottom sheet and weave it up through the slit in the top paper just above it. Continue the maneuver, working clockwise, all the way around the pinwheel.


The attachments have three parts, and they assemble like this:


Once you have the head seated on the straw and the spindle attached to that, slide your papers onto the spindle, still face down.

Now, take one of your hole-punched sections from the top sheet (here the yellow paper), pull it forward, and thread it onto the spindle.

Now take the skinny section from the bottom paper directly to the right of the section you just pulled forward and do the same thing. Repeat all the way around, moving clockwise and alternating between the front paper and the back.


Once all the hole punched sections are threaded onto the spindle, press on the end cap.

You're all done!

Look at it spin!


Of course you can also just do this with one paper, which will make a 4 blade pinwheel, also adorable. If you do so, you need to work on the left side of the punch board when using the blade.
This punch board has been so much fun! Best of all, the attachments are reusable, so if say, your two year old crumples up beyond repair the pinwheel you made him, you can pull the assembly apart and make a new one! You can also use just about any paper straw out there, which really opens up your color/design options - although those 15 inch gray and white striped ones in the kit are super awesome!
Of course you can certainly make pinwheels without the attachments - they just won't spin. But they do make gorgeous decorations! You can anchor the center with a fun decorative brad. I can see some little stationary ones attached to paper flags to make up an awesome baby shower banner, and what fun props they would make for a photo shoot! Or you could even attach them right to a memo board with a colorful push pin! Oh, and what about gift toppers? And cards? The possibilities are endless!
We R Memory Keepers provided me with a Pinwheel Punch Board to try, but they did not compensate me for my review (or even ask for it), and all opinions are my own.
No comments:
Post a Comment