Showing posts with label girls. Show all posts

Tuesday, December 2, 2014

Thanksgiving Outfits

Did you guys have a good Thanksgiving? Ours was wonderful! Phenomenal food, a truly wonderful time with the whole family together, and babies, babies, babies! This year the 5 and under set included Lily - 5, Sawyer - 2, Levi - 2, Lawrence - 1, and Adelaide - 6 1/2 months.

A few weeks ago my sis-in-law and fellow Pinterest addict Rachael and I were oohing and aahing over some cute little dresses online, and we decided that we should make matching Christmas dresses for Lily and Adelaide. Then we decided that we might as well go ahead and come up with something cute for them to wear for Thanksgiving. And if we were going to make the girls matching dresses, we couldn't leave their brothers out. So we decided to make Sawyer and Levi matching turkey shirts. And of course if we were going to make them for Sawyer and Levi, their cousin Lawrence was going to need one too. And if Sawyer, Levi, and Lawrence were going to be little gobblers, then we certainly had to make one for Jackson, their honorary cousin. You can see how my crafting gets out of control.

So anyway, Rachael, my sis-in-law Leah (Lawrence's mom) and I got together for a day of sewing, and we made dresses for the girls and shirts for the boys.

I made Sawyer a turkey onesie like this for his first Thanksgiving when he was not quite 11 months old. I've mentioned that he was a preemie, and while he's all caught up now, for a long time he was very small for his age. I just have to show you what a ridiculously cute, tiny little turkey he was in 2012. This was a 3 month onesie.


Gah! Why isn't he so tiny anymore?

Anyway, we decided to make peasant dresses for the girl with their initial appliqued on them. We followed this tutorial, and let me tell you: Mind. Blown. This was SO easy! I'm going to make tons of these! In fact, it's what we'll make for them to wear for Christmas too, and I already have the perfect corduroy pulled out to make one as a Christmas gift for Lily. And I plan on making a matching one for her doll. I also made one for my friend Amy's little girl's birthday, and I barely got it out the door without Lily claiming it, despite it being 3 sizes too small for her lol.

Please excuse the picture. I ran out of time to shoot it at home, so I snapped a quick pic of it laid out on the Jake and the Neverland Pirates coloring table at the party. :)

Here are Lily and Addie in their matching dresses and headbands.


It's hard to see the monograms here, but Lily's has an L and Addie's has an A in brown corduroy just above the hem on the right side.

And the turkeys...


Want to see the back? Here you go...


Which of course quickly turned into this:


Not to worry, soon they were best buddies again. :)


The shirts were just purchased black t-shirts with turkey faces and feathers hand cut from eco-felt and just sewn on with a straight stitch. We even freehanded the pieces. Easy peasy!

Tuesday, November 25, 2014

The Fault in Our Stars Earrings


Have you read The Fault in Our Stars? Have you seen the movie? I read the book on my Kindle, then took Taylor to see the movie this past summer. And yes, we totally cried. Not quite like the lady behind us though. She was hardcore loud ugly-sobbing through pretty much the whole movie. I kind of felt like I should get her a Gatorade when it was over. Whoever you are, lady, I hope you eventually recovered. You know, fiction and all. But anyway.

One of the most beloved parts of both book and movie is the gentle banter between Gus and Hazel where they have a hard time hanging up the phone and keep stretching out the conversation with "Okay?" "Okay." "Okay?" "Okay."....and it becomes their thing. Their always.


I've seen all kinds of memes and pictures all over the internet honoring that little word, not to mention tons of accessories, many of them DIY. So I thought I would try my hand at a project of my own. I asked Taylor to give me a hand, and together we made up three styles of TFiOS themed earrings.


For this easy project I pulled out one of my favorite crafting materials: Shrinky Dinks. I used a sheet of the frosted and a sheet of the opaque white. Before you get started on cutting out your clouds, turn your oven on to 325° to preheat. Now, to cut out the clouds I used a Fiskars X-Large Cloud Squeeze Punch. You can totally cut these out by hand if you don't have a cloud punch. In fact, my first version of this was a set of best friends backpack tags I cut out by hand for Taylor and her bestie, and they disappeared immediately. But they were about 3 times the size of the earrings, and my cutting skills on anything small are highly suspect.


I'm going to show you the steps to make all three pairs of earrings at once. Of course if you just want to make one pair, just follow the directions for the pair you want. The first pair will require one cloud punched from each sheet, and the second and third pairs will each require two clouds cut from each sheet. So to make all three pairs, cut 5 clouds from the opaque white and 5 clouds from the frosted. A quick note: I made all my earrings with the white cloud on top and the black cloud on the bottom. Apparently this is backwards. But this is my blog, so nyah, nyah, nyah, nyah, nyah! If you want to make them the "right" way, just switch all the black and white clouds in the instructions. No biggie.


Imagine you see 5 frosted clouds here too. You'll see them in a minute.

Take your 5 frosted clouds (see?) and color them completely with black Sharpie. Color on the rough side. Taylor helped me with this.


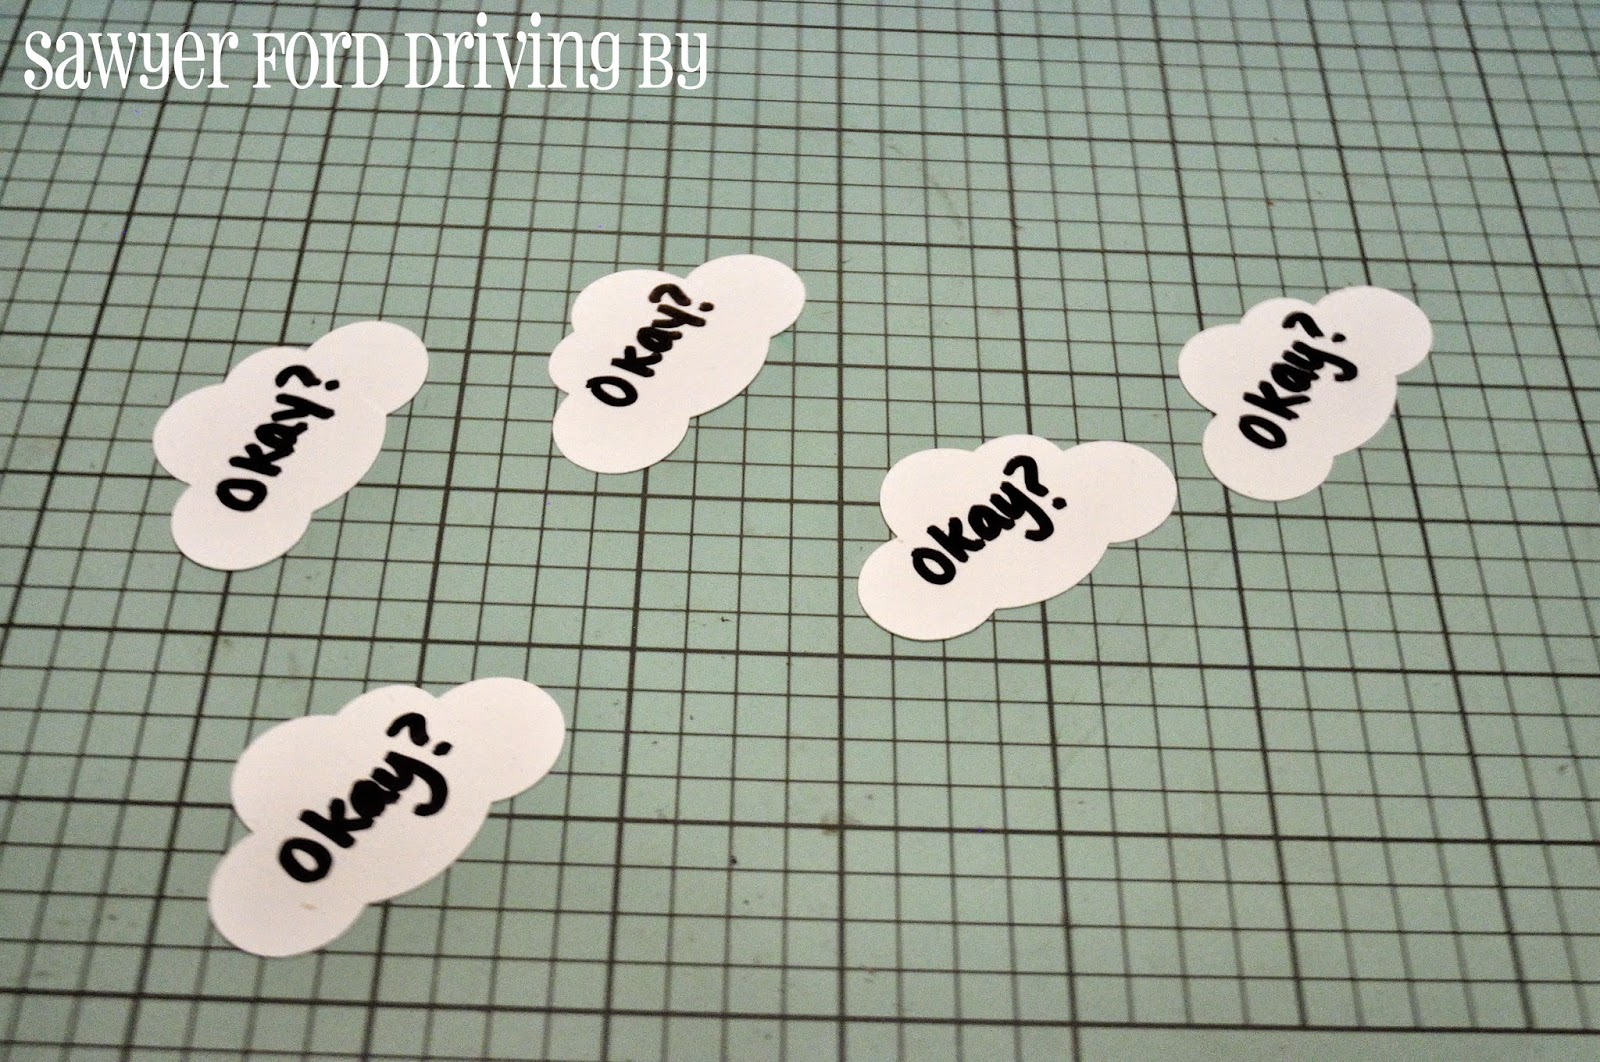
Let these dry for a minute, and in the meantime take your 5 white clouds and use your black Sharpie to write {Okay?} on each one. Write it as neatly as you can, but you're going for a handwritten look here.


Now take your black clouds and, using a silver Sharpie, write {Okay.} on each of them. You can write on either side. I chose to write on the rough side, because sometimes the shiny side tends to show a little scuffed after baking.

Now we're going to punch the holes for our jump rings. When you bake Shrinky Dinks, any holes shrink right along with the rest of it. For the tiny jump rings I'm using, a 1/8 inch punch makes a hole that shrinks to just the right size, but if you only have bigger jump rings, you might want to use a 1/4 inch hole punch. These are the holes you will punch for each pair. You can click on the picture to make it bigger if you have a hard time reading it.


Once you have your holes punched, place your clouds writing side up on a piece of paper on a cookie sheet. I usually use a lunch sized paper bag.


Slide them in the oven to bake, checking them after about 90 seconds. At that point mine were still curled up a bit, but a few seconds later they were all lying flat, which is how you know they're done.


When I take Shrinky Dinks out of the oven, I press them quickly with an acrylic stamp block, just to make sure they're all nice and flat.


See how much smaller they are? 


Now we're going to attach our findings. Here are the findings you'll need for each pair. Again, click the picture to make it bigger if you need to.


For the first pair, just glue your earring posts right to the back. You will be using one white cloud and one black cloud, both hole-free. I actually just used high temp hot glue for these, and they've held up fine. Taylor has worn them several times and they're still holding fast. But you can absolutely use something like E6000 if you prefer. Just make sure you let them sit for the instructed amount of time before wearing.


Add your earring backs and you're done!


For the next pair, you're going to use a jump ring to attach a black cloud with a hole punched in the top to a white cloud with a hole punched in the bottom. Repeat for the other earring. 


Now glue your posts to the backs of the two white clouds and add your earring backs.  Done!


For the last pair, attach your black and white clouds together like you did on the last pair, then carefully open the loop at the bottom of your earring hook with a pair of round nose pliers. 


Loop it  through the hole at the top of the white cloud, making sure to put it on so that the clouds will face front when you wear them. Carefully squeeze the loop closed with flat or needle nosed pliers, being careful not to crush it. Repeat for the other earring and attach the backs. All done! Now you'll be the envy of your book club!


I had so much fun making these that I whipped up another couple of pairs using different punches I had. These were made with a Fiskars Large Cupcake Squeeze Punch. Aren't they fun?


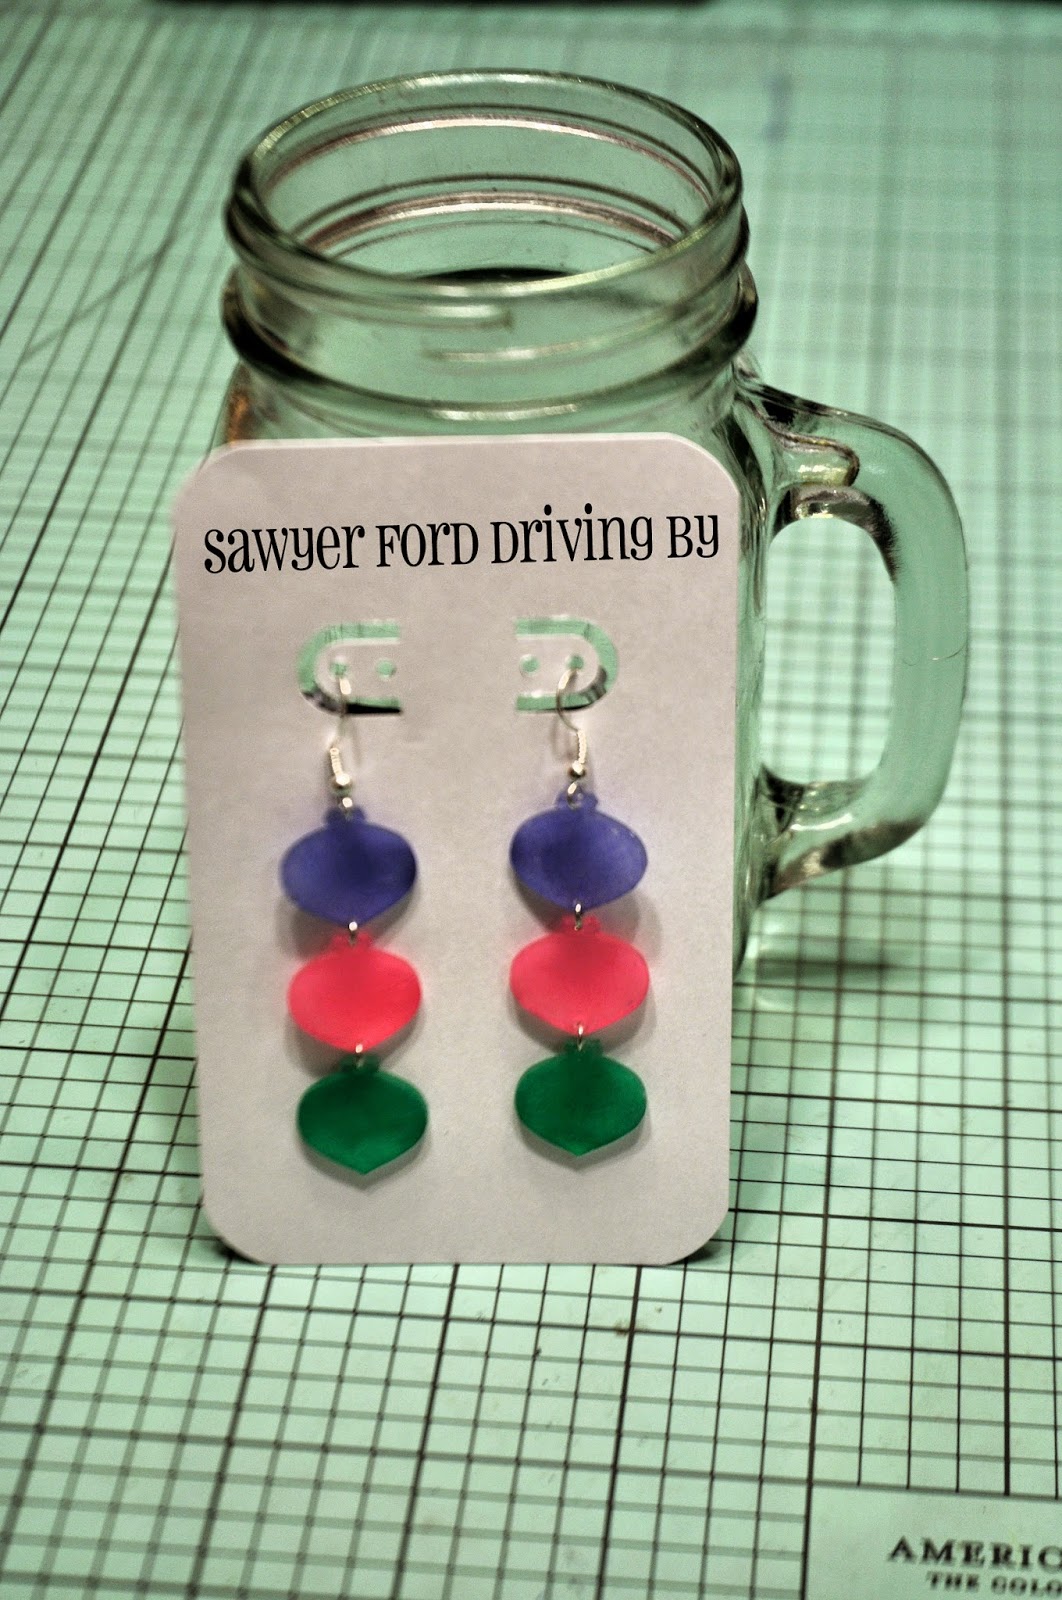
And the other day I found this retired Stampin' Up ornament punch for $2.99 at the thrift store they just opened up practically walking distance from my house! Score! (On both the punch and the new thrift store!) It turns out there are entire Pinterest boards dedicated to all the things you can do with this punch. Seriously. I'm so excited! I punched 6 ornaments from frosted Shrinky Dinks and colored them with pastel Sharpies. They turned out with this cool stained glass effect, and I love them!


I may end up going over the edges with a silver paint pen as well. I haven't decided yet. I love how many options there are with this craft! Shrinky Dinks are always a winner around here!


Wednesday, November 19, 2014

Therapeutic Crafting

Life is best for me when I take time to make things. Sometimes when I get overwhelmed with kids and housework and errands and everything that goes with having a full, although beautiful life, I have to put myself in front of my sewing machine or turn on my glue gun or pull out my jewelry wire, or just create something that wasn't there before. It doesn't have to be anything big or elaborate, but just the process of making something appealing is balm to my soul. This past week or so has been full of tiny projects. Excuse some of the photos as cell phone pics not actually intended for the blog. :)

I've made up a few hair bows, like these Frozen themed ones. My friend Amy's little girls were going to see Frozen on Ice that evening, and she called and asked if she could bring me some ribbon and have me come up with some quick bows to match their dresses.


She also dropped off a roll of this Christmas ribbon she found at the thrift store for 49¢, so I made this one too.


Her youngest daughter is turning three in a few days and will be celebrating with a Jake and the Neverland Pirates themed party, so I made this one for the birthday girl.

I made Lily this woven headband to match my niece's Thanksgiving headband. Clearly this is one of the not-actually-taken-for-the-blog-pics. 


And I found this velvet ribbon in my stash, and I don't think I'd ever laid eyes on it before. Sometimes people pass along to me random craft supplies they're getting rid of. Like this one time my Aunt Tina gave me bags full of vintage lace and trim and ribbon and fabric remnants and it was basically the best thing ever. And I don't think this ribbon came from her, but it found its way to me in much the same manner, and I kind of love it, so thank you to whoever gave it to me. I made this sweet bow that is going to look awesome with some little girl's pretty velvet Christmas dress!


I made my niece this ginormous rosette headband using the remnants of the blanket I made her. It's so soft!


My friend Rebecca asked me to make her daughter a leather and stamped copper cuff. She couldn't decide which color she wanted so I made up an extra leather strap she can switch the plate out on if she likes.


I also made myself a new pincushion out of this sweet little vintage tart tin I found at a thrift store. I have some similar cupcake tins I plan on turning into pincushions too, so I will do a tutorial in the near future.


I've been playing with the Gift Box Punch Board my mom got me for my birthday, and I'll do a tutorial on it coming up. So fun!


And I finally found the pinwheel attachments to use with the Pinwheel Punch Board, so that will be on the blog soon too!


My daughter Taylor has been feeling a bit crafty herself. She made this sweet paper banner that says ROACH FAMILY. And why yes, that is a sippy cup so fetchingly displayed on my mantle. Don't be jealous.


She also made these awesome scrapbook paper snowflakes and decorated the wall at the stair landing. I love how unique and festive they all are!


What sort of crafts do you find relaxing and therapeutic?

Thursday, June 19, 2014

Camp Craft - Paracord Bracelets

This is not a tutorial - there are a ton of them out there for these bracelets, for instance here. This is just a bit of a recap of what we did at camp.

We don't usually have crafts of any sort, which we (my crafty church sisters and I) felt was a shame. So we decided to have the kids try their hand at making paracord bracelets. Right now with kids camps and VBS looming on the horizon, Walmart has a ton of these paracord kits in stock for a little under $5 (not an affiliate link).


So I stocked up on enough to make 54 bracelets, thinking that would cover what we needed. Then we ended up having more campers than we thought, and including workers we needed at least 76, so I went back and bought enough for 30 more bracelets. THEN the kids totally mobbed us and begged and pleaded to make more than one, so we ended up having to go back AGAIN to get 3 more kits just so the adults could make one too, because let's face it, paracord bracelets are just cool!


This was a crazy huge hit with everybody, and I've already started buying up more paracord for next year. Hopefully by the time camp rolls back around again I'll have enough stocked up for everyone to be able to make 3 or 4 bracelets if they want. I also found a great deal on flat side-release buckles, a must if you want your bracelet to be reversible, and they will also cut down on that fun oops-you-put-half-your-buckle-on-backwards moment we had to work through with about 15 kids. :)


Why yes, there are indeed two kids wearing a watch and nothing at all on their wrists.

It was really neat to see them enjoy creating something so much, and I loved how almost all of them wore the bracelets nonstop. We even made one for this big guy.


I'm so glad they had so much fun, and I can't wait to do it again with them next year!