Hello all! It's time for another installment of our Presser Foot Series! Today we're talking about the Walking Foot. The walking foot looks a bit more complicated than most presser feet, but it couldn't be simpler to use.
This is not a snap on foot. If your machine has a snap on adapter, you will need to unscrew it to install the walking foot.
There is an arm that raises, and you will want to fit the bracket at the end of it onto the bar you see protruding to the right of your needle.
And of course you will need to attach the side bracket around the main post and secure it with the screw that was securing your snap on adapter.
The way a walking foot works is pretty simple. Basically the arm at the top operates the levers inside the casing and they move these little white plastic grips that fit inside the grooves in the front of the foot.
This foot is AMAZING for sewing multiple layers, like you would do for quilting straight lines or making faux chenille. It's also amazing for sewing with slippery fabrics like minky.
For Christmas I made my month old nephew Lawrence a cuddle blanket from flannel and dot minky. I wish I could show you a better picture of it, but all those photos are on a hard drive that's out of reach for the moment, so you'll have to settle for this cell phone pic of Nick holding him wrapped in it just after the New Year.
Now he's almost 8 months old, and it's become the blankie, much to my delight. It was such a simple project that it doesn't really call for a tutorial, but I'll give you a basic point by point:
- Wash and dry both fabrics to prevent uneven shrinking after sewing.
- Cut both fabrics to the same size. Honestly I didn't measure, I just squared the edges of one fabric and cut the other to match, but I believe it was approximately 45" (width of the bolt) by 54" (yard and 1/2).
- Place fabrics right side together and pin.
- *Optional* Round your corners by using a plate as a template and cutting around it with scissors or a rotary cutter.
- Sew almost all the way around, leaving approximately 3-4 inches open on one side for turning.
- Clip your corners and turn your blanket right side out.
- Make sure your corners (if you have them) are well turned.
- Tuck in the seam allowance on the opening you left and pin closed.
- Topstich around the entire blanket, closing your opening.
- Done!
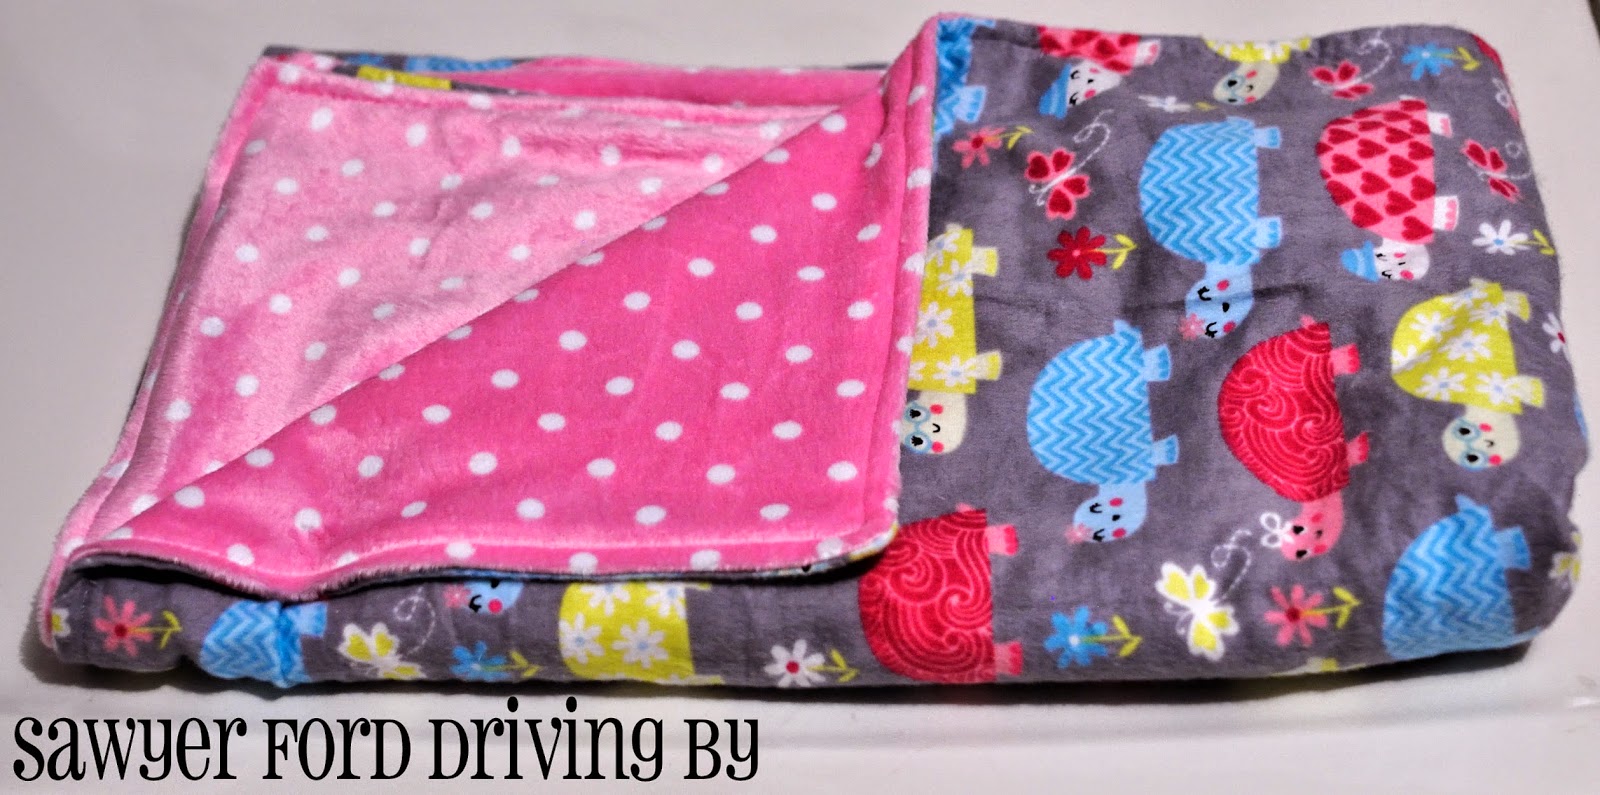
Anyway, I finally got a chance to make a blanket for her too. These are the fabrics I went with.
I made this blanket at night after the kids were in bed, and I had to deliver it the next day, so I didn't have a chance to take it outside and hang it up for pictures, but I was able to snap a few inside.
It's not perfect, but it's very soft and cuddly, and the minky was SO much easier to sew using the walking foot!
Cuddle fabrics are generally on the pricey side, so I snap them up when I find them in the remnant bins, which is where I scored the sweet pink and white polka dot I used here. It was a serious win to find a remnant this large, and I had so much fun picking out a coordinating flannel, because I knew right away what I wanted to do with it.
A few weeks ago I found a yard and 1/2 of this fluffy orange Ultra Cuddle, and I paired it with this fun robot flannel. I made a blanket for Sawyer from them, and now he has to have his "Wo-bot" before he goes to bed. :) Again, sorry for the night time kitchen photography.
I also made one for Taylor back at Christmas from orange and white chevron flannel backed with aqua cuddle fleece, but right now she's wrapped up in it asleep. :) I guess I'd better go back through my remnant bag to find something to make one for Lily too!


