That might work for some people, but for me, once I started adding bobbins with different colors of thread, not to mention all my extra sewing feet, the sides started to split pretty quick.
So of course I had to break out my felt and Babyville snaps and whip myself up a new much cuter and sturdier one!
I love this project for several reasons:
1) It's super quick, like 10 minutes or less (assuming you aren't also juggling a two year old).
2) It's cheap, under $1 if you have the snap tool, although you could totally make it with a different fastener if you wanted.
3) It uses two of my favorite crafting materials - printed felt and Babyville snaps.
4) It's super easy - if you can sew a straight line, you can do this!
I made my original pouch one evening when I'd had a stressful day and needed to sit down and just create something to decompress. It was such a quick and simple project, and it was just what I needed.
First of all, keep in mind that if you want to store this in the storage compartment in your sewing machine, it needs to be made small enough to fit there. That particular compartment on my machine is missing (grrr!), so that was not an issue for me. I just made mine large enough that I felt it would accommodate all my accessories.
First of all grab a piece of printed felt. I've found the best selection at Hobby Lobby, and most pieces are 50¢ without a coupon. For my original pouch I chose a fun chevron print, but for the tutorial I went with this awesome sock monkey felt.
Cut your felt to 12 inches by 5 inches. Or if you want to create two equally sized pouches and your felt is the standard 9 x 12 inches, you can just cut it straight down the middle.
If you want to pin the sides before sewing, do so now.
Sew up the sides, stopping at the flap. I just lined my edge up with my presser foot and did a 1/4 inch seam. Because felt doesn't fray, there's no need to sew right sides together and flip.
Now for the snap. I chose this baby blue monster set. You will need two backings and one each of the male and female sides.
The pliers come with this handy awl that I also keep handy for piercing leather when I'm making jewelry.
To start, fold your flap down and press the point of the awl into the felt where you want the snaps to go, hard enough to indent the felt, but not hard enough to pierce it.
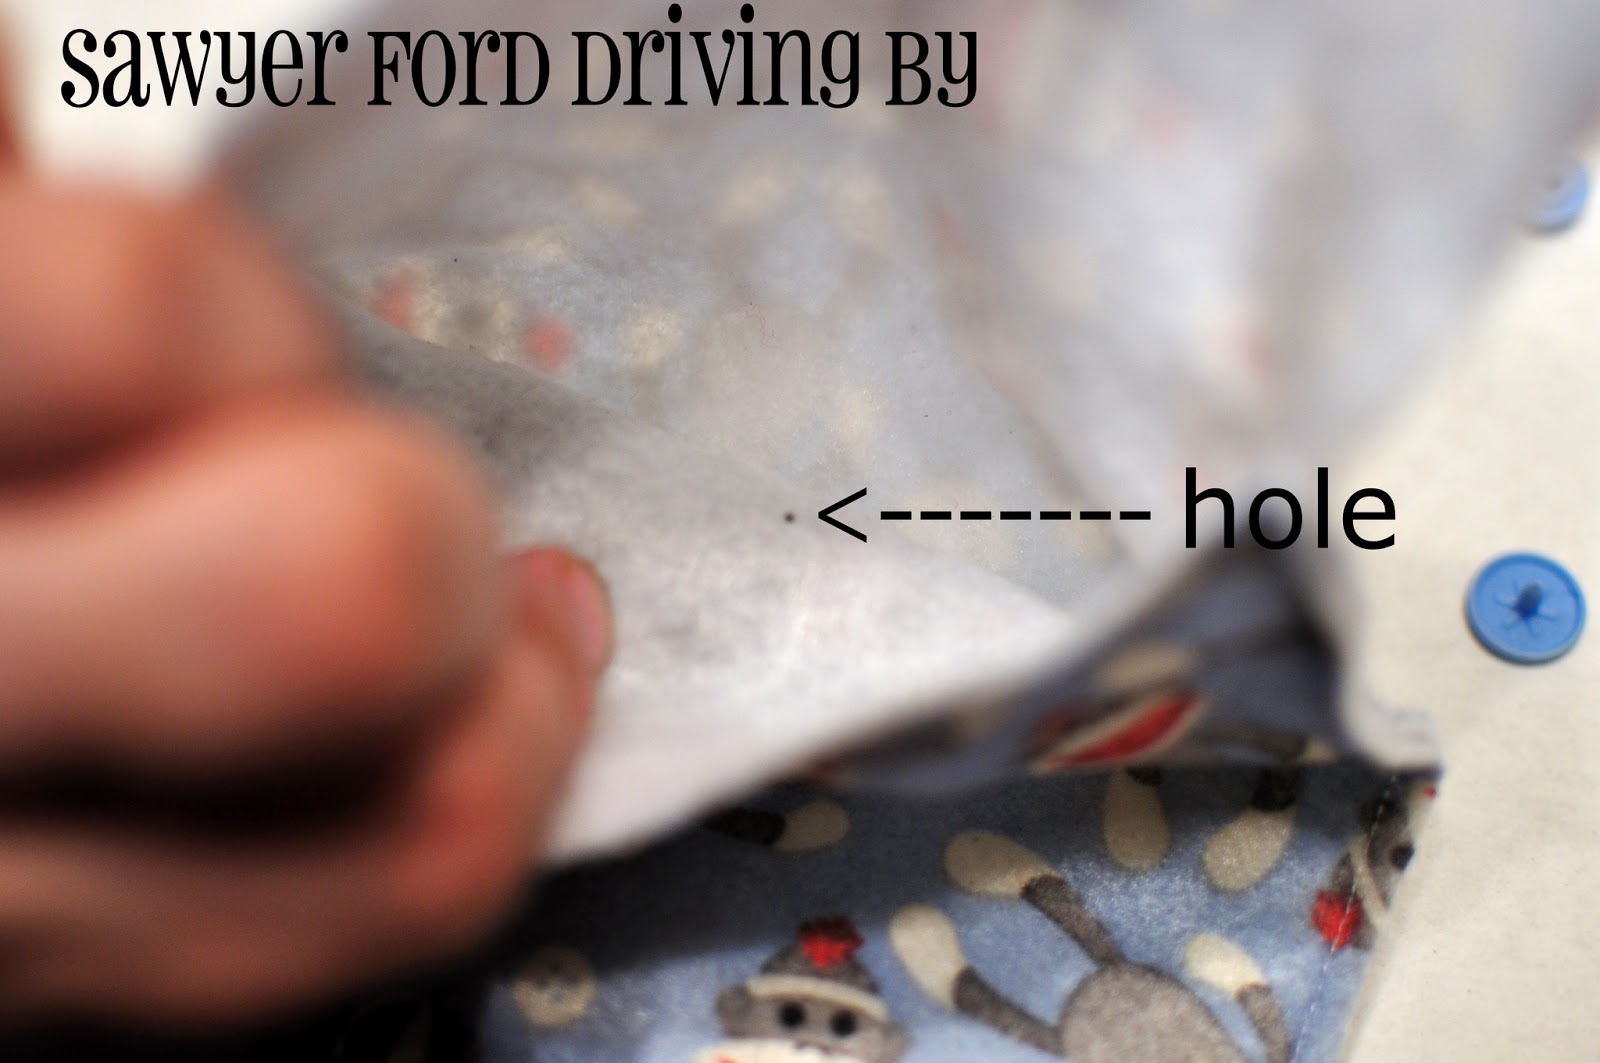
Then, being careful not to poke it through the back of the pouch, pierce the front of the pouch where you indented it, then the flap.
Working from the inside, insert one of the backings into the hole you just made in the pouch body.
Place your female side onto the stem of the backing sticking out the front of the pouch body.
Repeat the whole process on the flap, but this time insert the backing into the printed side of the felt, and place the male side of the snap onto the other side of the backing.
Now you have a finished pouch, perfect for all your sewing machine accessories! This one is going to hold crayons and live in the diaper bag.
These would be great for all kinds of things. I can see one of these filled with flash cards in a homeschool classroom, or as a fun way to gift a set of photos.


Soooo much nicer than that little plastic thing! Next time I need a little pouch for little things I'm making one of these! That fabric is so cute btw!
ReplyDeleteThanks, Julie! Have a great weekend!
ReplyDeleteSo cute! Thank you!
ReplyDeleteThanks, Starla!
ReplyDeleteDARLING!!!
ReplyDelete-liZ
Thank you, liZ! {Squeal! You guys are my HEROS!}
ReplyDeleteEvery sewer needs one of these! Great tutorial!
ReplyDeletePinning to our Party Board! Thank you so much for sharing your creativity at our Show-Licious Craft & Recipe Party! Join us again on Saturday to show off your latest projects!
~ Ashley
Thanks, Ashley - I'll be there!
DeleteGreat pouch! Great tutorial! Thanks for linking up at Inspire Us Thursday!
ReplyDeleteThanks for hosting, Ren!
Delete