

Then one day, for no apparent reason, she decided to cut her own hair. So she did. Badly. Horribly. Traumatically. It was crazy. There were sections that were less than an inch long. Daddy was not a happy camper. Mommy wasn't either, but eh, kids do these things.
Fortunately my MIL Brenda is an awesome stylist. So I made a late night phone call begging for help, and she agreed to swing by the next day and rescue the hack job. When she got here, she was a little taken aback at the damage. I believe her exact words were "Well, I can see why you couldn't really describe it to me on the phone."
See for yourself:
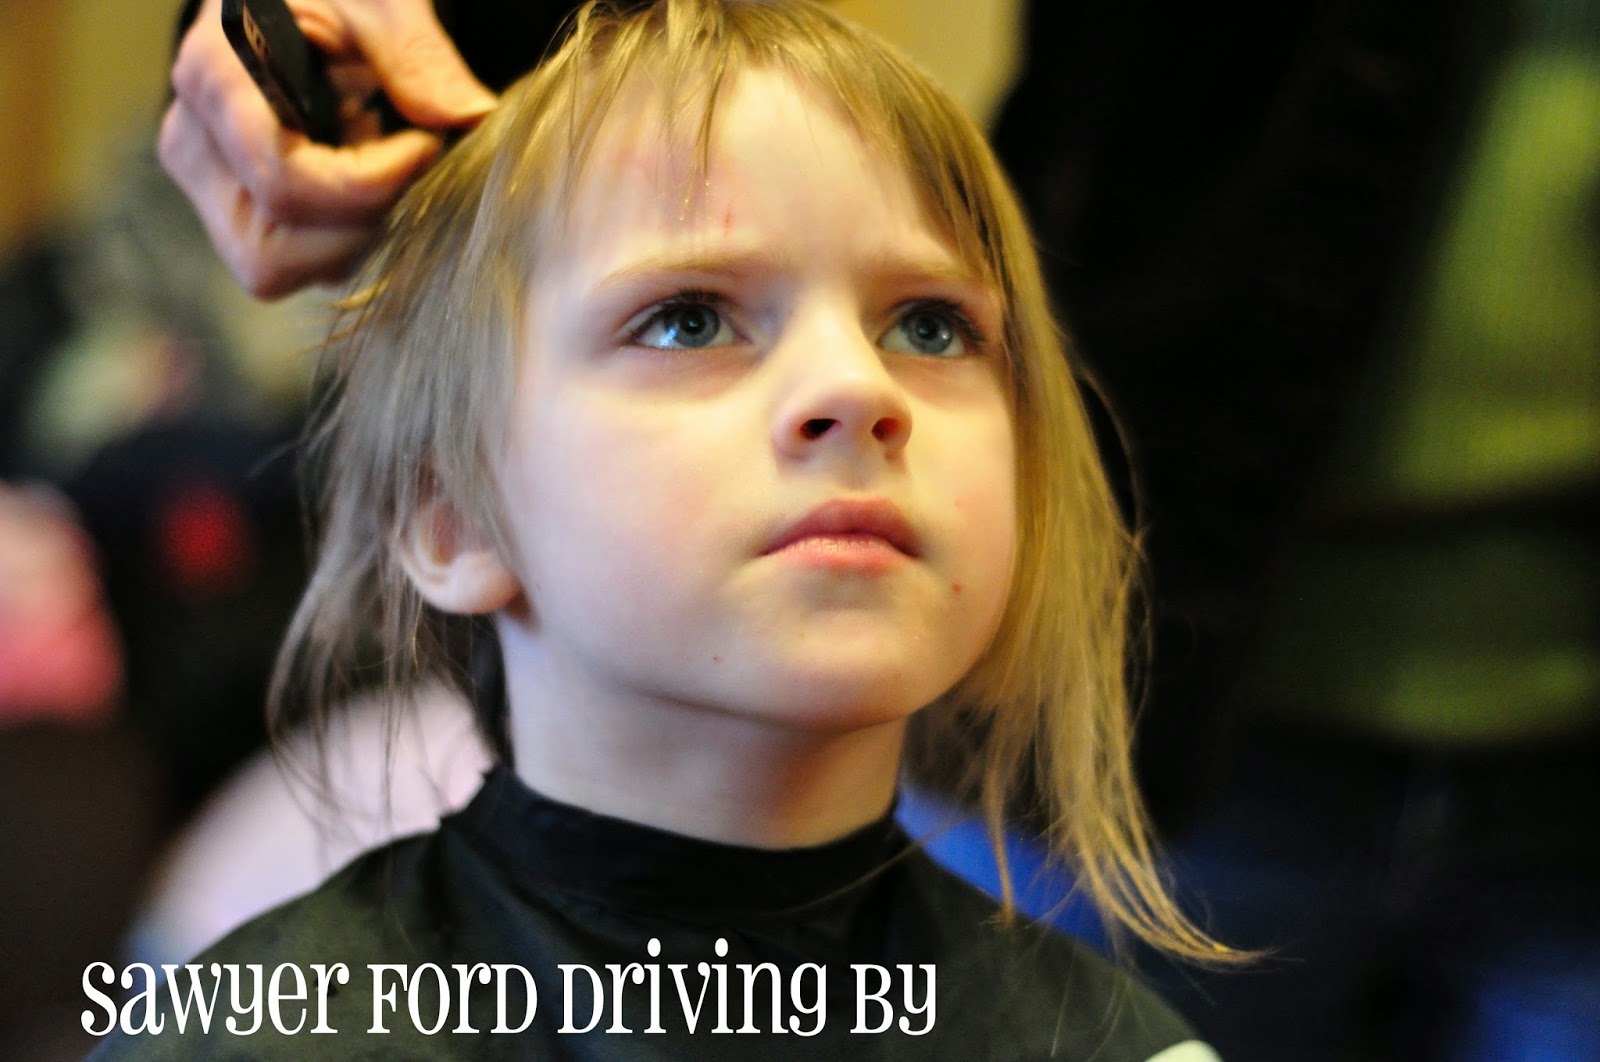


Yes, these were taken before Brenda cut any. Yeah, pretty bad. But she saved the day, just like I knew she would! (Ignore my door that needs to be painted.)

To be honest, we would have never had the nerve to get her hair all cut off if we'd had a choice about it, but Nick and I ended up loving it! And even Lily likes it except for the fact that pigtails aren't super doable. But even those can be managed if we really try (see here).
Anyway, right after she got her hair cut, my SIL Leah bought her this sweet little daisy headband. It was an adult size, so it fit her more like a garland, which was perfect, because anything tight just bunches up her hair and looks weird, and this looked sweet and bohemian and artless.
Not long after I headed to Walmart and grabbed 1/2 yard each of several different trims from the sewing department to make her some more.
You can really use all kinds of different trims, but these are the five I chose:


I started by measuring the trim around Lily's head the way I wanted the headband to fit, then trimming it a couple of inches short. Then I cut a piece of fold over elastic a couple of inches long. Um, don't cut off the end of your thumb.

.JPG)
Glue the end of your trim to the very end of your FOE.


Then you can either take ribbon (as I did on this one) or two more pieces of FOE and wrap it around the joint of the trim and the FOE. Glue it in place.

Do the same thing on the other end.

I got my white 5/8 inch FOE at Elastic By The Yard (not an affiliate link), which has great prices. But if you don't need a lot, you can't go wrong at the Dollar Tree. They always have these FOE hair ties in 6 packs of various colors for $1. If you untie them, you get about a half yard of 3/4 inch FOE out of each tie, give or take an inch or two.


This guy kept interrupting my crafting to point at my camera and say "Pit-chure, Mom! Pit-chure!" Look at that face. Be still my heart! I'm loving his ham phase.

For this one I trimmed off a couple of petals on the daisies on the ends to make it fit better in the elastic.


Little Miss was S-I-C-K today, so the best I could get was this brave little smile, but she did say that the "rainbow sparkly pink one" is her favorite and she is going to wear it forever and never take it off. Mission accomplished.

Oh boy she really cut her hair...I've been through that, but it was only the bangs all the way down to the scalp for us...kids. Nice job making her some stretchy headbands. I like the pink rainbow one too. Thanks for sharing on Merry Monday.
ReplyDeleteThanks, Earlene!
ReplyDeleteIt looks darling with the headband no matter how it happened to come about. Thanks for linking up at Inspire Us Thursday!
ReplyDeleteThanks, Ren!
DeleteThanks for sharing, great tutorial. Beautiful headbands.
ReplyDeleteThank you!
Delete